Golden fruit crisp topping is what turns a pan of baked fruit into the kind of dessert people keep spooning back into their bowls. The best version bakes up in chunky, craggy pieces with a toasted oat edge, a buttery center, and just enough sweetness to play against tart fruit underneath. When it’s done right, you get a topping that stays crisp at the edges but still melts a little where the juices bubble up through it.
This version works because the dry ingredients are balanced for structure and clumping, not for a sandy crumble that disappears into the filling. Cold butter matters here. It has to stay in visible pieces so it can steam and leave those uneven pockets that bake into crisp, golden ridges. The brown sugar brings a deeper caramel note, while the cinnamon and nutmeg give the topping warmth without making it taste like a spice cookie.
Below, I’ll show you the texture to aim for when you work in the butter, the small ingredient choices that make the topping hold together, and a few ways to adapt it if you want nuts, coconut, or a gluten-free version.
The butter stayed in those little pea-sized pieces and the topping baked into the best chunky crumble I’ve ever made. It stayed crisp even after sitting on the peach filling for a while.
Love this chunky oat-brown sugar crumble? Save Fruit Crisp Topping to Pinterest for the next peach, apple, or berry dessert night.
The Butter Has to Stay Cold or the Crumble Turns Sandy
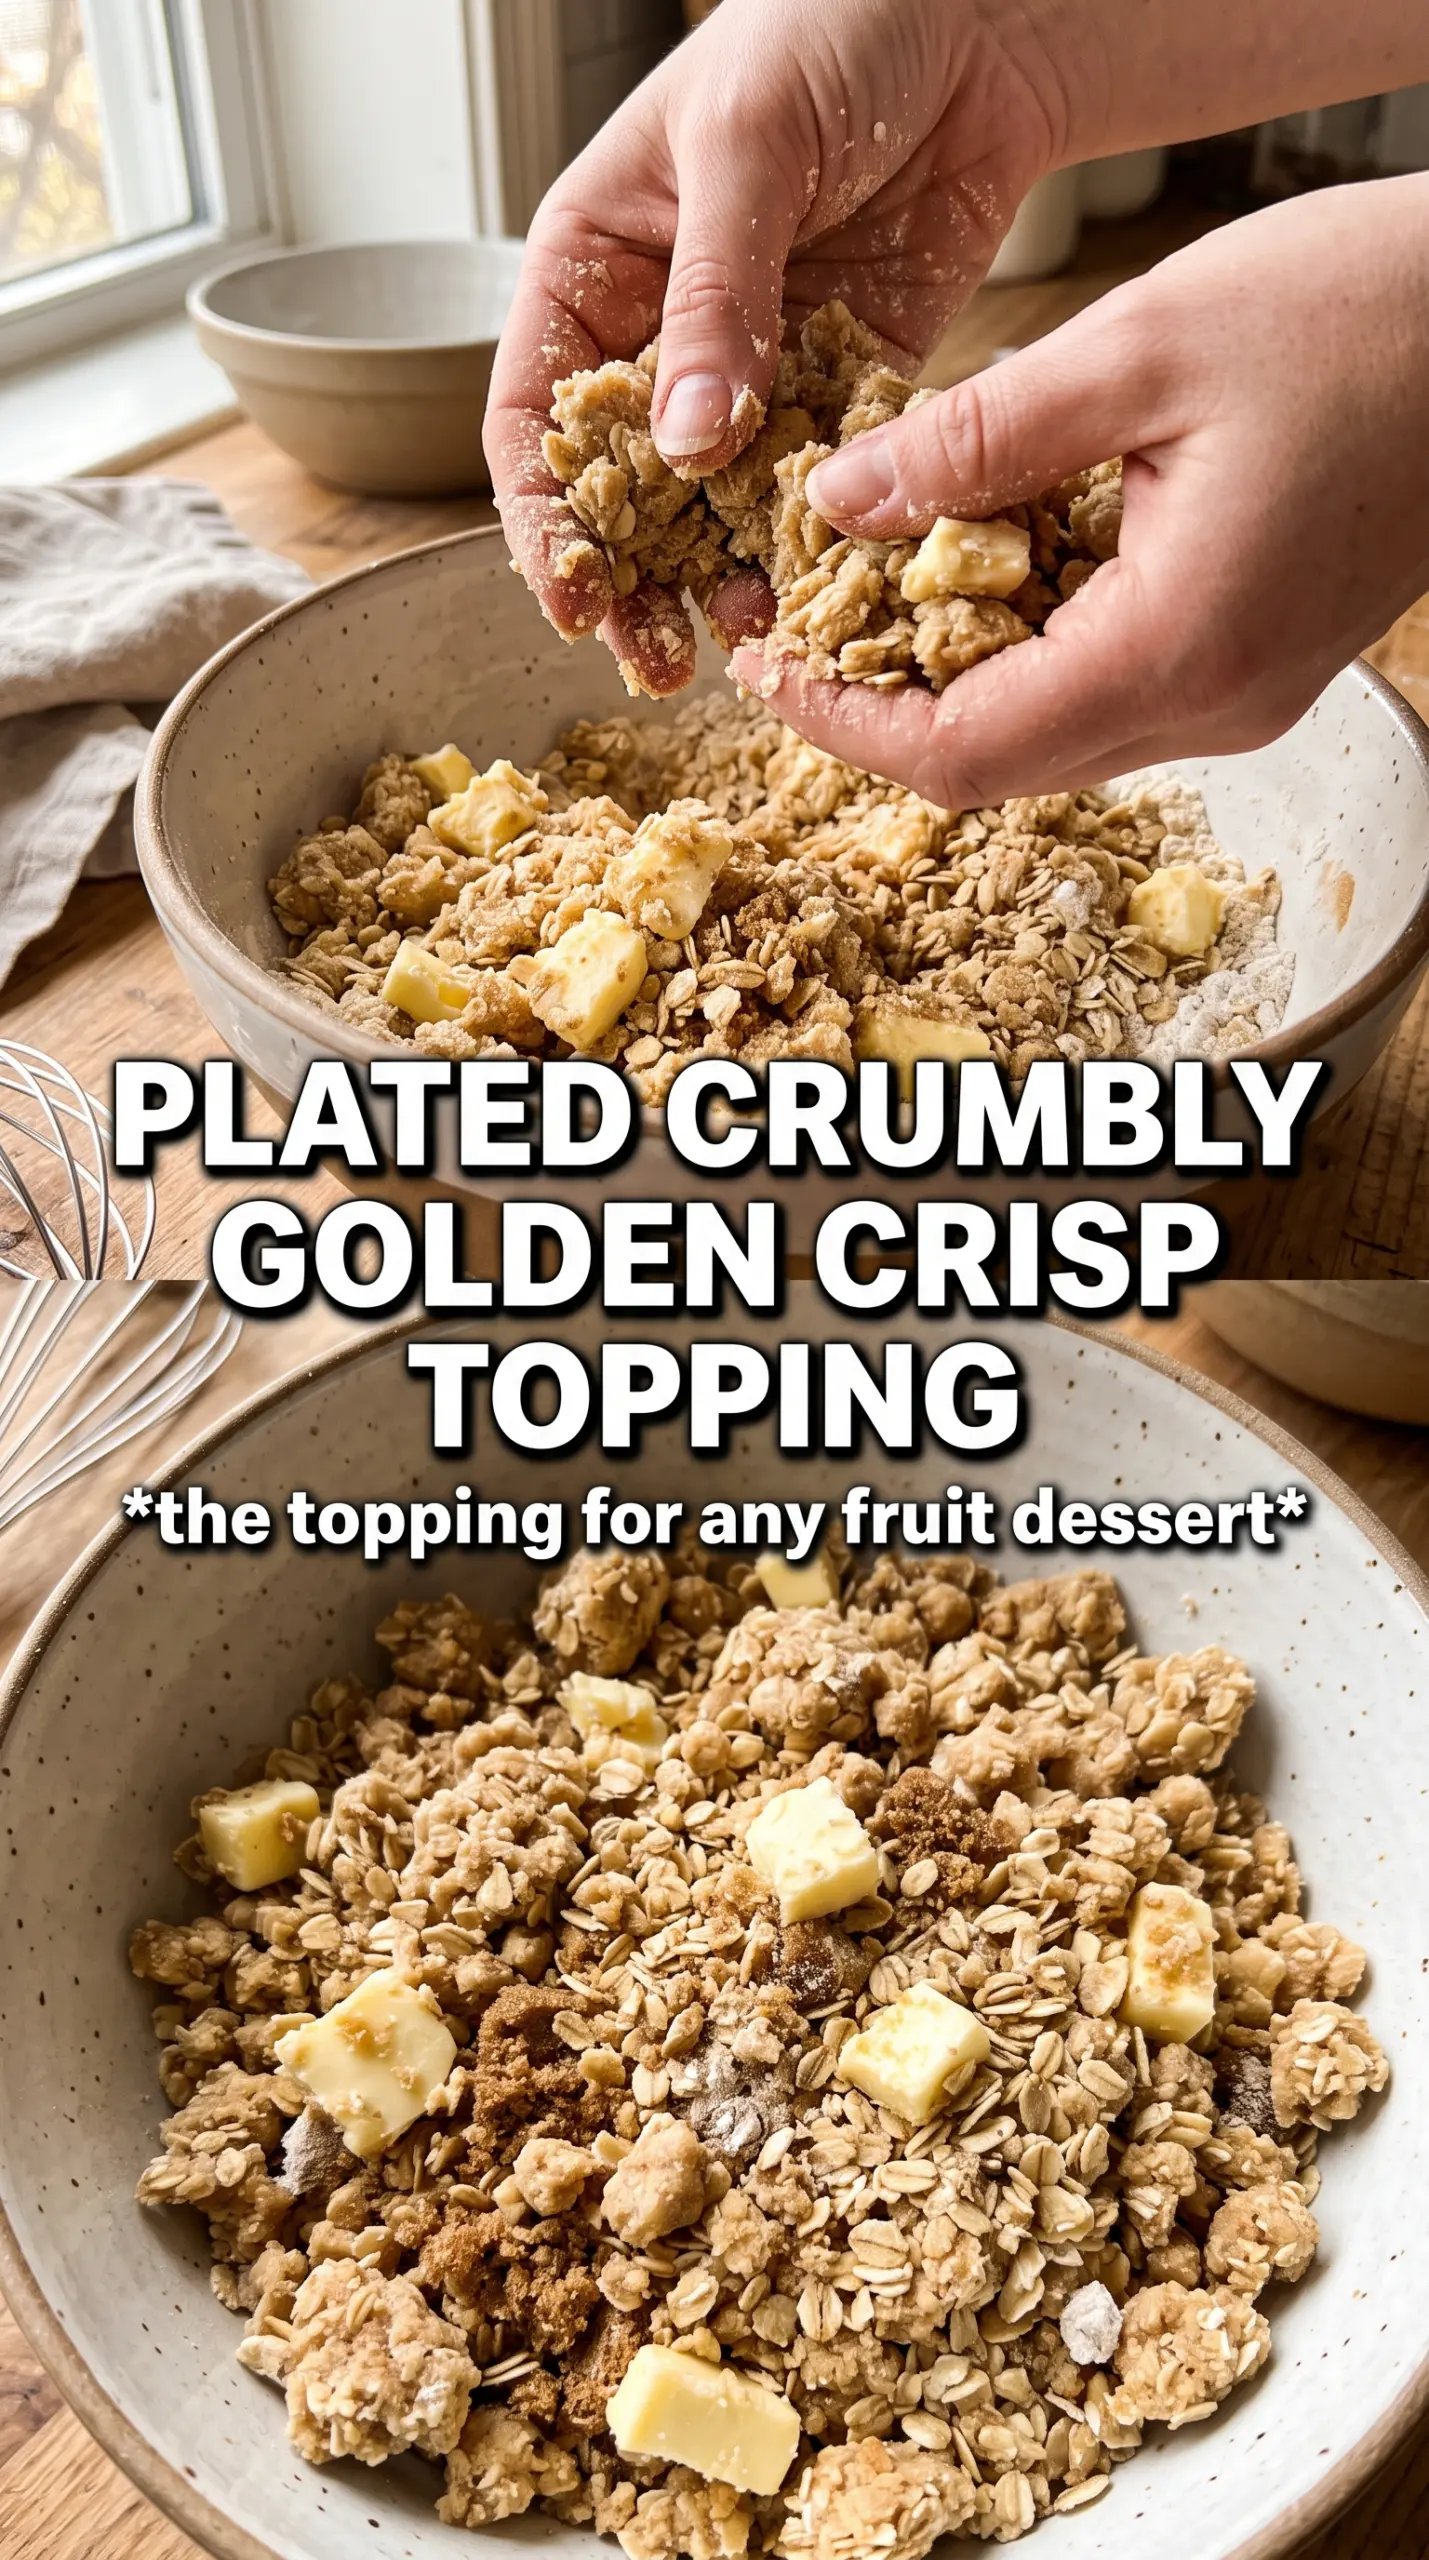
The difference between a topping with real craggy pieces and one that bakes into fine crumbs comes down to temperature. Cold butter holds its shape long enough to create little pockets in the mixture, and those pockets turn into crisp, flaky bits in the oven. If the butter softens too much while you’re mixing, the flour absorbs it immediately and you lose the chunky texture that makes crisp topping worth eating.
That’s why I keep the cubed butter in the fridge until the last second, then stop mixing the moment I see pea-sized pieces and some larger clumps. Those uneven bits are the goal. They bake into the best texture, and they keep the topping from becoming a dry blanket over the fruit.
- Rolled oats — Use old-fashioned oats, not instant. Rolled oats keep their shape and give the topping chew and structure. Instant oats break down too much and make the crumble dense.
- Brown sugar — Packed brown sugar adds moisture and that caramel note you want in a crisp. Light or dark both work; dark brown sugar gives a deeper molasses flavor.
- Cold unsalted butter — Unsalted butter lets you control the salt level, and cold cubes are what create the chunky texture. If all you have is salted butter, cut the added salt down a little.
- Optional nuts or coconut — Chopped pecans, walnuts, or shredded coconut add extra crunch and toast beautifully. They’re worth adding if you want a more layered topping, but the base works just fine without them.
What Each Ingredient Is Actually Doing in This Recipe
- Primary ingredient (the star) — Quality matters most. Choose the best you can find.
- Cooking medium (oil, butter, or broth) — This carries flavors and prevents dryness.
- Seasonings (salt, pepper, spices, herbs) — Layer flavors so nothing overpowers. Build depth gradually.
- Aromatics (garlic, onion, herbs) — Cook with fat to bloom flavors. Become the foundation.
- Supporting ingredients — Complement the main ingredient without overpowering it.
- Sauce or liquid (if applicable) — Brings flavors together. Balance richness with acid.
- Acid (lemon, vinegar, wine, or other) — Brightens and prevents flat-tasting results.
- Final finish (garnish, glaze, or sauce) — Prevents one-dimensional taste and adds visual appeal.
How to Build the Crumble So It Bakes Into Clumps, Not Dust
Mix the dry base first
Stir the oats, flour, brown sugar, granulated sugar, cinnamon, nutmeg, and salt together until the color looks even. You want the spices and sugar spread through the flour before the butter goes in so every bite tastes balanced. If the mixture looks blotchy now, it will bake blotchy later.
Add the butter at the very end
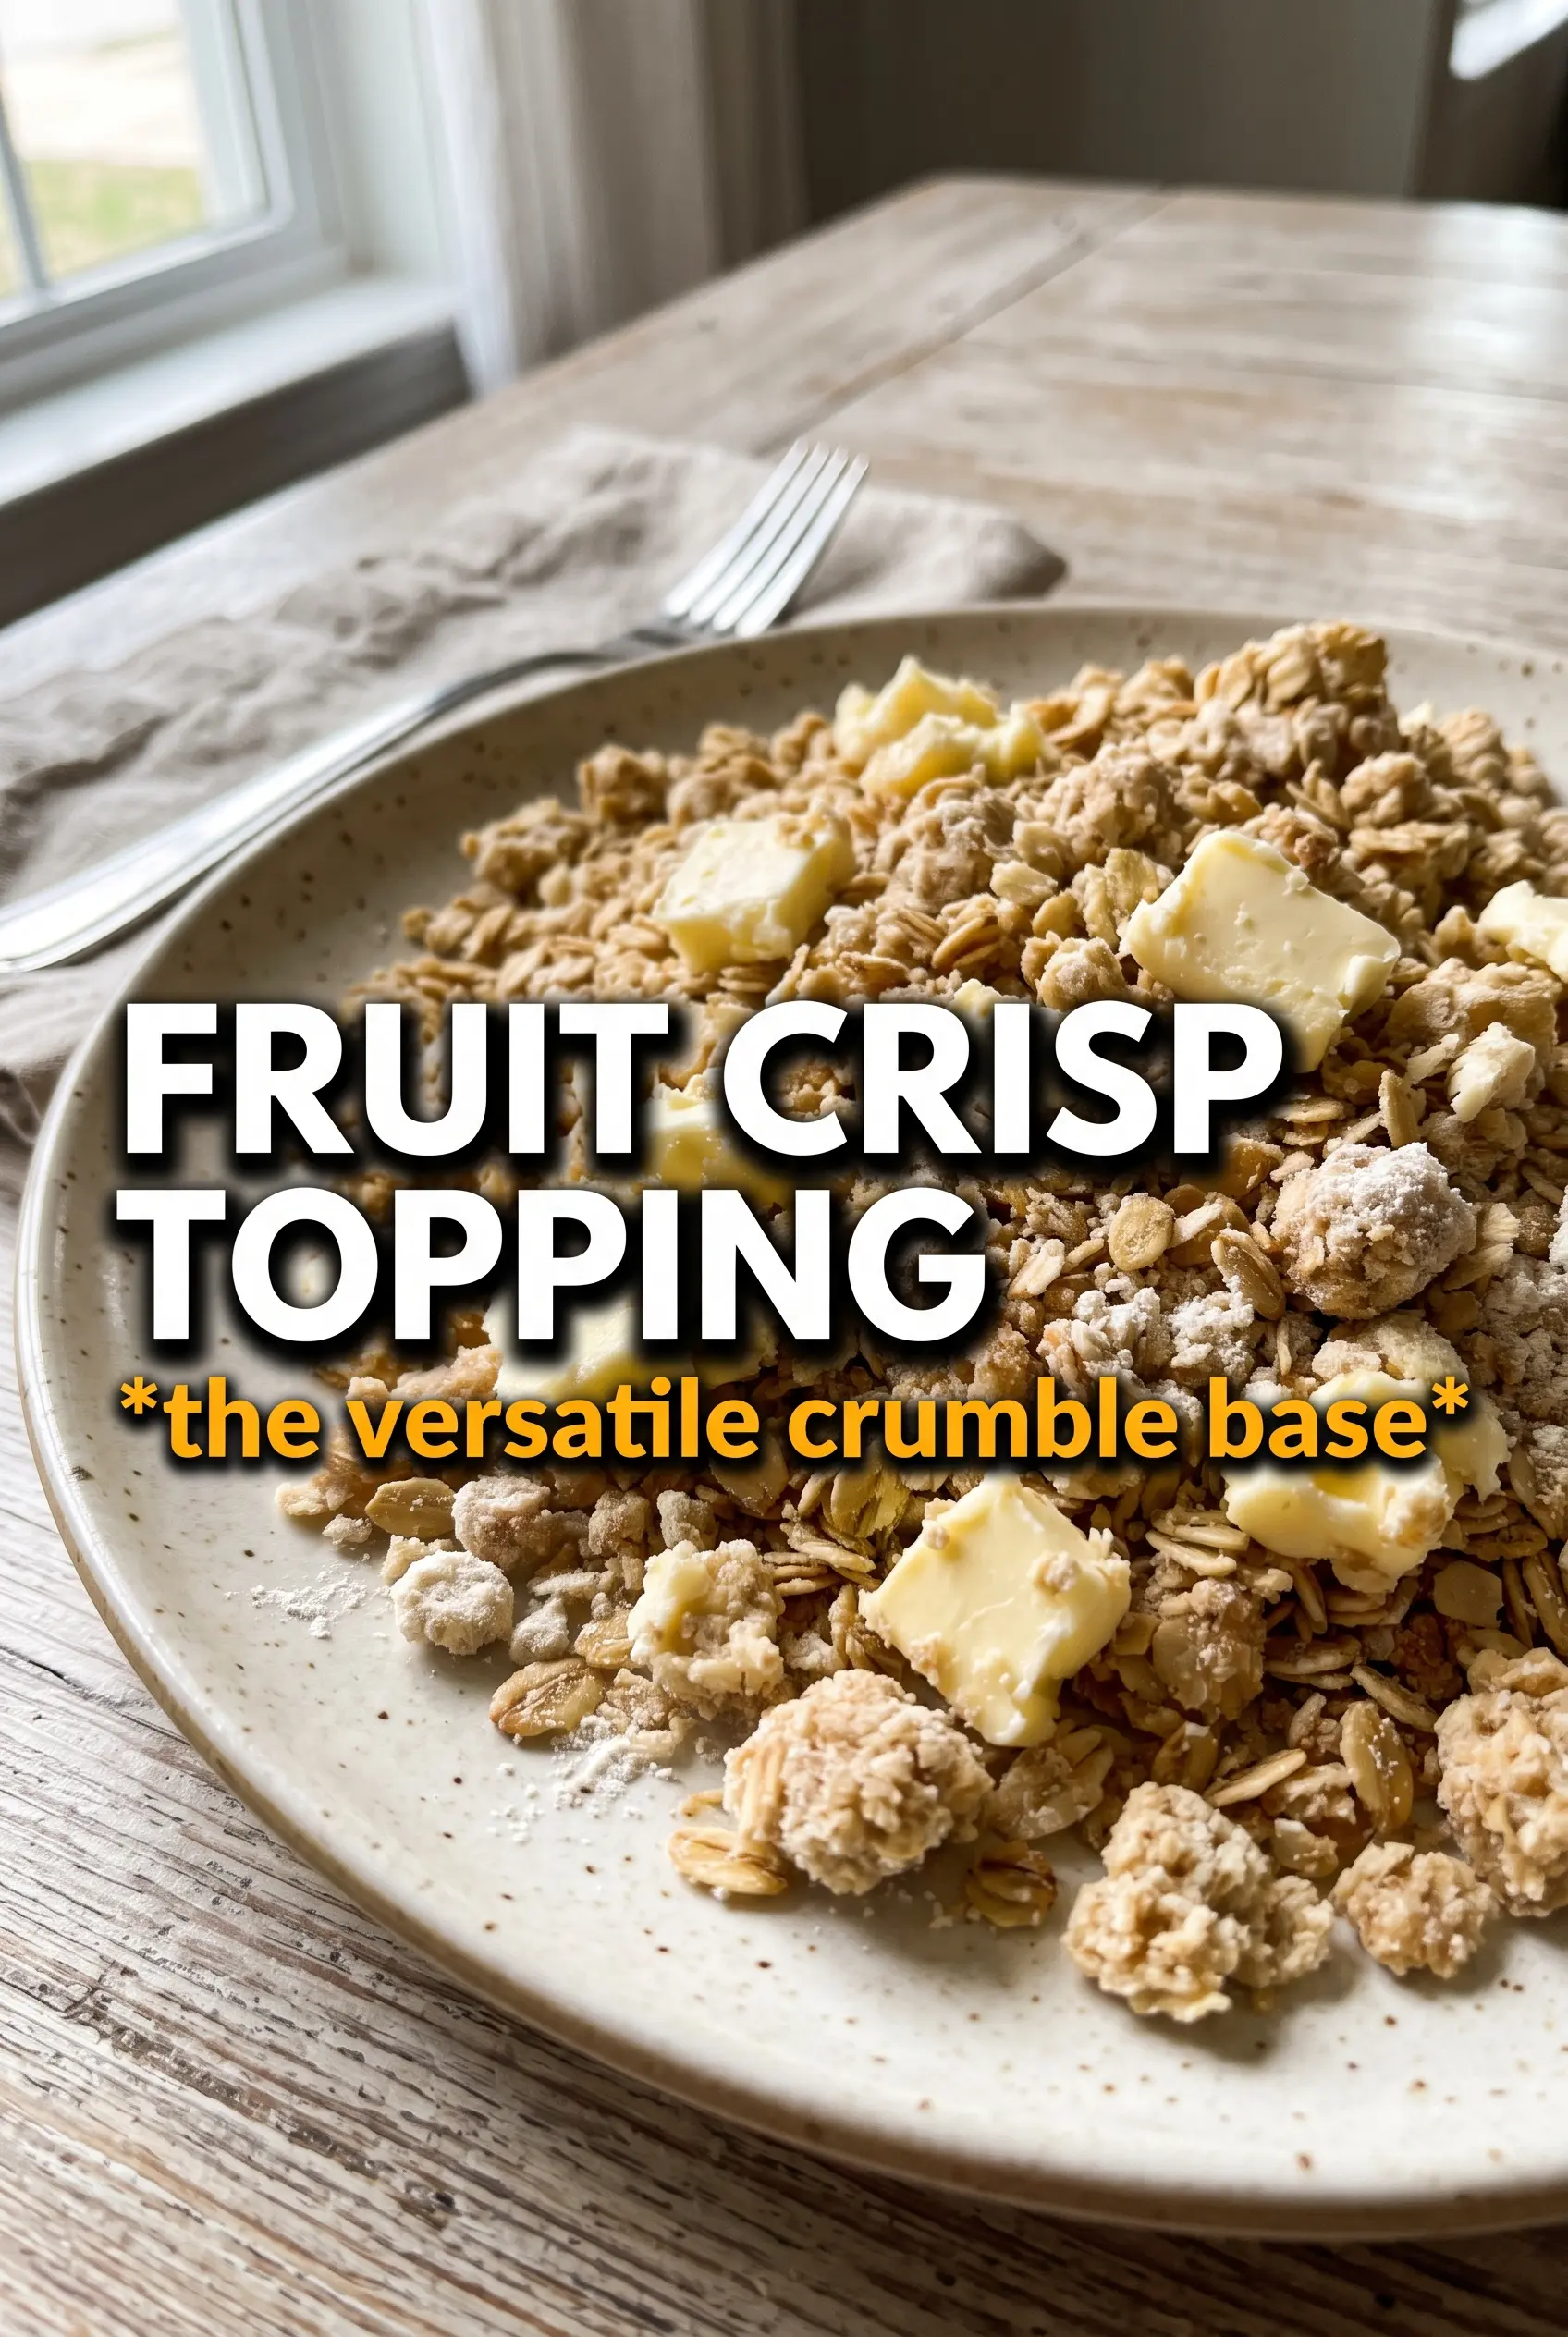
Scatter the cold cubes over the bowl and work them in with your fingertips, two forks, or a pastry cutter. Stop when the mixture holds together in rough clumps and you still see some butter bits. If the butter disappears completely, the topping will bake up dry and tight instead of crisp and craggy.
Use the texture before it warms up
Once the mixture is ready, get it onto the fruit right away or chill it if you’re making it ahead. Warm hands can soften the butter fast, especially in a small bowl, and that’s when the texture starts to go from chunky to pasty. If you notice it getting greasy, pop the bowl in the fridge for 10 minutes before using it.
What to Change When You Want Nuts, Coconut, or a Different Diet
Add chopped pecans for a more bakery-style crunch
Fold in about 1/2 cup chopped pecans with the dry ingredients. They toast as the crisp bakes and give the topping a deeper, nuttier bite. Walnuts work too, but pecans stay a little sweeter and feel more classic in fruit crisps.
Use shredded coconut for extra chew and toasty edges
Add 1/4 cup shredded coconut with the dry mix. It browns fast and brings a little chewy texture that works especially well with berries or stone fruit. Sweetened coconut will make the topping a touch sweeter, so keep that in mind if your filling is already heavy on sugar.
Make it gluten-free with a 1:1 flour blend
Swap the all-purpose flour for a good 1:1 gluten-free baking flour and use certified gluten-free oats. The texture will still be crisp, though a little more delicate, so don’t overmix once the butter goes in. That small adjustment keeps the topping from turning sandy.
Store extra topping for later fruit desserts
- Refrigerator: Keep in an airtight container up to 5 days. The butter stays firm and the mixture is ready to use straight from the fridge.
- Freezer: Freeze up to 3 months in a sealed freezer bag or container. It’s best to freeze it in a flat layer so it thaws evenly.
- Reheating: Use it straight from cold over your fruit filling. If it softens while sitting out, chill it again before baking so the butter stays in chunks and the topping bakes crisp.
Questions I Get Asked About This Recipe
Fruit Crisp Topping
Ingredients
Equipment
Method
- Combine rolled oats, all-purpose flour, brown sugar, granulated sugar, cinnamon, nutmeg, and salt in a large bowl.
- Add any optional add-ins (chopped nuts and shredded coconut) and toss to combine.
- Add cold cubed butter and work it into the mixture with your fingertips, two forks, or a pastry cutter until large chunky clumps form; leave some pea-sized butter pieces.
- Use immediately by scattering the topping over your prepared fruit filling.
- Alternatively, refrigerate the crumble in an airtight container up to 5 days or freeze up to 3 months before using.
- Bake over any fruit filling at 375°F for 35-45 minutes until deeply golden.


