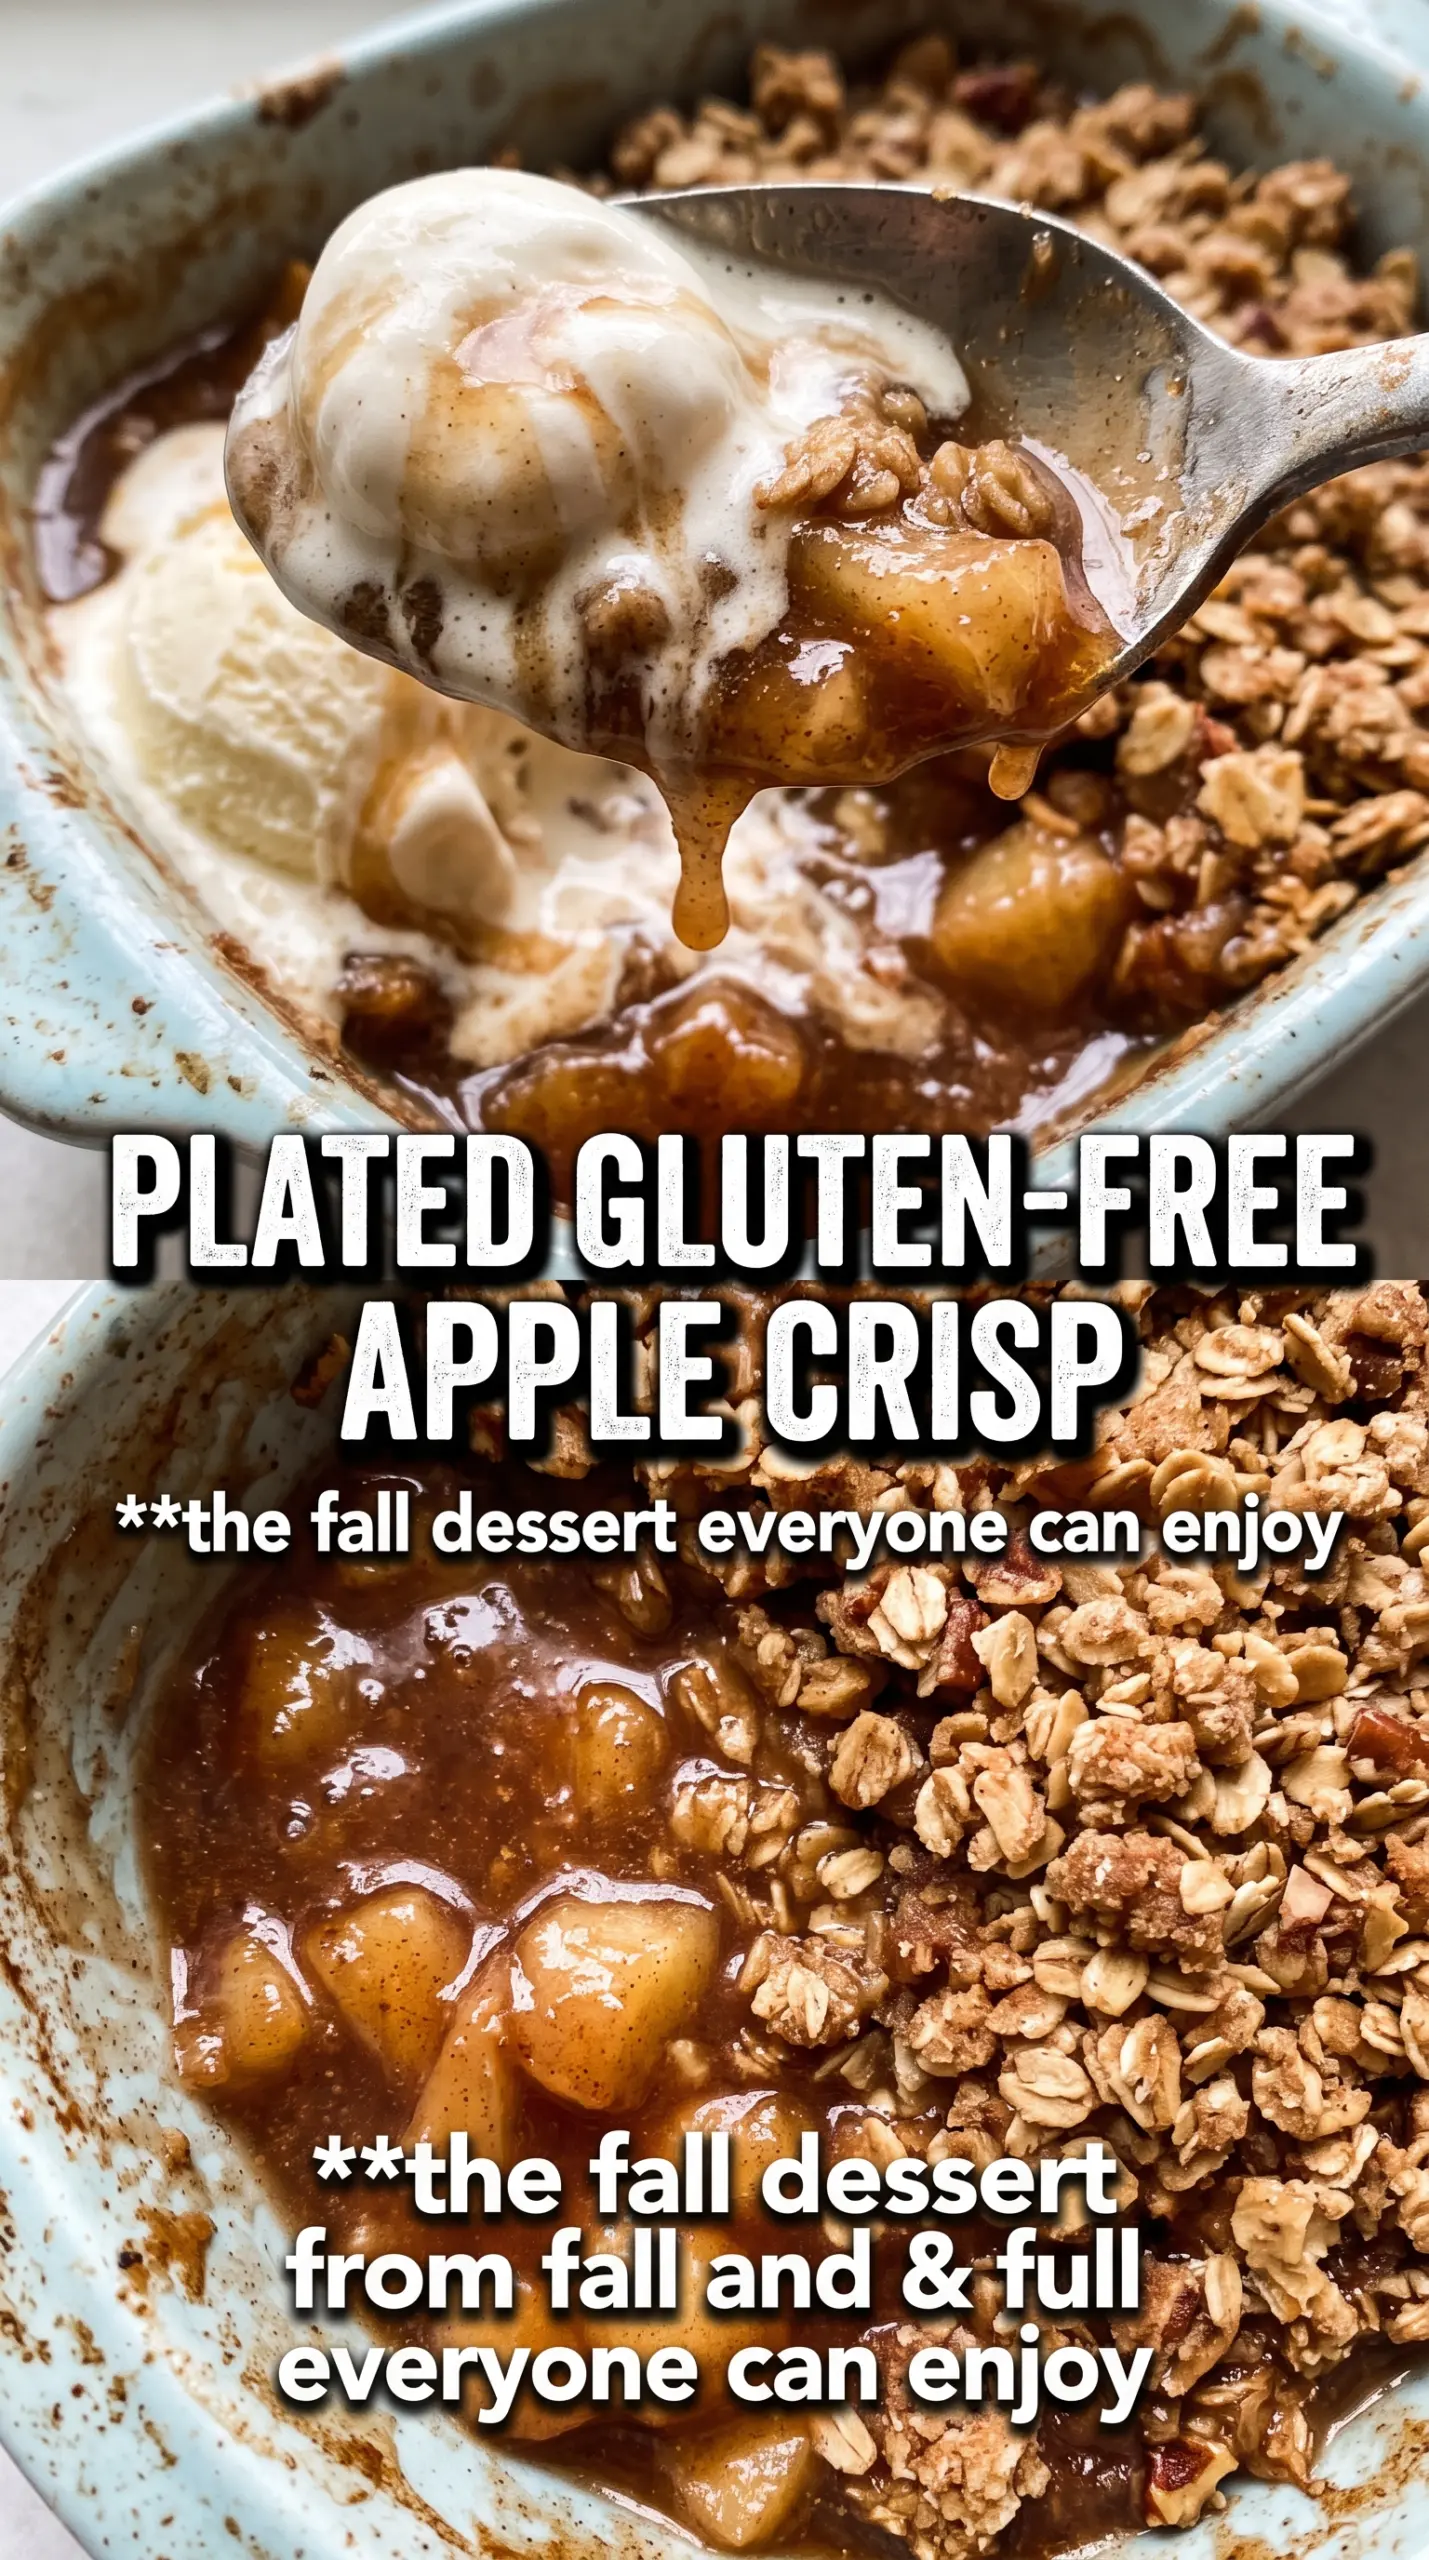
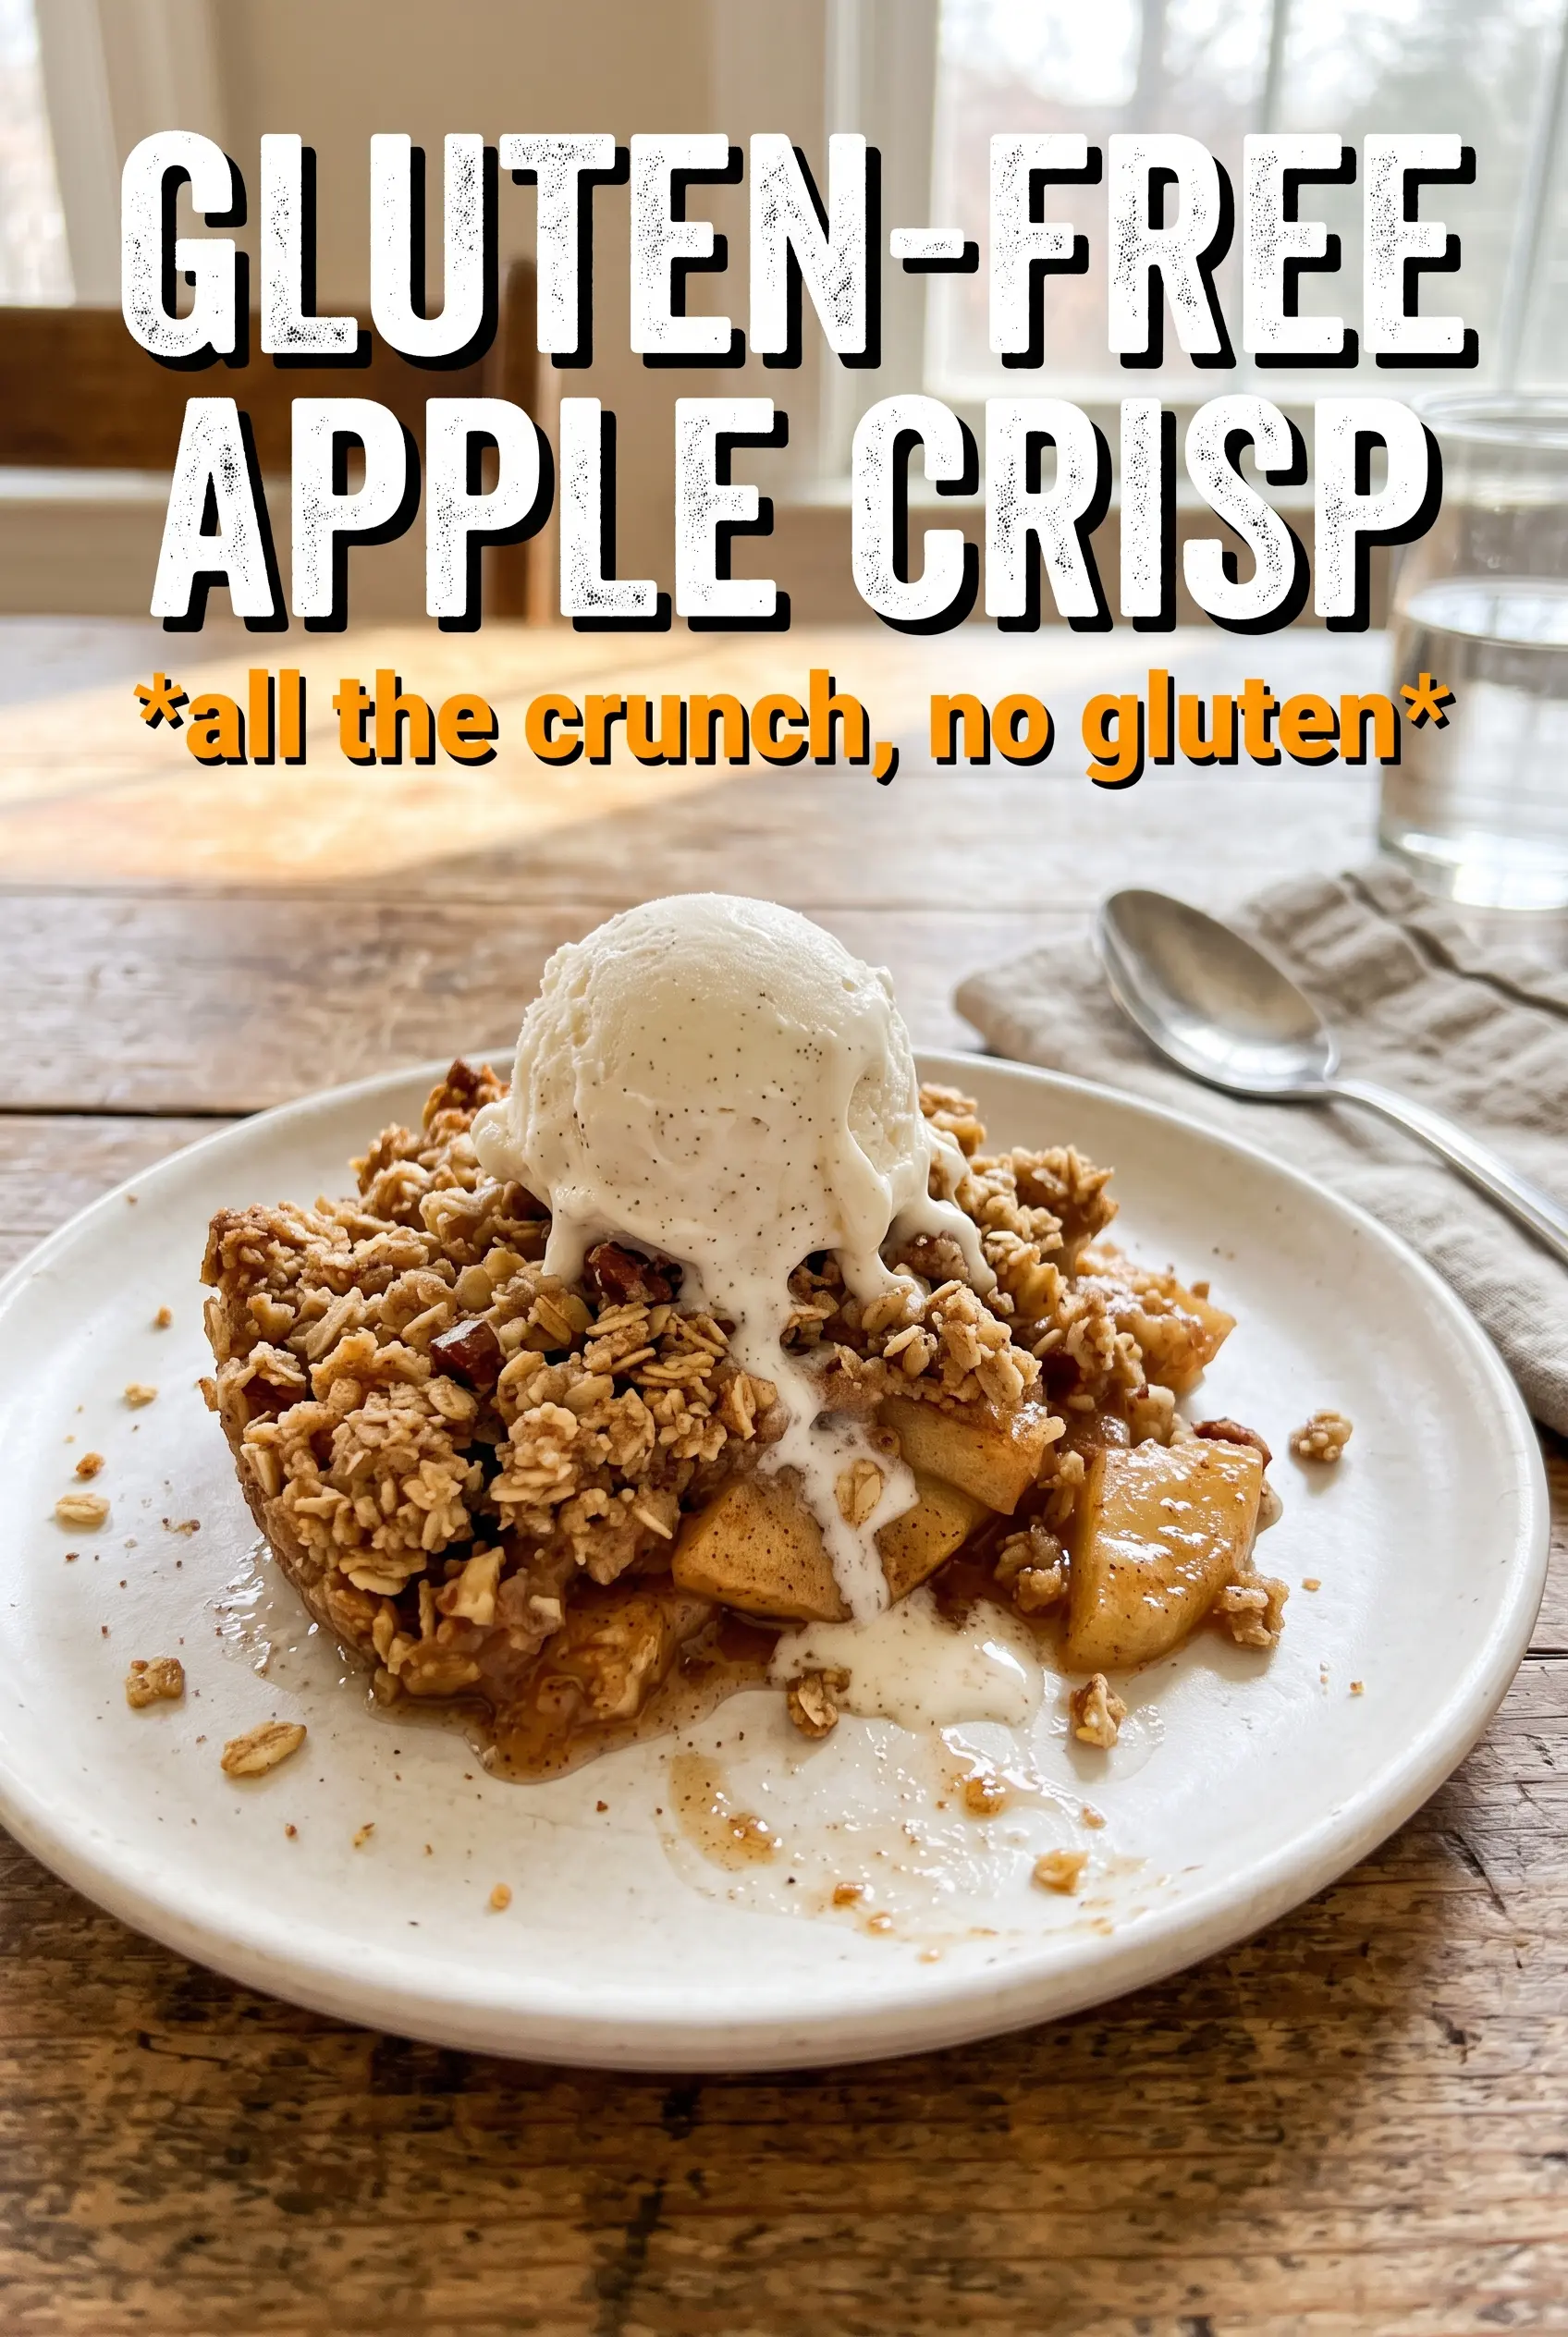
Golden edges, bubbling cinnamon apples, and a crumbly oat topping make this gluten-free apple crisp the kind of dessert people go back for before the pan has even cooled. The filling turns soft and jammy underneath, while the topping bakes into chunky, buttery clumps with just enough crunch to hold up against a scoop of vanilla ice cream.
The trick is balancing the filling and topping so neither one turns soggy. Cornstarch thickens the apple juices as they bake, which keeps the fruit from collapsing into a puddle, and cold butter is cut into the crumble so it melts slowly in the oven instead of disappearing into the flour. Certified gluten-free oats matter here, too, because they give the topping that hearty, toasted texture without any wheat.
Below, I’ve included the small details that keep the topping crisp and the apples tender, plus a few swaps that make this dessert easier to adapt for what’s already in your kitchen.
The topping stayed crisp even after dinner, and the apples thickened up instead of turning watery. I used Honeycrisp and it baked up with that perfect soft-center, crunchy-top texture.
Save this gluten-free apple crisp for the nights when you want a bubbling fruit dessert with a crisp almond-oat topping.
The Part That Keeps the Topping Crisp Instead of Paste-Like
The biggest mistake with apple crisp is letting the topping turn into a damp blanket over the fruit. That happens when the butter gets too soft before baking or when the apples release more liquid than the recipe can handle. Cold butter, cut into the dry ingredients until you get uneven clumps, creates those craggy little pockets that brown on top while staying tender underneath.
The filling matters just as much. Apples need cornstarch here because they throw off juice as soon as the sugar hits them, and that juice has to thicken in the oven instead of soaking into the crumble. If your crisp comes out watery, the apples were probably very juicy or the dish needed a few extra minutes until the center was actively bubbling.
- Certified gluten-free rolled oats — These give the topping its chew and structure. Regular oats work the same way in the oven, but only certified gluten-free oats keep the dessert safe for anyone avoiding gluten.
- Almond flour — It adds richness and helps the topping bake into soft, sandy clusters. You can’t fully replace that nutty tenderness with more oat flour without making the crust drier and flatter.
- Gluten-free all-purpose flour blend — This bridges the gap between oats and butter so the topping clumps instead of falling apart. A good blend with rice flour and starches works best; skip single-flour swaps here unless you like a looser crumb.
- Apples — Use a mix if you can. A tart apple plus a sweeter one gives you better flavor and a filling that tastes layered, not one-note. Softer apples will bake down more; firmer apples hold their shape longer.
- Cold butter — This is nonnegotiable. Warm butter disappears into the dry ingredients and leaves you with dusty crumbs instead of a crisp, bronzed topping.
What Each Ingredient Is Actually Doing in This Recipe
- Primary ingredient (the star) — Quality matters most. Choose the best you can find.
- Cooking medium (oil, butter, or broth) — This carries flavors and prevents dryness.
- Seasonings (salt, pepper, spices, herbs) — Layer flavors so nothing overpowers. Build depth gradually.
- Aromatics (garlic, onion, herbs) — Cook with fat to bloom flavors. Become the foundation.
- Supporting ingredients — Complement the main ingredient without overpowering it.
- Sauce or liquid (if applicable) — Brings flavors together. Balance richness with acid.
- Acid (lemon, vinegar, wine, or other) — Brightens and prevents flat-tasting results.
- Final finish (garnish, glaze, or sauce) — Prevents one-dimensional taste and adds visual appeal.
Building the Crisp So the Apples Stay Juicy and the Top Turns Golden
Tossing the Apples Until They’re Evenly Coated
Peel and slice the apples into even pieces so they bake at the same rate. Toss them with the sugar, cinnamon, nutmeg, cornstarch, and lemon juice until every slice looks lightly coated. The mixture should look a little glossy but not soupy; if there’s a puddle at the bottom of the bowl, the apples are very juicy, and that’s exactly why the cornstarch is there.
Cutting in the Butter Without Melting It
Work the cold cubed butter into the oat mixture with your fingers, a pastry cutter, or two forks until the texture looks like chunky wet sand with some bigger clumps scattered through it. Those larger pieces are what bake into the best crunchy bits. If the butter starts to smear or the mixture looks greasy, stop and chill it for a few minutes before going on.
Baking Until the Filling Bursts and the Top Browns
Scatter the crumble evenly over the apples and bake at 375°F until the topping is golden and the filling is bubbling through the edges and in the center, usually 40 to 45 minutes. The bubbling is the cue that the cornstarch has thickened the juices properly. If the top is browned but the filling isn’t bubbling yet, it needs more time, not a higher oven temperature.
Let the crisp rest for about 10 minutes before serving. That short pause lets the filling settle so it scoops cleanly instead of running all over the plate.
Three Ways to Adjust This Crisp Without Losing the Texture
Dairy-Free Crisp
Swap the butter for a solid dairy-free baking stick with a similar fat content. The topping will still brown, but the flavor is a touch less rich, so a pinch of extra salt helps keep it balanced. Use a stick-style substitute, not a soft tub spread, or the crumble will bake up greasy.
Nut-Free Version
Replace the almond flour with more certified gluten-free oats pulsed briefly in a food processor, or use a nut-free gluten-free flour blend. You’ll lose a little of the buttery, nutty depth, but the crisp still bakes into a good crumbly topping. Keep the texture uneven so it doesn’t turn into a powdery layer.
Less Sweet, More Tart
Cut the brown sugar in the topping by 2 to 3 tablespoons and use a more tart apple variety. The crisp will taste sharper and less dessert-sweet, which works well if you plan to serve it with ice cream or whipped cream. Don’t reduce the sugar in the filling too much or the apples can taste flat.
Storage and Reheating
- Refrigerator: Store covered for up to 4 days. The topping will soften a bit in the fridge, but the flavor holds well.
- Freezer: Freeze baked crisp tightly wrapped for up to 2 months. Thaw overnight in the fridge before reheating, or freeze unbaked and bake from frozen with extra time.
- Reheating: Warm in a 350°F oven until the fruit is hot and the topping crisps back up. The microwave will heat the filling, but it softens the crumble fast, which is the main thing people regret.
Questions I Get Asked About This Recipe
Gluten-Free Apple Crisp
Ingredients
Equipment
Method
- Preheat the oven to 375F and grease a 9x13 baking dish.
- Toss the apple slices with granulated sugar, cinnamon, nutmeg, cornstarch, and lemon juice, then spread the apples into the baking dish.
- Combine the gluten-free rolled oats, almond flour, gluten-free all-purpose flour blend, brown sugar, cinnamon, and salt, then cut in the cold cubed butter until chunky clumps form.
- Scatter the crumble over the apples and bake for 40-45 minutes, until the topping is golden and the filling is bubbling.
- Rest the crisp for 10 minutes before serving to let the filling set slightly.
- Serve warm with vanilla ice cream.


