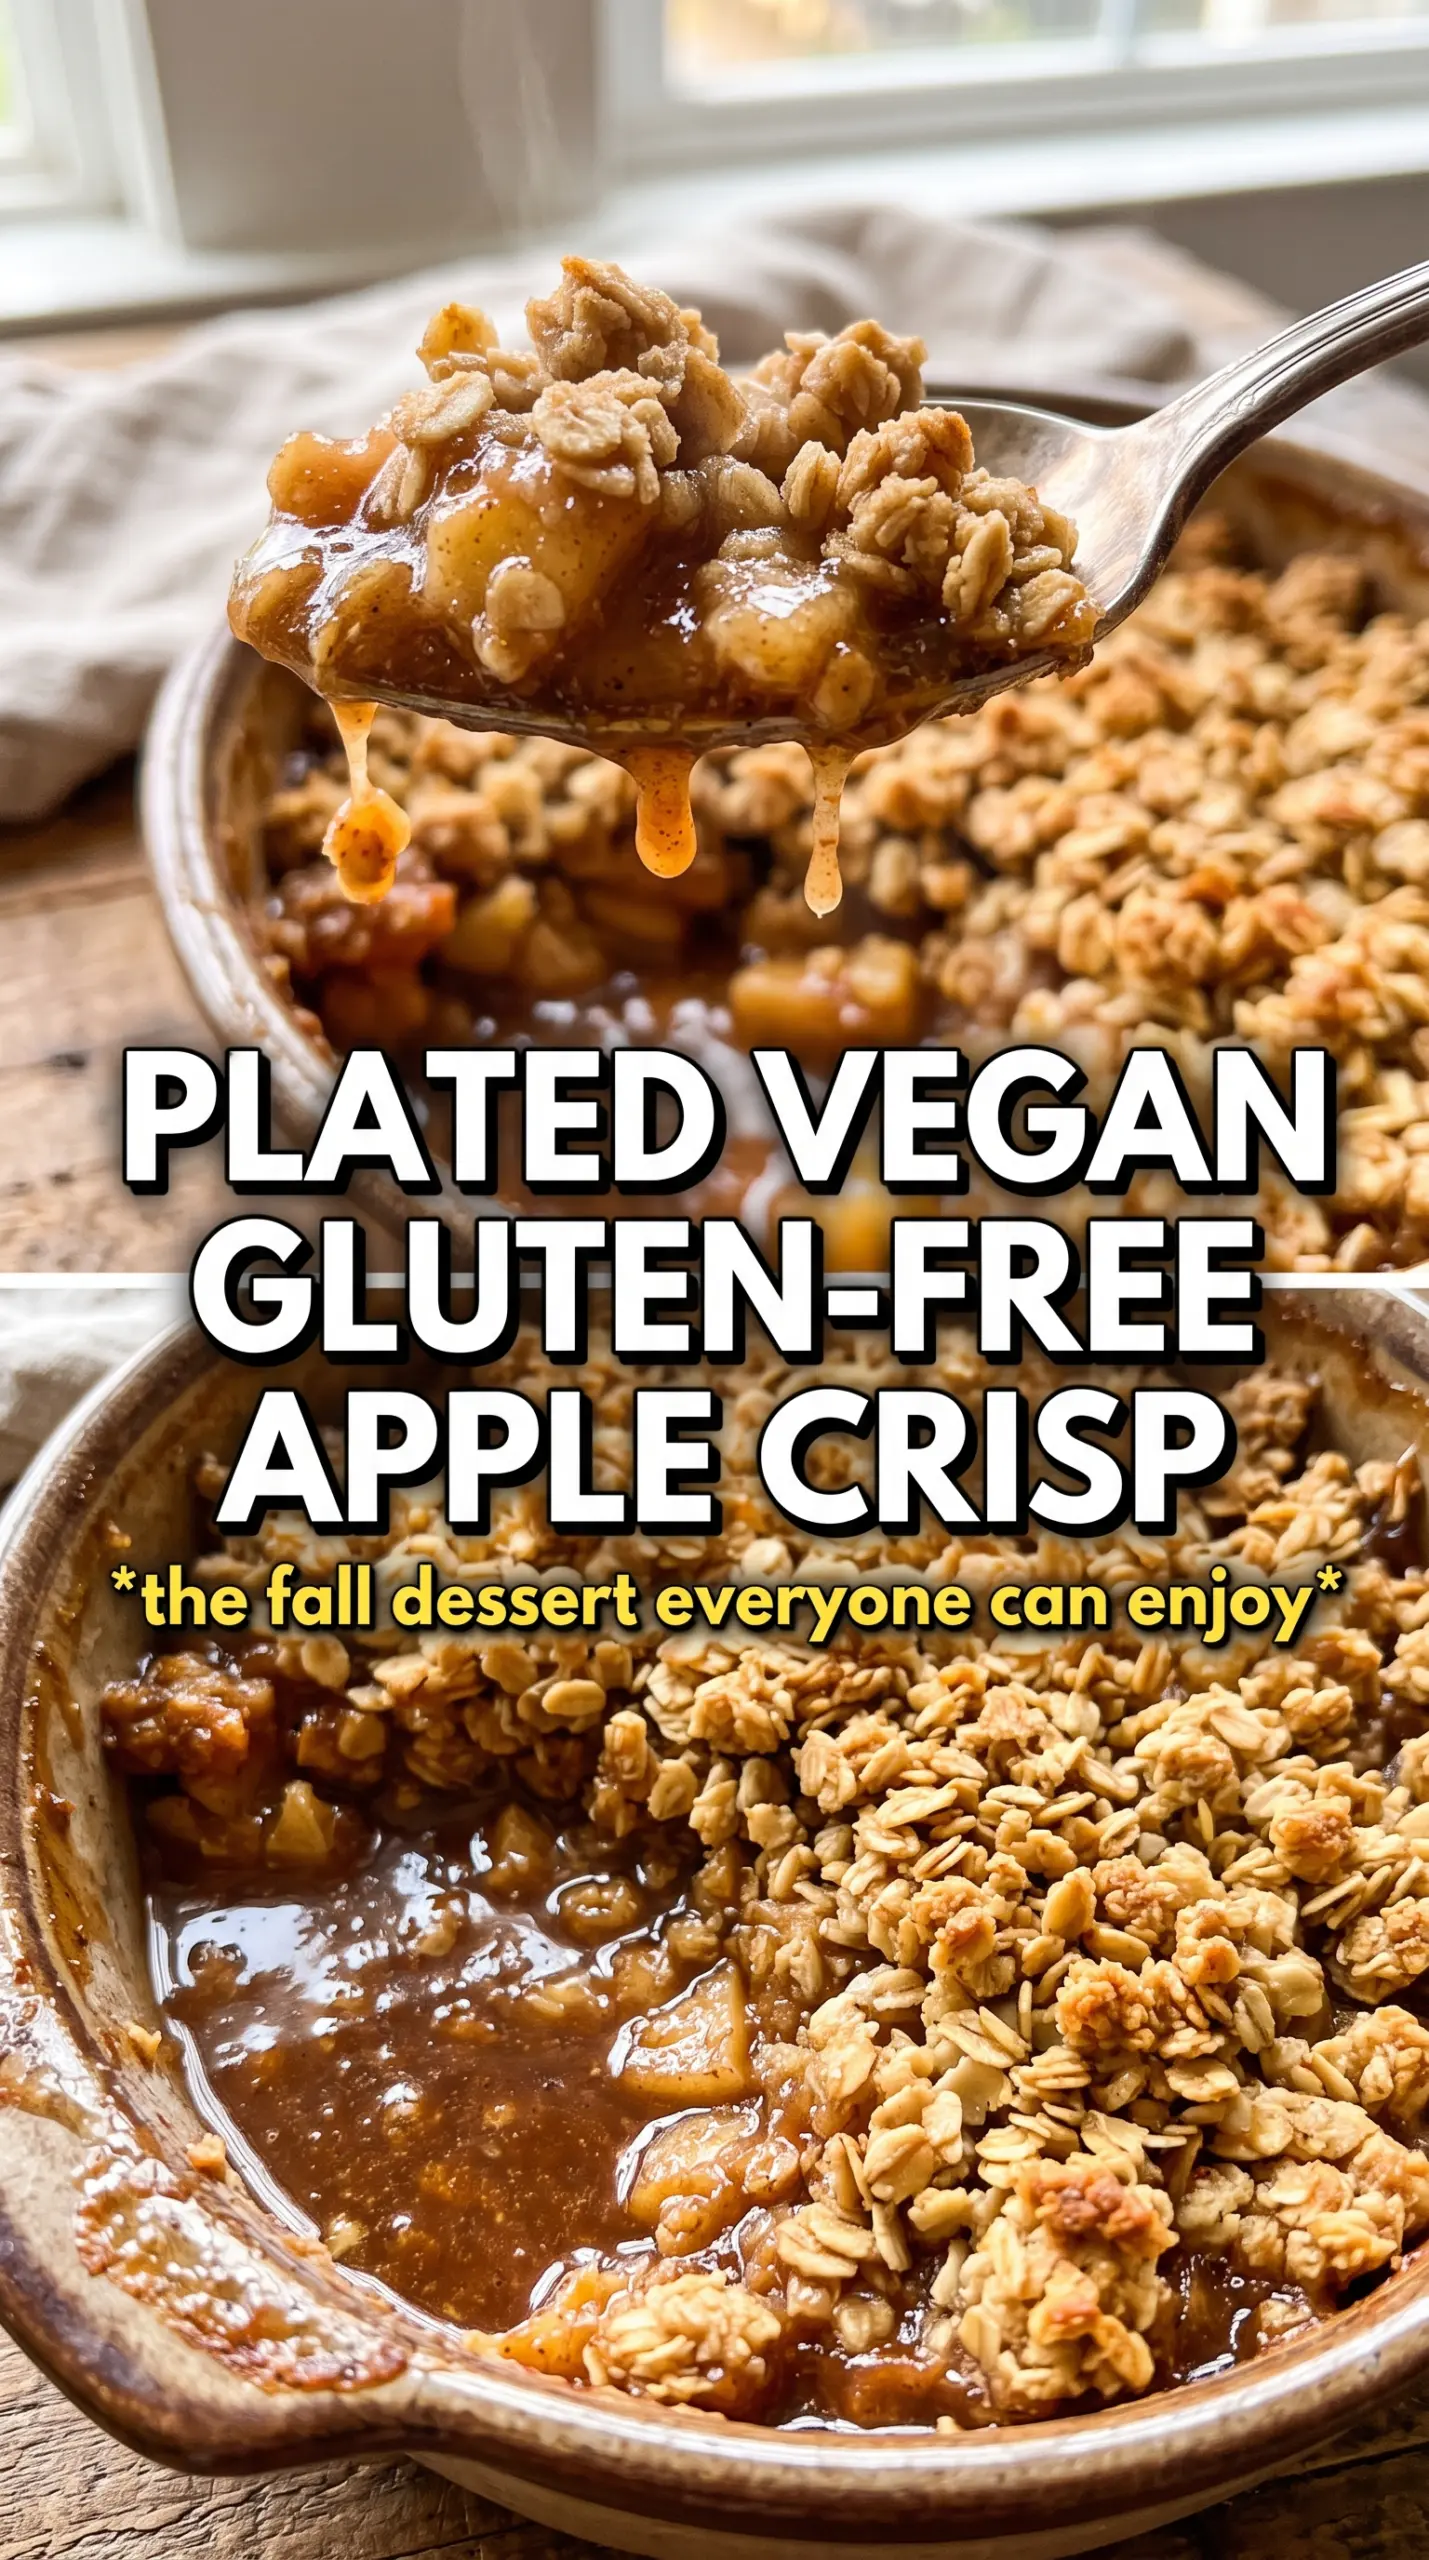
Golden edges, soft spiced apples, and a craggy oat topping that stays crisp instead of turning sandy or soggy—that’s what makes a good apple crisp worth coming back to. This gluten-free vegan version delivers all of that with a filling that turns jammy in the oven and a crumble that bakes up with real texture, not a dry layer of sweet crumbs sitting on top.
The trick is in the balance. The apples get tossed with a little cornstarch and lemon juice so the juices thicken as they bake instead of pooling at the bottom of the dish. On the topping side, cold coconut oil is worked into the oats and almond flour before the maple syrup goes in, which gives you those uneven buttery-looking clumps that brown well and hold their shape.
Below you’ll find the small details that matter here: which apples hold up best, how to keep the topping crumbly, and what to do if you want to make it a little more dessert-for-company without adding extra work.
The topping baked up crisp all the way through, and the apple filling thickened instead of staying runny. I used a mix of Granny Smith and Honeycrisp, and it smelled amazing after about 30 minutes.
Save this gluten-free vegan apple crisp for the nights when you want a bubbling apple dessert with a crisp coconut-oat topping.
The Reason the Topping Stays Crisp Instead of Going Sandy
Most fruit crisps fail in one of two ways: the filling turns watery, or the topping bakes into a dry layer that tastes more like granola than dessert. This version avoids both because the apples are lightly coated with cornstarch before they go into the oven, and the crumble gets its fat from cold coconut oil that stays in little pockets until it melts. Those pockets are what give you the uneven, crisp clumps instead of a flat, dusty layer.
The other thing that matters is the amount of maple syrup in the topping. Too much liquid and the oats start to clump into a paste before they ever hit the oven. Here, the syrup is just enough to bring the dry mix together without making it heavy, so the top browns while the centers of the crumble stay tender. If the topping looks too loose when you scatter it over the apples, that’s fine. The oven will finish the job.
What Each Ingredient Is Actually Doing in This Crisp
- Apples — Use firm baking apples so they hold some shape after 45 minutes in the oven. A mix of tart and sweet apples works best because the filling tastes fuller, not one-note. If you only have one variety, pick one that stays intact when baked rather than a mealy apple that collapses.
- Maple syrup or coconut sugar — Maple syrup gives the filling a softer, rounder sweetness and helps the juices mingle. Coconut sugar works too if you want a deeper caramel note, but it won’t add quite the same moisture. Either one is fine in the filling; use the version you already like.
- Cornstarch — This is what turns the apple juices into a glossy sauce as the crisp bakes. Arrowroot can stand in if you need a grain-free thickener, but use a little less or the filling can turn gummy. Skip it and you’ll get a puddle under the fruit.
- Certified gluten-free rolled oats — Regular oats can work texture-wise, but certified gluten-free oats matter if you’re cooking for someone who avoids gluten. Old-fashioned rolled oats give the best crumble because they stay chewy at the center while the edges toast.
- Almond flour — This adds richness and helps the topping clump without needing butter. Almond meal is a little coarser, so the topping will be more rustic and less delicate, but it still works. I wouldn’t swap in all-purpose flour here; the texture changes a lot.
- Cold coconut oil — This is the fat that makes the topping crisp and holds the crumble together while it bakes. It needs to be solid and cold so you can cut it into the dry ingredients. If it’s soft or melted, the topping turns greasy and dense instead of crumbly.
Building the Crisp So the Apples and Crumble Finish at the Same Time
Coating the Apples First
Toss the sliced apples with the maple syrup, cinnamon, nutmeg, cornstarch, and lemon juice until every piece looks lightly coated. You want the fruit glossy, not swimming in liquid. If there are dry pockets of cornstarch at the bottom of the bowl, those will show up in the baked filling, so keep tossing until the mixture looks even.
Cutting the Coconut Oil Into the Dry Mix
Work the cold coconut oil into the oats, almond flour, sugar, cinnamon, and salt with a fork until you have a mix of pea-sized bits and shaggy crumbs. That uneven texture is what you want. If the coconut oil starts melting in your hands, stop and chill the bowl for a few minutes; a greasy topping won’t brown the same way.
Adding the Maple Syrup Last
Drizzle in the maple syrup and toss until the mixture starts forming clumps. Don’t overmix it into a paste. The goal is a crumble that holds together in loose nuggets, because those browned edges are the best part of the finished dessert. If it looks too dry, add just a teaspoon more syrup, not a splash.
Baking Until the Center Bubbles
Spread the crumble over the apples in an even layer and bake until the top is deep golden and the filling is visibly bubbling at the edges, 40 to 45 minutes. That bubbling matters because it tells you the cornstarch has thickened the juices underneath. If the top browns early, lay a loose piece of foil over the dish for the last 10 minutes and let the filling finish thickening underneath.
Three Ways to Adjust This Crisp Without Losing the Texture
Make It Nut-Free
Swap the almond flour for an equal amount of finely ground sunflower seed meal or more certified gluten-free oats pulsed briefly in a food processor. The topping will be a little less rich and slightly more rustic, but it still bakes into good crumbles. Taste the topping before baking if you use sunflower seed meal, since it can bring a faint earthy note.
Use Coconut Sugar for a Deeper Caramel Note
Coconut sugar works in both the filling and the crumble if you want a slightly less sweet, more molasses-like finish. The crisp will still brown well, but the color will be darker and the flavor a little earthier. This is a good swap when the apples are very sweet and you want the dessert to taste balanced instead of sugary.
Make It Ahead for Easy Serving
You can assemble the filling and topping separately a few hours ahead, then keep them chilled until baking time. Don’t combine them too early or the oat mixture starts to hydrate and lose its crisp texture. If you want the best topping, scatter it on right before the dish goes into the oven.
Storage and Reheating
- Refrigerator: Store covered for up to 4 days. The topping softens a bit as it sits, but the flavor holds well.
- Freezer: Freeze baked crisp in a tightly wrapped dish for up to 2 months, or freeze portions in containers. The crumble won’t be as crisp after thawing, but it still reheats well.
- Reheating: Warm in a 325F oven until the filling is hot and the top re-crisps, about 15 to 20 minutes. Microwaving works in a pinch, but it softens the topping fast, so use the oven if you want that crisp edge back.
Answers to the Questions Worth Asking
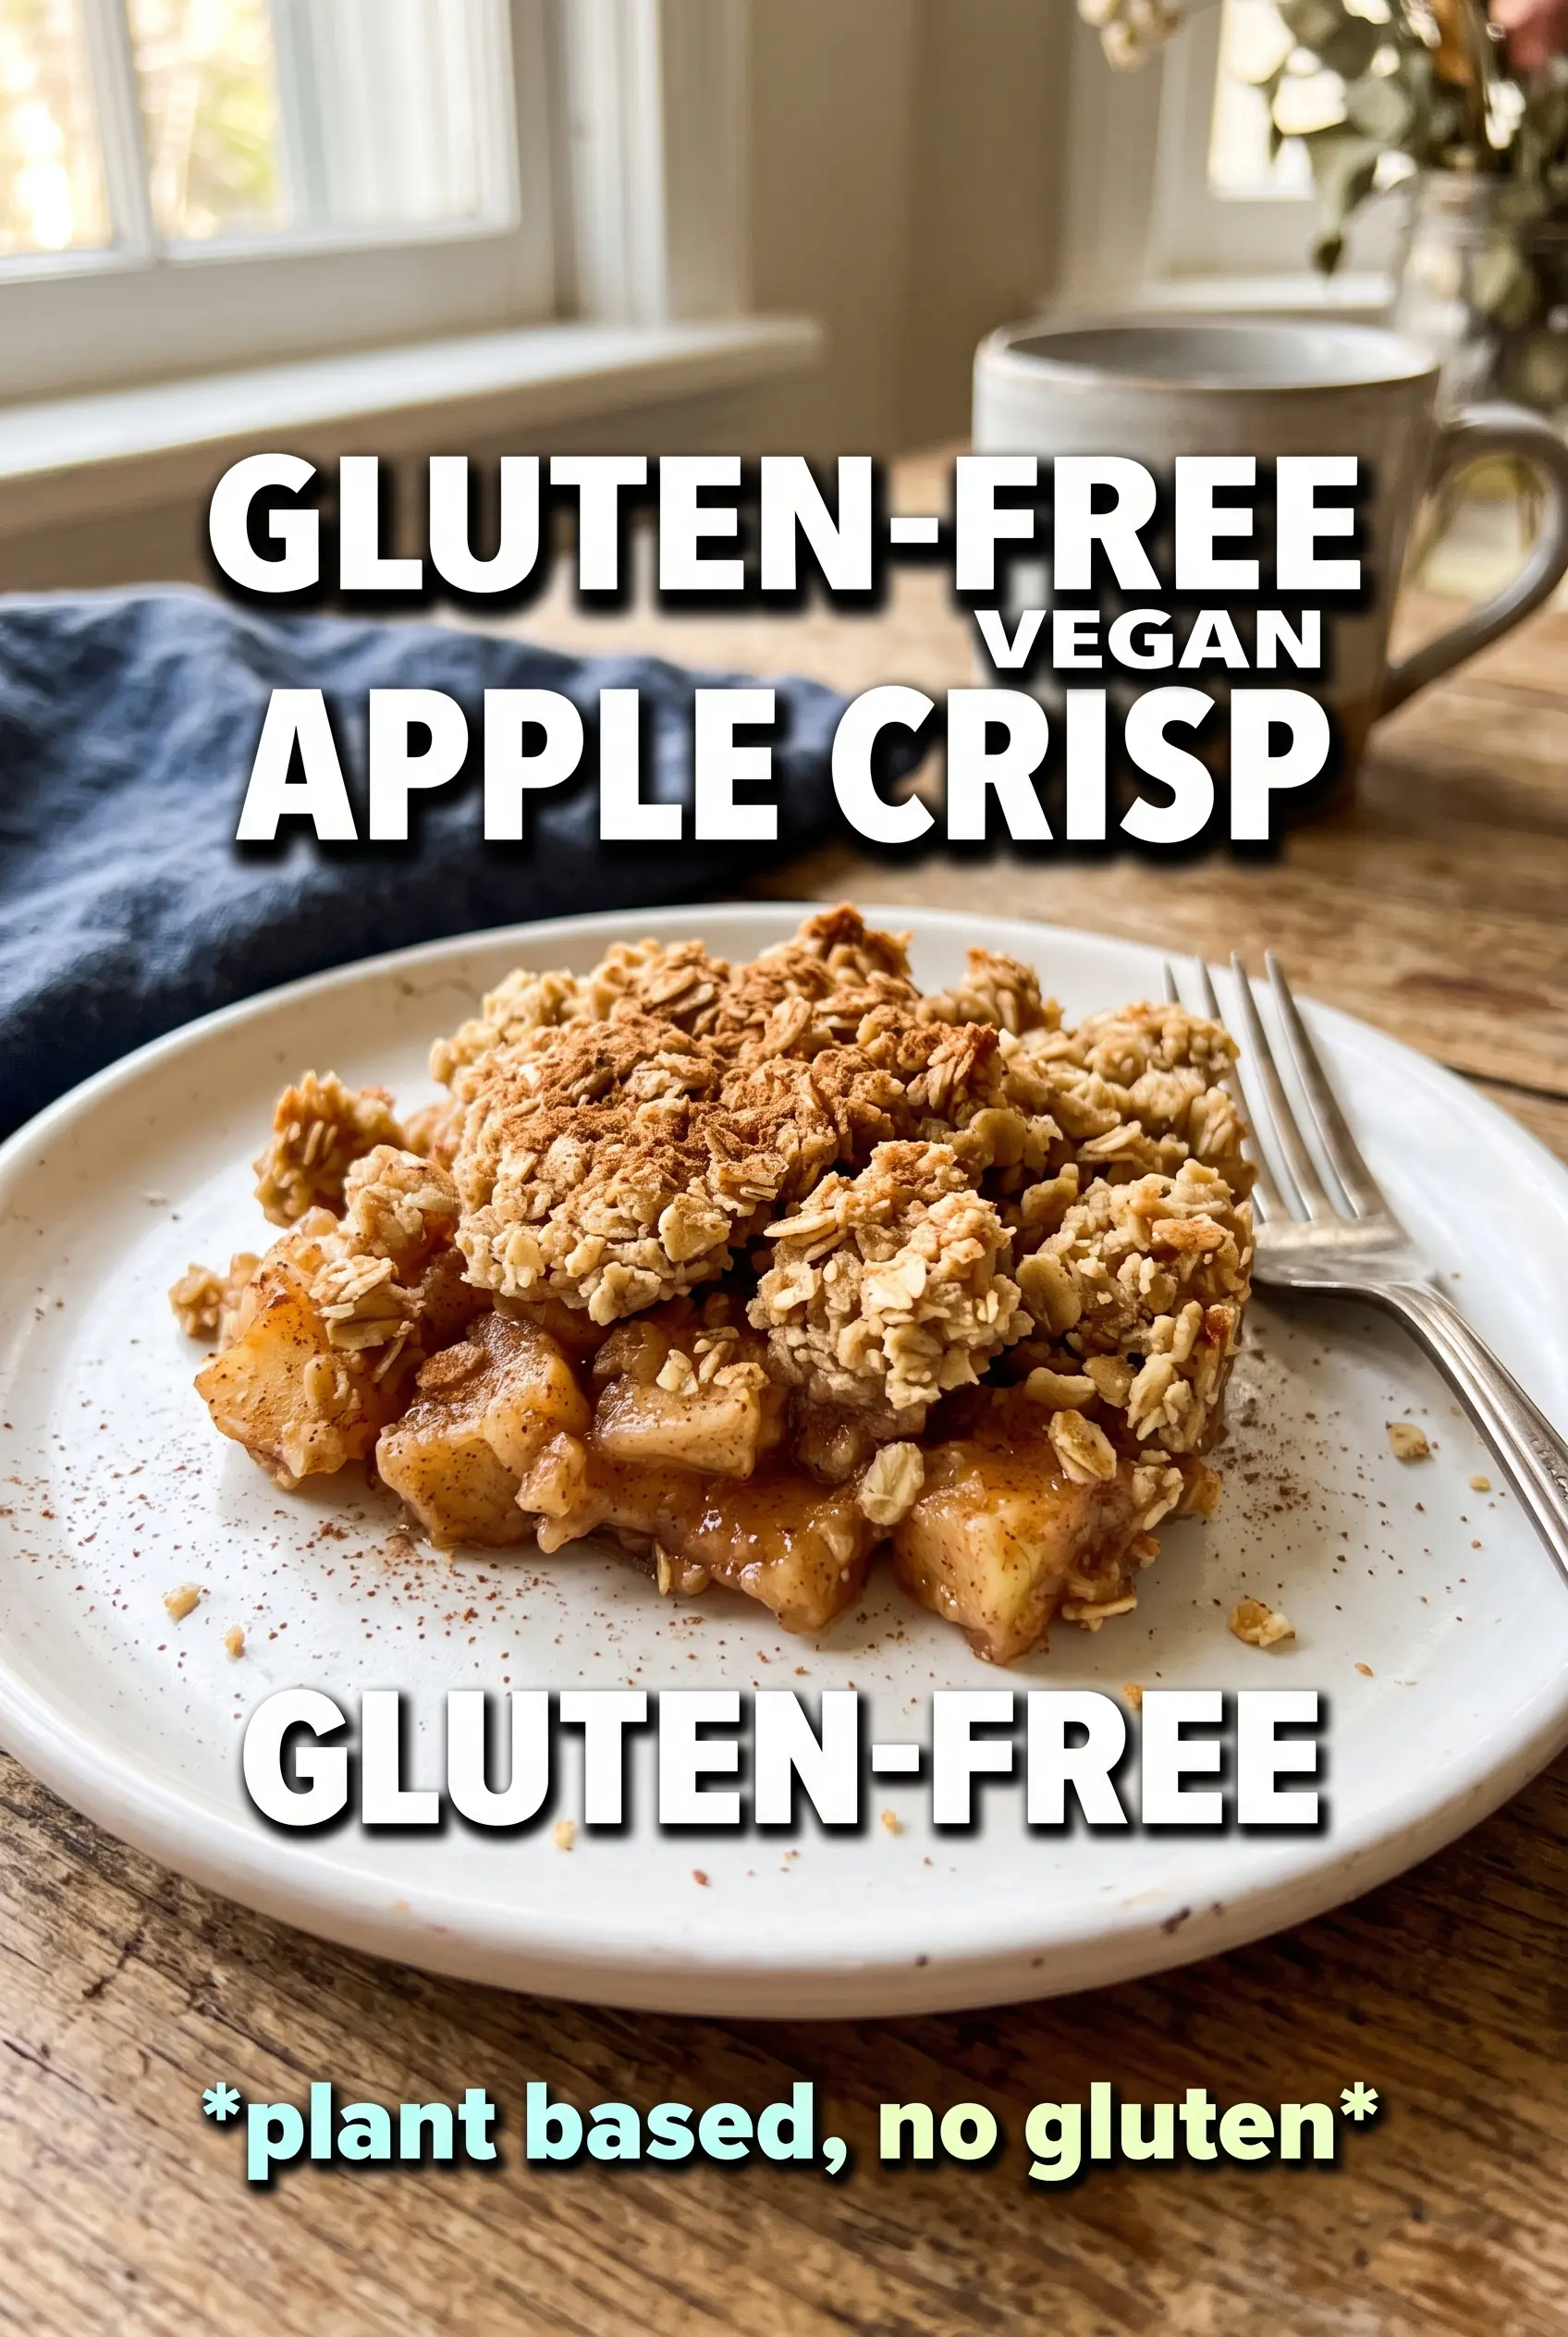
Gluten-Free Vegan Apple Crisp
Ingredients
Equipment
Method
- Preheat the oven to 375F and grease a 9x13 baking dish.
- Slice the apples and set them aside.
- Toss the apple slices with maple syrup, cinnamon, nutmeg, cornstarch, and lemon juice until evenly coated.
- Spread the apple mixture in the prepared dish in an even layer.
- Combine the GF rolled oats, almond flour, brown sugar, cinnamon, and salt.
- Cut the cold solid coconut oil into the dry mixture with a fork until it resembles coarse crumbs.
- Drizzle in the maple syrup and toss until clumps form.
- Scatter the crumble evenly over the apples.
- Bake for 40-45 minutes, until the topping is golden and the filling is bubbling.
- Let the crisp rest briefly, then serve warm with coconut ice cream.


