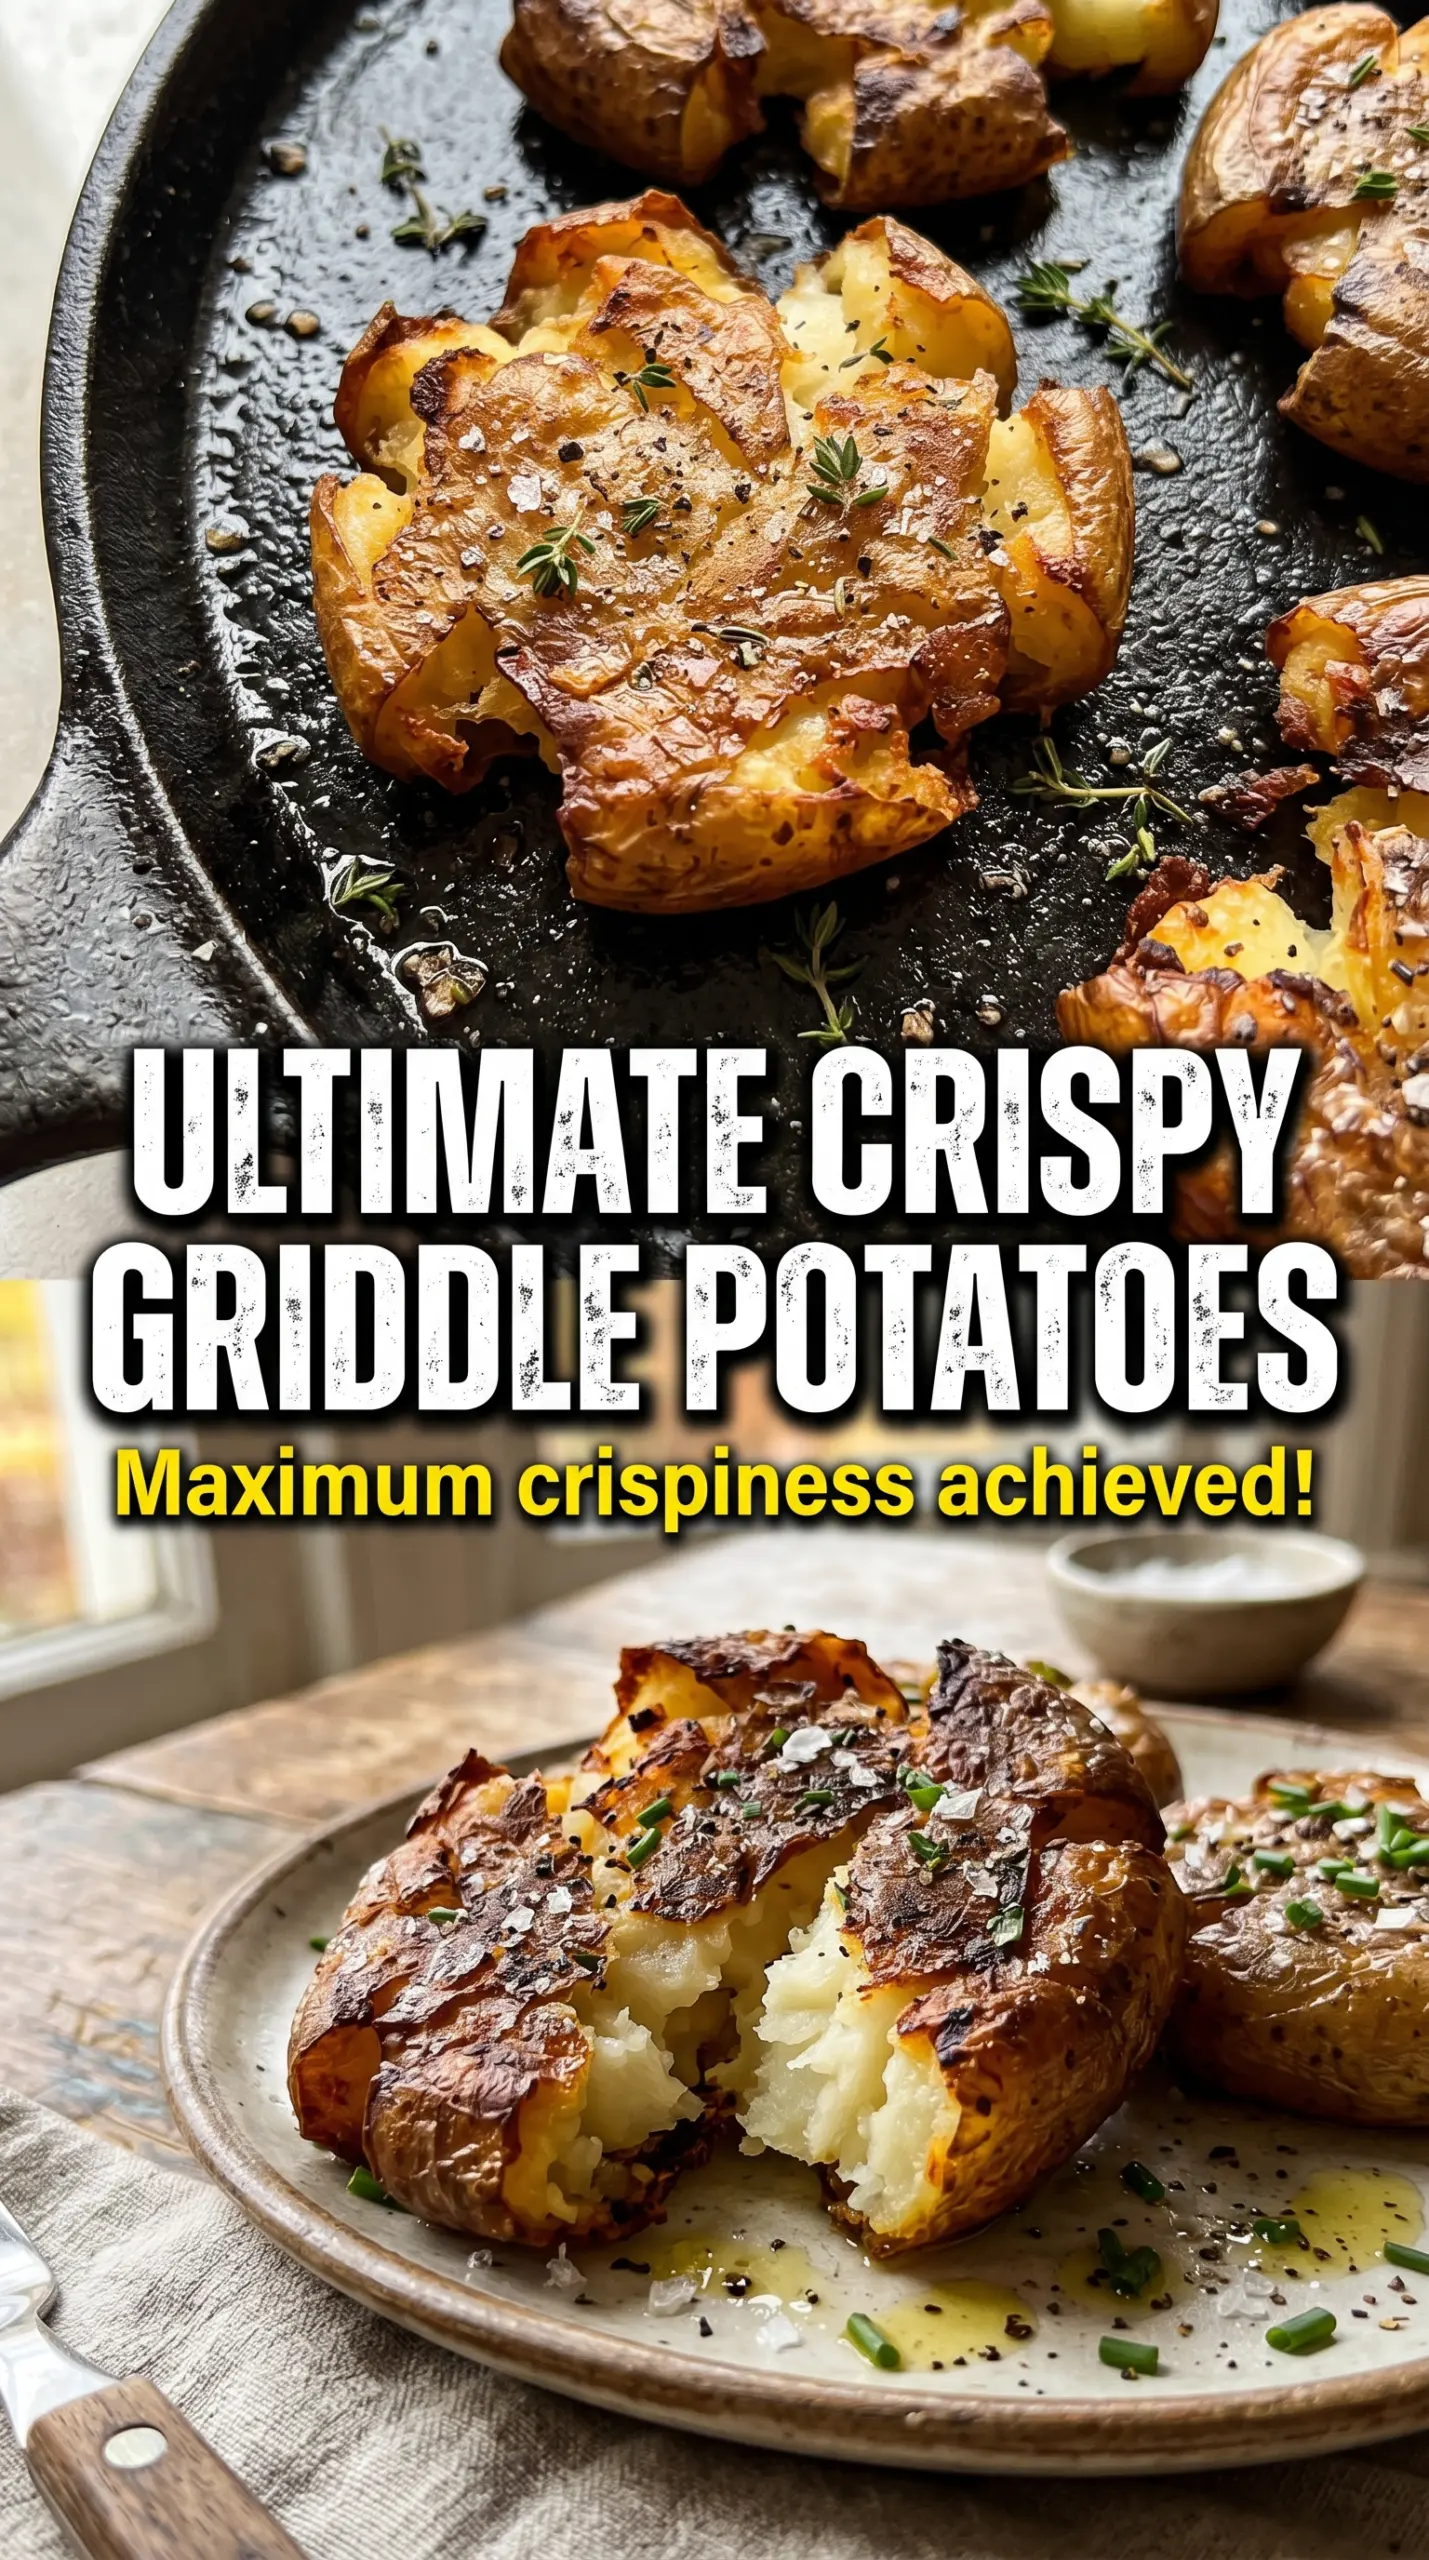
Griddle smashed potatoes bring together the best parts of a roast potato and a hash brown: a shattering crisp crust, a creamy center, and enough surface area to hold all the good stuff. Once the potatoes are boiled, the griddle does the heavy lifting, turning each one into a golden round with edges that crackle when you bite in. The toppings melt right into the nooks and crannies, so every piece tastes loaded instead of just piled on.
What makes this version work is the balance of heat and restraint. The potatoes need to be fully tender before they hit the griddle, because the smash is what creates those thin, crisp edges. Olive oil gives the potatoes a steady sear, while butter adds flavor and helps the garlic toast in the pan without burning. Cheddar, bacon, sour cream, and chives finish the whole thing the way a loaded baked potato would, but with much better texture.
Below, I’ll show you the trick for getting the potatoes flat enough to crisp without falling apart, plus a few variations that make this side work for weeknights, cookouts, or brunch.
The potatoes got those crispy edges I was hoping for, and the cheese melted right over the smashed centers without making them soggy. My husband kept sneaking them off the pan before I could plate dinner.
Like these loaded griddle smashed potatoes? Save them to Pinterest for the nights when you want crisp edges, melted cheddar, and almost no cleanup.
The Trick Most People Miss When Smashing Potatoes on a Griddle
The biggest mistake with smashed potatoes is trying to crisp them before they’re soft enough inside. If the potatoes still fight the spatula, the smash tears the surface instead of flattening it, and you lose the wide contact that creates that crust. Boil them until a knife slides in without resistance, then let them cool just long enough to handle. That brief rest helps the skins dry out a little, which matters more than people think.
The other thing that changes the result is pressure. A hard, quick smash works better than a slow press because it gives you a thinner potato with jagged edges. Those jagged bits are where the crunch happens. On the griddle, don’t move them around once they’re down. Let the heat do the work until the bottoms release cleanly and look deep golden.
What Each Ingredient Is Actually Doing in These Smashed Potatoes
- Baby potatoes — Their smaller size means they cook through before the outside turns mushy, and their thin skins help hold the smashed rounds together. Yukon Golds work best if you can find them, but any small waxy potato will hold up better than a starchy russet here.
- Olive oil and butter — Oil gives you the high-heat sear you need on the griddle, while butter adds that rich, browned finish. If you use only butter, the milk solids can burn before the potatoes finish crisping, so the combination matters.
- Garlic — Adding it around the potatoes instead of on top keeps it from scorching. It perfumes the fat as the potatoes crisp, so you get garlic flavor without bitter bits stuck to the griddle.
- Cheddar, bacon, sour cream, and chives — These turn the potatoes into loaded smashed potatoes instead of just crisp rounds. Use a sharp cheddar so the flavor stands up to the bacon, and add the sour cream at the end so it stays cool and creamy instead of melting away.
Building the Crust Before the Toppings Go On
Boil Until Tender, Then Dry the Surface
Cover the potatoes with water and boil them until a knife slides in easily, usually 15 to 20 minutes depending on size. Drain them well and let the steam escape for a few minutes. If the potatoes go onto the griddle wet, they steam first and lose the chance to brown well. A dry surface is what gives you that crisp, almost blistered finish.
Smash for Maximum Contact
When the griddle is hot, add the oil and butter, then place the potatoes down with a little space between them. Use a heavy spatula or the bottom of a sturdy cup to press each one flat until it spreads but still holds together. If the potato splits apart, it was either overcooked or smashed before it had enough structure. Thin edges are good; shattered potatoes are not.
Let the Edges Go Deep Gold
Cook the first side without moving the potatoes for 6 to 7 minutes, until the edges are browned and the bottom releases easily. Add the garlic to the fat on the griddle so it toasts gently while the potatoes crisp. If the garlic starts to darken too fast, slide it into a cooler spot on the griddle. Burnt garlic takes over the whole pan.
Flip, Finish, and Load Them Up
Turn each potato carefully and cook the second side until it’s just as crisp as the first, another 5 to 6 minutes. Top with cheddar while the potatoes are still hot so it melts into the cracks, then finish with bacon, sour cream, and chives. If you add the sour cream too early, it slides off and thins out the crust. Hold it for the very end.
How to Change These Griddle Smashed Potatoes Without Losing the Crunch
Make Them Dairy-Free
Swap the butter for more olive oil or a plant-based butter that browns well, and skip the sour cream or use a dairy-free version. You’ll lose a little of the classic loaded-potato richness, but the crisping technique stays the same and the potatoes still get deeply golden.
Turn Them Into a Vegetarian Side
Leave out the bacon and add extra chives, a little smoked paprika, or grated Parmesan if you want more savory depth. Without the bacon, the potatoes taste a little cleaner and more buttery, which works well next to grilled vegetables, chicken, or steak.
Use Different Cheese Without Making Them Heavy
Sharp cheddar melts well, but pepper jack, Colby Jack, or even a little smoked gouda all work if you want a different finish. Stick to a cheese that melts smoothly; crumbly cheeses won’t cling to the potatoes the same way and can make the topping feel scattered instead of cohesive.
Storage and Reheating
- Refrigerator: Store leftovers in an airtight container for up to 3 days. The crust softens a bit, but they still reheat well.
- Freezer: These freeze poorly once topped with cheese and sour cream. If you want to freeze them, do it before adding the toppings and expect a slightly less crisp texture after reheating.
- Reheating: Reheat on a hot skillet, griddle, or in a 425°F oven until the edges crisp back up. Don’t microwave them if you want the texture to survive; the steam makes the crust rubbery fast.
Answers to the Questions Worth Asking

Griddle Smashed Potatoes
Ingredients
Equipment
Method
- Boil the baby potatoes in simmering water until tender, about 15-20 minutes. You should be able to pierce them easily with a fork, and the skins should stay intact.
- Drain the baby potatoes and cool slightly for a few minutes before griddling. This helps them smash without falling apart.
- Heat a cast iron skillet or griddle to medium-high and add the olive oil and butter. Watch for butter bubbling and a light shimmer on the surface.
- Place the baby potatoes on the griddle and smash completely flat with a heavy spatula. Aim for even, flattened potato rounds with crisp edges forming at the contact points.
- Add the minced garlic around the potatoes and cook for 6-7 minutes until a crispy golden crust forms. Look for browned edges and a firm, release-ready surface.
- Flip the potatoes and cook another 5-6 minutes until both sides are crispy. You should see deep golden browning on both faces.
- Season the crispy smashed potatoes with salt and pepper to taste. Sprinkle lightly at the end so the crust stays crisp.
- Top the hot potatoes with shredded cheddar cheese, letting it melt from the griddle heat. You should see the cheese soften and cling to the crispy rounds.
- Add the cooked and crumbled bacon, then spoon over the sour cream. Finish with chopped chives so the toppings contrast creamy and crunchy textures.