Hickory Bridge Farm Apple Crisp lands with the kind of contrast that keeps people coming back for a second spoonful: soft, spiced apples underneath a thick oat crumble that bakes into buttery clumps instead of sandy crumbs. The topping turns deeply golden at the edges while the filling bubbles up around the sides, which is exactly what you want in a crisp that needs to hold its shape and still feel generous when you scoop it.
The trick here is using enough cornstarch to keep the apple juices from running thin, then piling the crumble on in big, cold-butter streaked pieces so it bakes up with crunch and texture. The blend of cinnamon, nutmeg, and allspice gives the filling that old-fashioned bakery warmth, while the lemon juice keeps the apples tasting bright instead of flat.
Below, I’ll show you the little details that matter most: how to keep the topping clumpy, how to tell when the filling is cooked through, and what to change if your apples are especially sweet or tart.
The topping baked into those big buttery clusters I was hoping for, and the filling set up enough to scoop cleanly after a short rest. I served it with vanilla ice cream and the apples still had a little bite, which made it even better the next day.
Hickory Bridge Farm Apple Crisp is the kind of thick, buttery dessert you’ll want to keep handy for apples that need a proper crumble topping.
The Reason the Topping Bakes Up in Clumps Instead of Dust
The difference between a crisp with character and one that eats like sweet gravel comes down to the butter. Cold butter should stay in visible pieces as you work it into the oats, flour, and sugar. Those butter streaks melt in the oven and leave behind little pockets that crisp up into clusters.
The other part that matters is the pan depth. A 9×13 dish gives the apples enough room to settle into a thick layer without drying out on top before the center softens. If the topping looks dark before the filling bubbles at the edges, the apples are still underdone underneath.
- Cold butter — This is what gives the crumble its big, rustic pieces. If the butter melts into the dry ingredients before baking, the topping turns sandy instead of crisp.
- Cornstarch — It thickens the apple juices as they bake, which keeps the bottom from turning soupy. Flour can do the job in a pinch, but it won’t set as cleanly.
- Mixed apples — Using apples with some tartness and some sweetness gives the filling more depth. If all you have are very sweet apples, keep the lemon juice in place so the flavor stays bright.
What Each Ingredient Is Doing in the Apple Filling and Crumble
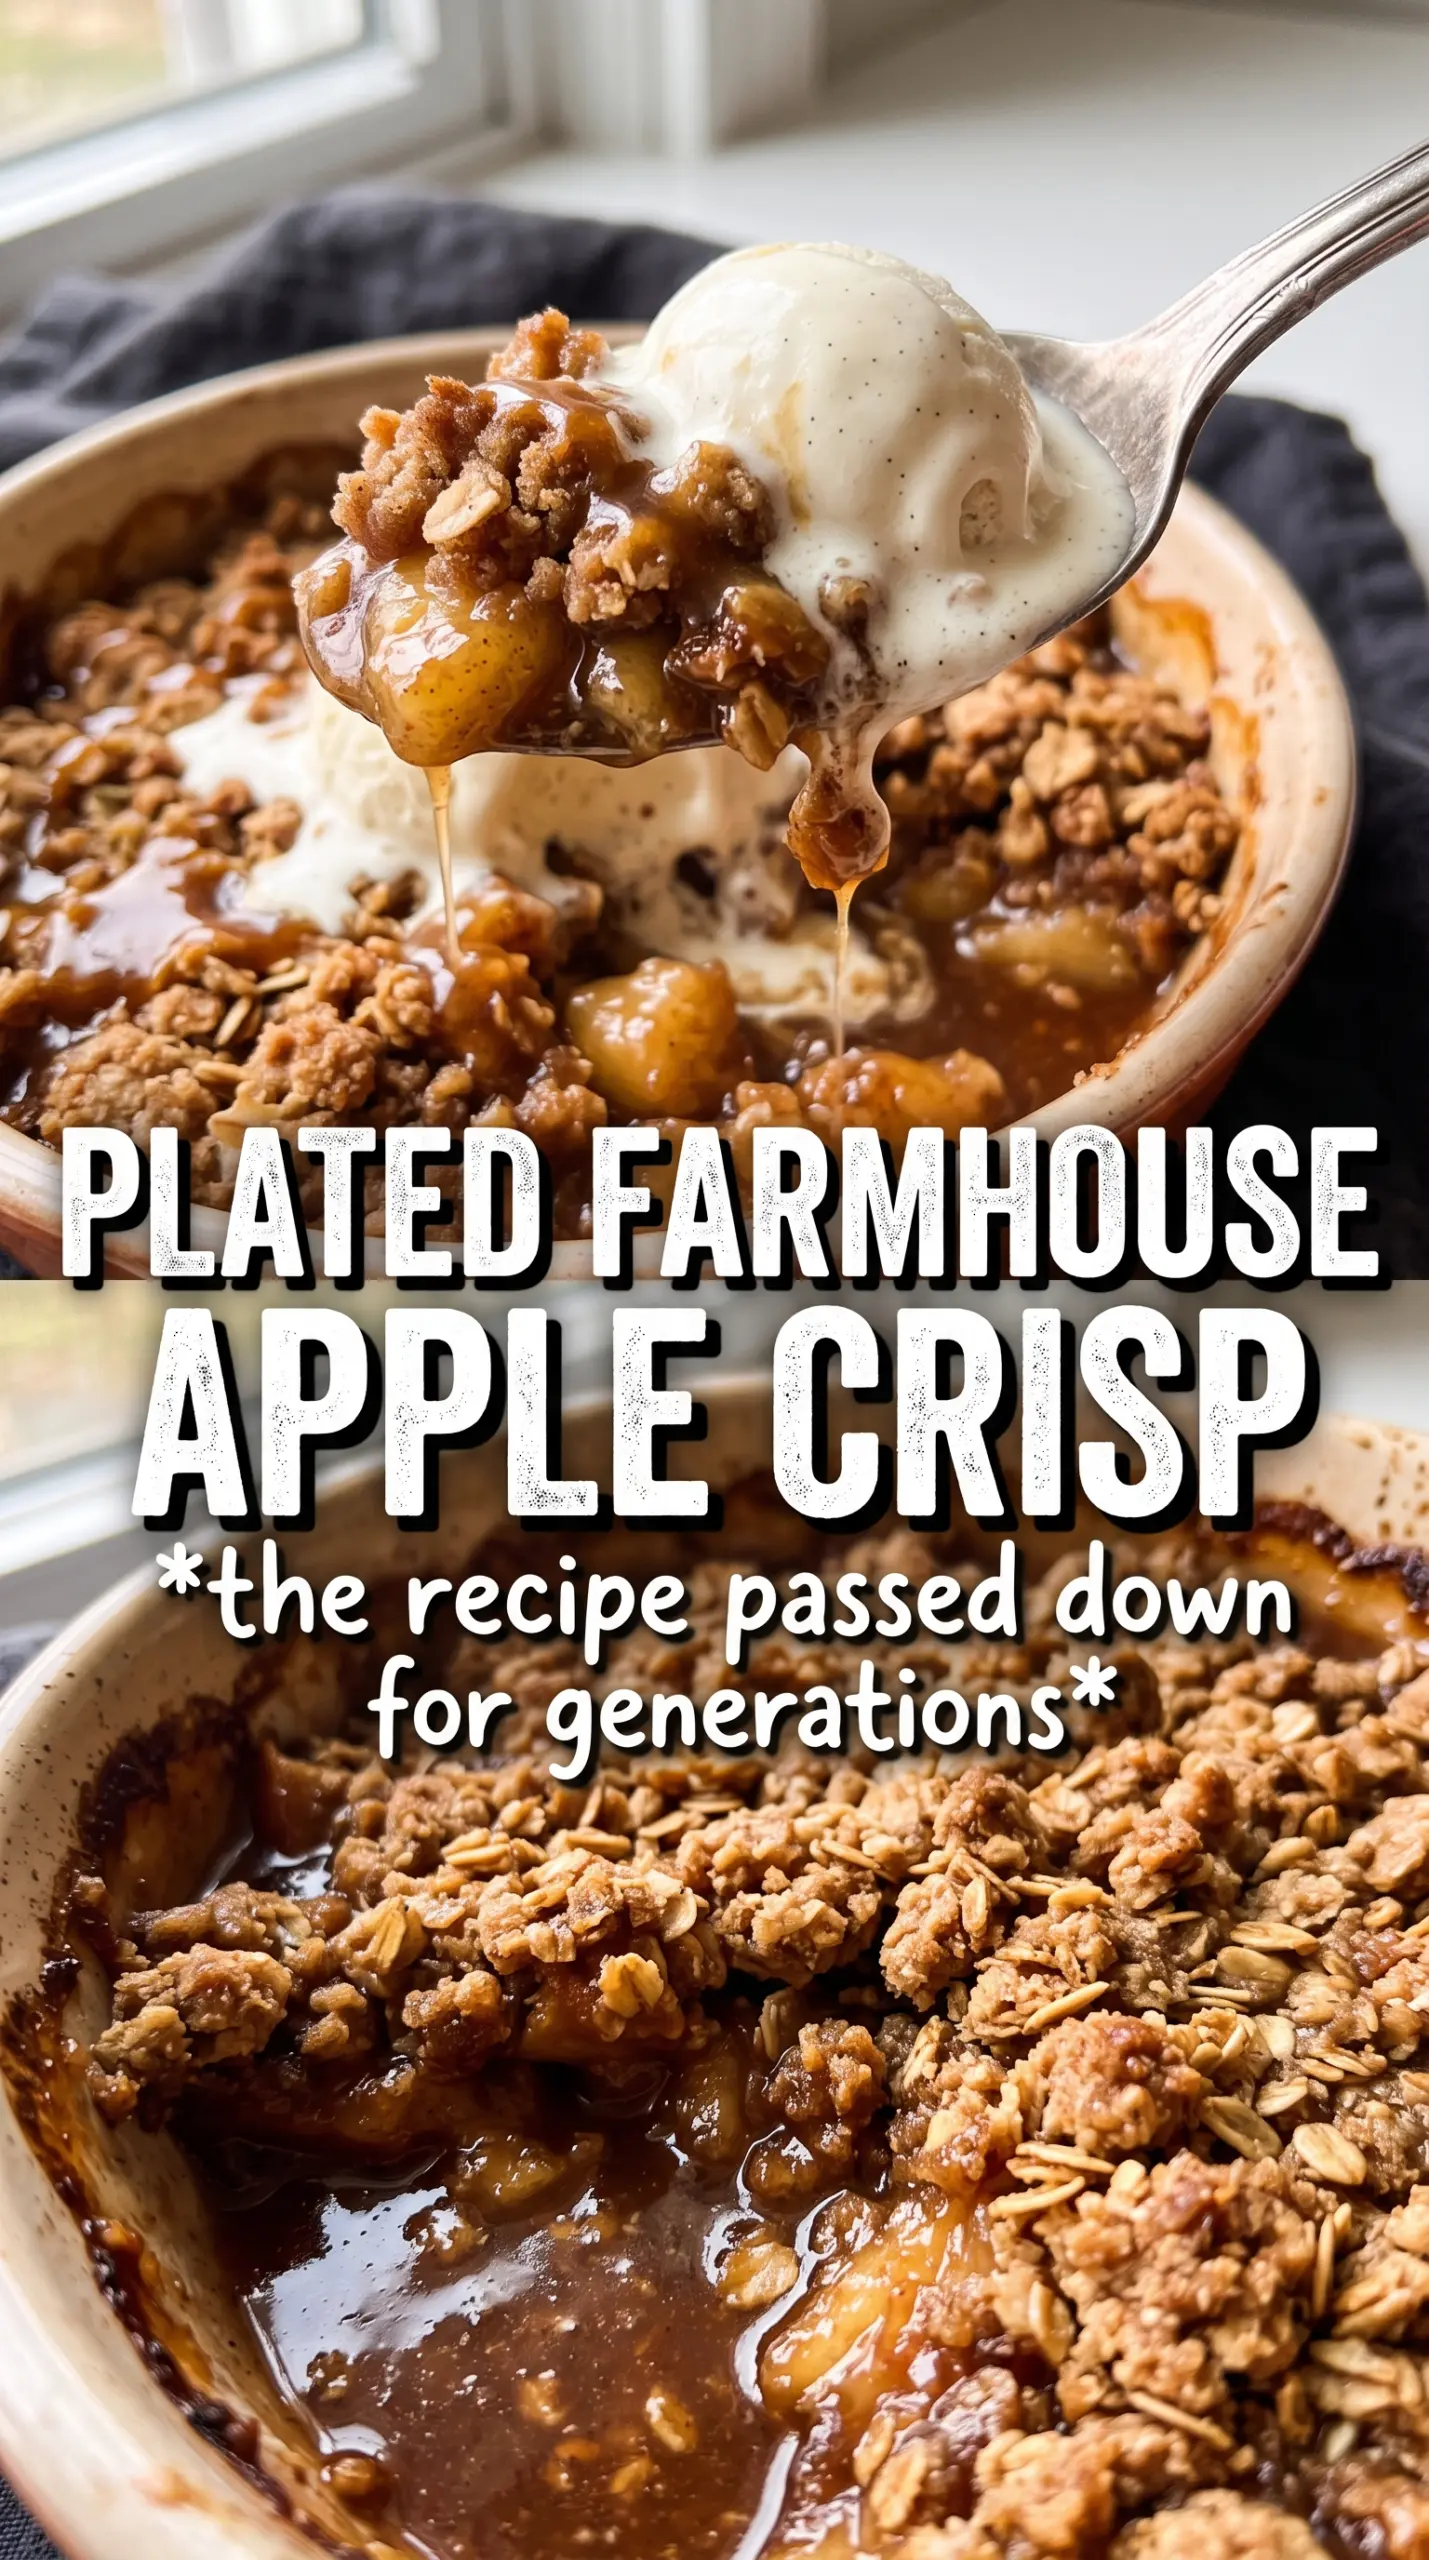
- Apples — They need to hold their shape after baking, so use a firm baking apple if you can. Softer apples collapse faster and can make the filling mushy.
- Brown sugar — This brings a deeper, almost caramel note that plain granulated sugar can’t match. It belongs in both the filling and the topping because it gives the whole dessert that farm-kitchen taste.
- Lemon juice — It keeps the apples from browning too quickly while you prep and sharpens the flavor of the filling. Don’t skip it unless your apples are already very tart.
- Rolled oats — They give the topping structure and that nubby, old-fashioned crunch. Quick oats will work, but the crumble won’t have the same texture.
- All-purpose flour — It helps bind the topping so it bakes into clusters. You need enough to hold the oats together, but not so much that the topping turns cakey.
How to Layer the Apples and Bake the Crisp Until the Center Bubbles
Tossing the Apples Evenly
Start by mixing the sliced apples with both sugars, spices, cornstarch, and lemon juice until every piece looks lightly coated. The cornstarch should disappear into the fruit and the sugar will start pulling out a little moisture, which is what you want. Spread the apples into the dish in an even layer so the filling bakes at the same rate from edge to center. If the fruit is piled in a mound, the middle stays too firm while the top overcooks.
Making the Crumble by Hand
Combine the oats, flour, brown sugar, cinnamon, and salt, then rub in the cold butter with your hands until you have large, uneven clumps. Stop before the mixture looks uniform. Those rough butter-coated chunks are what bake into a thick, craggy topping. If it turns pasty, the butter warmed up too much; chill the bowl for 10 minutes before continuing if that happens.
Baking for a Deep Golden Finish
Cover the apples generously with the crumble and bake until the top is deeply golden and the filling bubbles all around the edges, 50 to 55 minutes. That bubbling is your real doneness cue. It means the cornstarch has heated through and thickened the juices. Let the crisp rest for 15 minutes before scooping so the filling settles instead of rushing onto the plate.
Three Ways to Adjust This Crisp Without Losing the Farmhouse Feel
Make it gluten-free
Use a good 1:1 gluten-free flour blend in place of the all-purpose flour. The crumble will still brown nicely, though it may be a touch more delicate when scooped. Keep the oats certified gluten-free if that matters for your kitchen.
Lean it a little less sweet
Cut the granulated sugar in the filling by 2 tablespoons if your apples are naturally sweet, but leave the brown sugar in the topping alone. The topping needs that sugar to caramelize and turn crisp, while the filling can handle a small reduction without losing balance.
Make the topping dairy-free
Swap the butter for a firm plant-based baking stick, not a soft tub spread. You still want it cold and cubed so it forms clumps instead of melting into the dry ingredients. The flavor shifts a little, but the texture stays close if you keep the pieces cold.
Storage and Reheating
- Refrigerator: Store covered for up to 4 days. The topping softens a bit in the fridge, but the flavor stays good.
- Freezer: Freeze baked crisp in portions for up to 2 months. Wrap it well so the topping doesn’t pick up freezer smell and thaw it in the fridge before reheating.
- Reheating: Warm in a 325F oven until the filling is hot and the top crisps back up, about 15 to 20 minutes. The microwave will heat the apples, but it turns the crumble soft.
Answers to the Questions Worth Asking
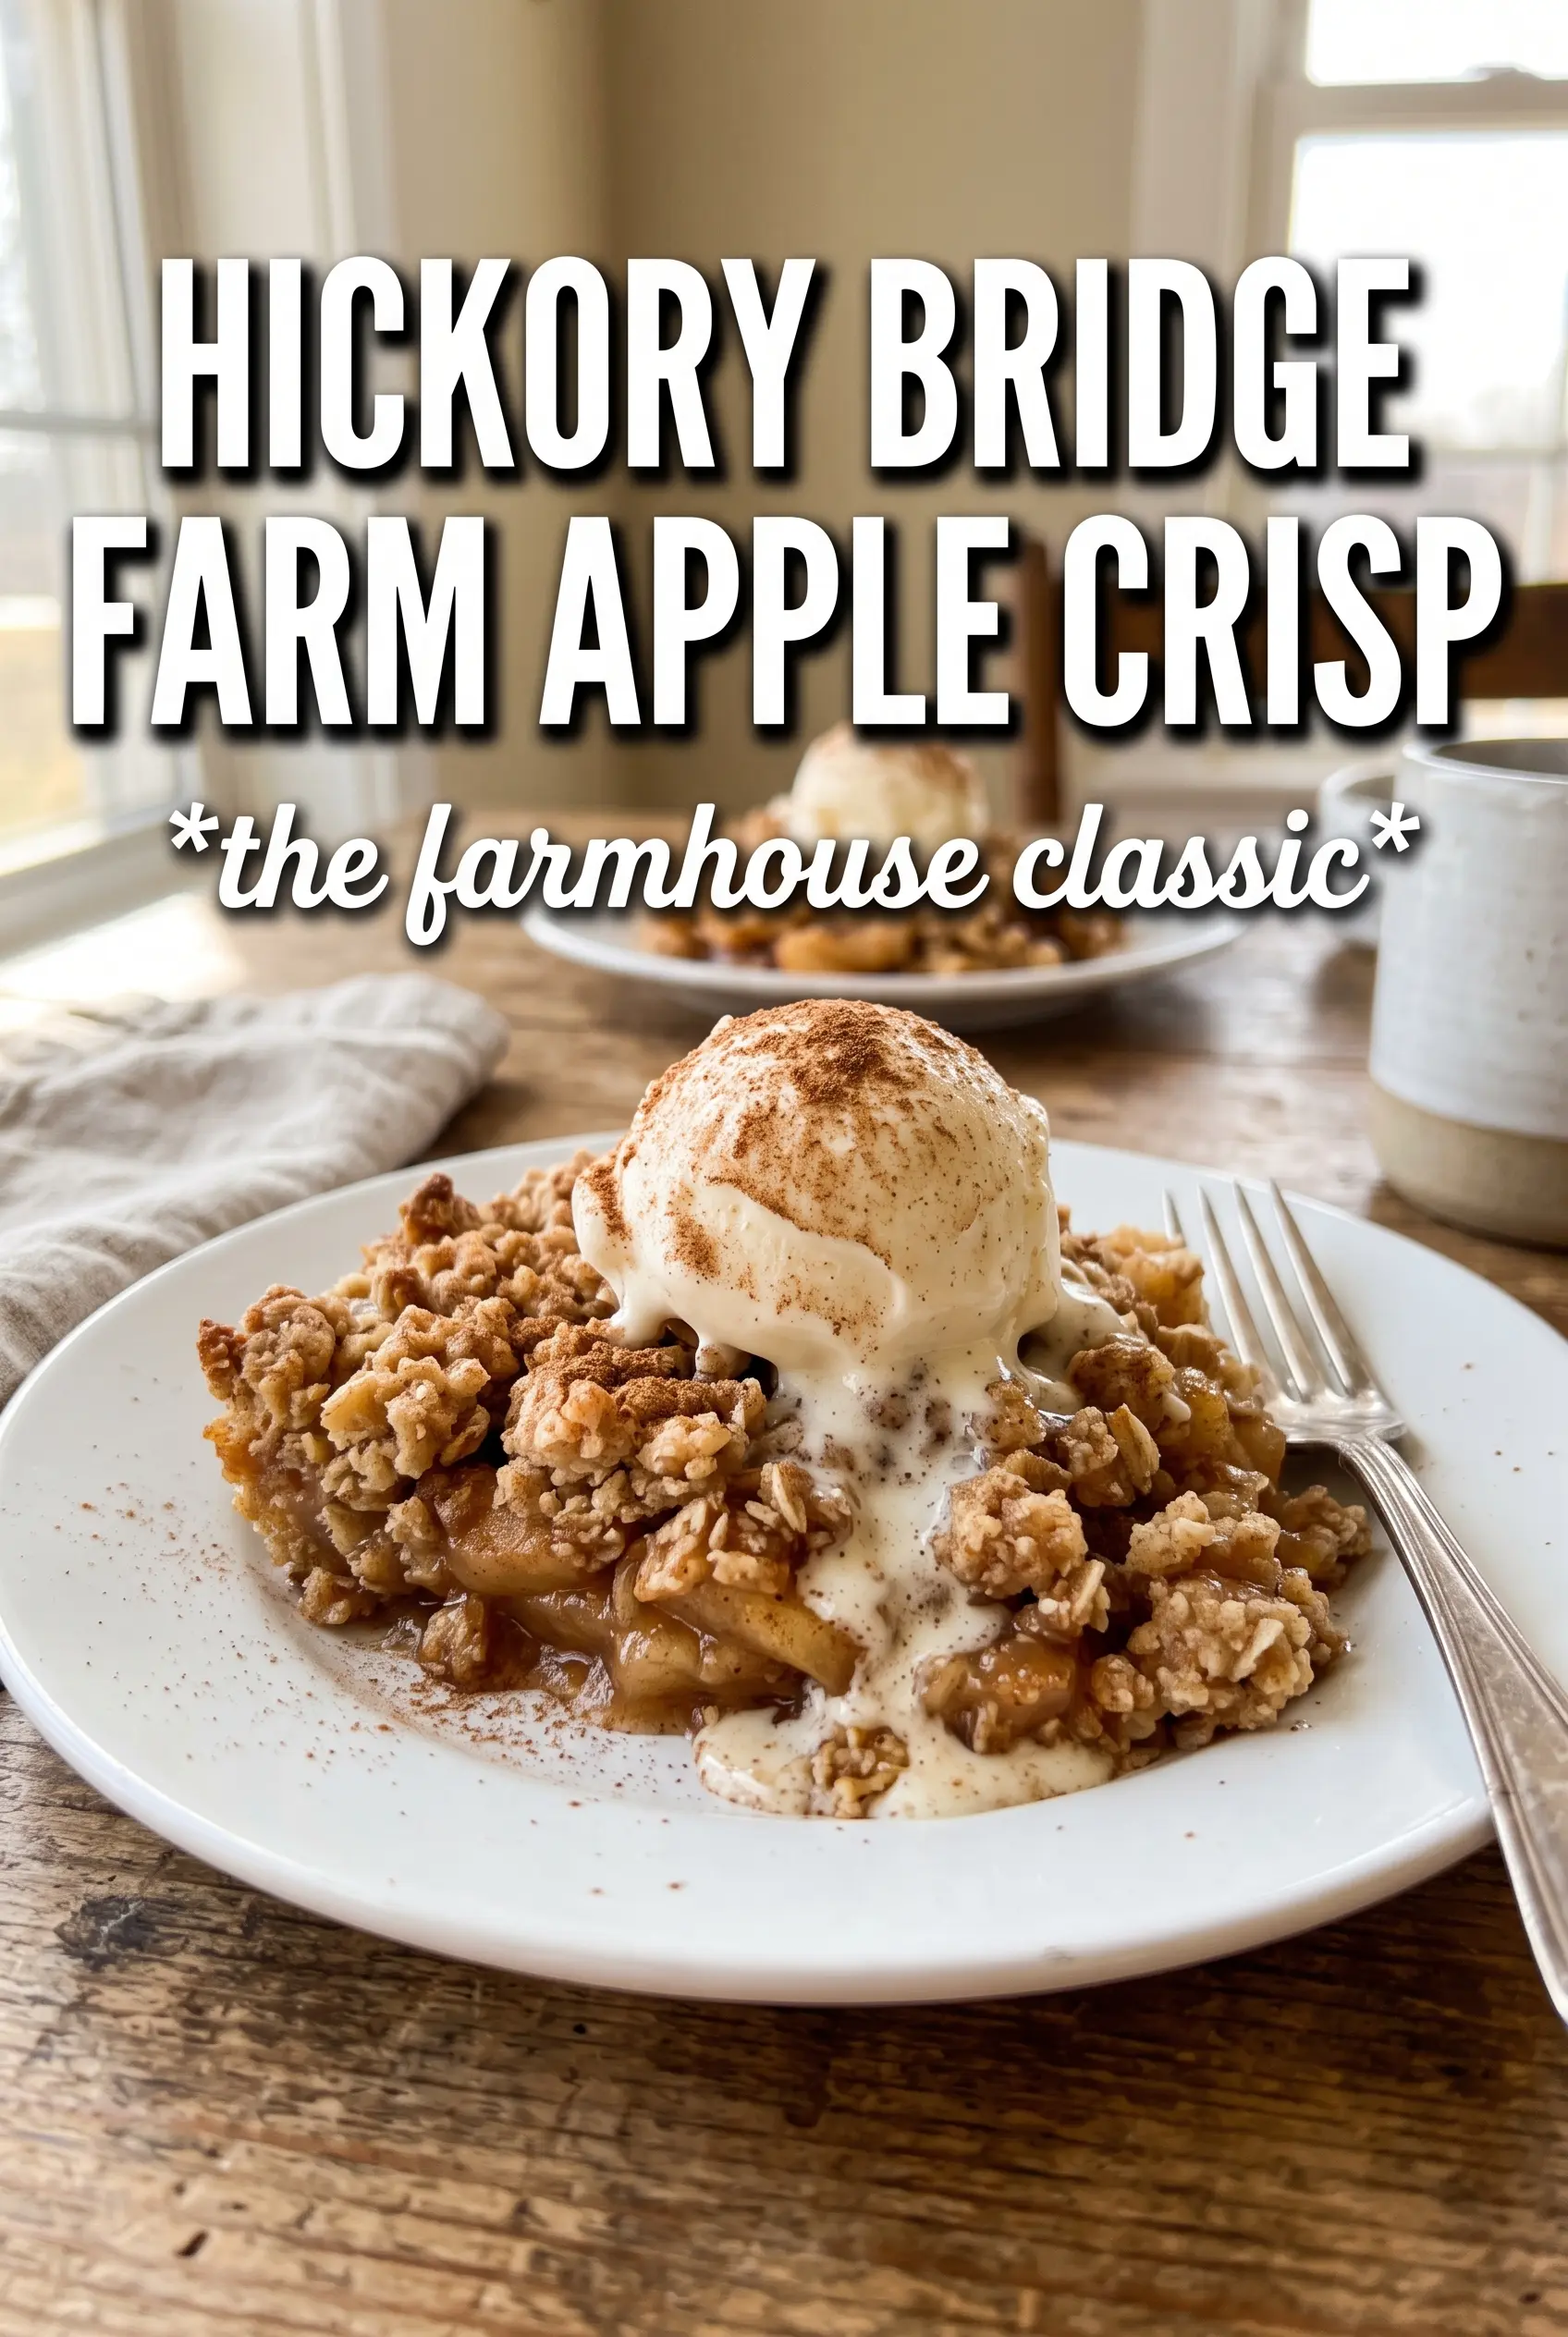
Hickory Bridge Farm Apple Crisp
Ingredients
Equipment
Method
- Preheat oven to 350F and generously grease a 9x13 baking dish to prevent sticking.
- Toss apple slices with granulated sugar, brown sugar, cinnamon, nutmeg, allspice, cornstarch, and lemon juice, then spread in the prepared dish in a thick layer.
- Combine rolled oats, all-purpose flour, packed brown sugar, cinnamon, and salt, then work in cold cubed butter with your hands until you get large, butter-streaked clumps.
- Pour and spread the crumble topping generously over the apples, piling it thick for a crunchy top.
- Bake for 50-55 minutes at 350F until the topping is deeply golden and the apple filling bubbles all around.
- Rest for 15 minutes before scooping so the crisp sets, then serve with vanilla ice cream or whipped cream.


