Sticky honey garlic chicken earns its place in the weeknight rotation because the sauce does more than coat the chicken — it clings, caramelizes, and turns glossy in the pan until every bite has that sweet-savory edge people keep going back for. The chicken stays juicy, the glaze gets deep amber around the edges, and the pan itself becomes part of the flavor.
The trick here is getting the chicken browned before the sauce goes in. That sear gives you the savory base the glaze needs, and it also keeps the skillet hot enough to help the honey, soy, and butter tighten into something lacquered instead of thin. A small cornstarch slurry finishes the job without making the sauce gummy.
Below, I’ve included the timing that keeps the chicken tender, the one heat adjustment that keeps the garlic from turning bitter, and a few swaps for when you need to work with what’s already in the kitchen.
The glaze thickened up fast and stayed sticky on the chicken instead of pooling watery in the pan. I served it over rice and my husband scraped the skillet clean.
Save this honey garlic chicken for the nights when you want a sticky skillet glaze with almost no cleanup.
The Difference Between Sticky Glaze and Burnt Honey
The biggest failure point in honey garlic chicken is rushing the sauce over heat that’s too high. Honey goes from glossy to scorched fast, and once the garlic starts browning too deeply, the whole pan turns bitter. The goal is a simmer that looks active at the edges but never wild — enough heat to thicken the slurry and tighten the glaze, not enough to break the butter or blacken the garlic.
Pan size matters here too. A wide skillet gives the sauce room to reduce around the chicken instead of trapping steam under it. If the chicken is crowded, it will pale and soften instead of searing properly, and you’ll miss the deep, sticky finish that makes this dish work.
- Chicken breasts — Boneless, skinless breasts give you a fast cook and a clean surface for the glaze to cling to. Pound them to an even thickness if one end is much thicker than the other so the thinner side doesn’t dry out while you wait for the center to reach temperature.
- Honey — This is the body of the glaze. There isn’t a true stand-in for the way it thickens and caramelizes, but maple syrup can work in a pinch; the sauce will taste darker and less floral, and it may need an extra minute to reduce.
- Soy sauce — It brings salt and depth in one shot. Low-sodium soy sauce is the better everyday choice because the glaze reduces as it cooks, which concentrates the salt quickly.
- Rice vinegar — That small splash keeps the sauce from tasting flat. If you don’t have it, apple cider vinegar works, but use a lighter hand since it reads sharper.
- Cornstarch slurry — This is what turns the sauce from thin and runny into a clingy glaze. Mix it with cold water first so it disperses cleanly; if it goes in dry, you’ll get little cooked lumps instead of a smooth finish.
What Each Ingredient Is Actually Doing in This Glazed Chicken
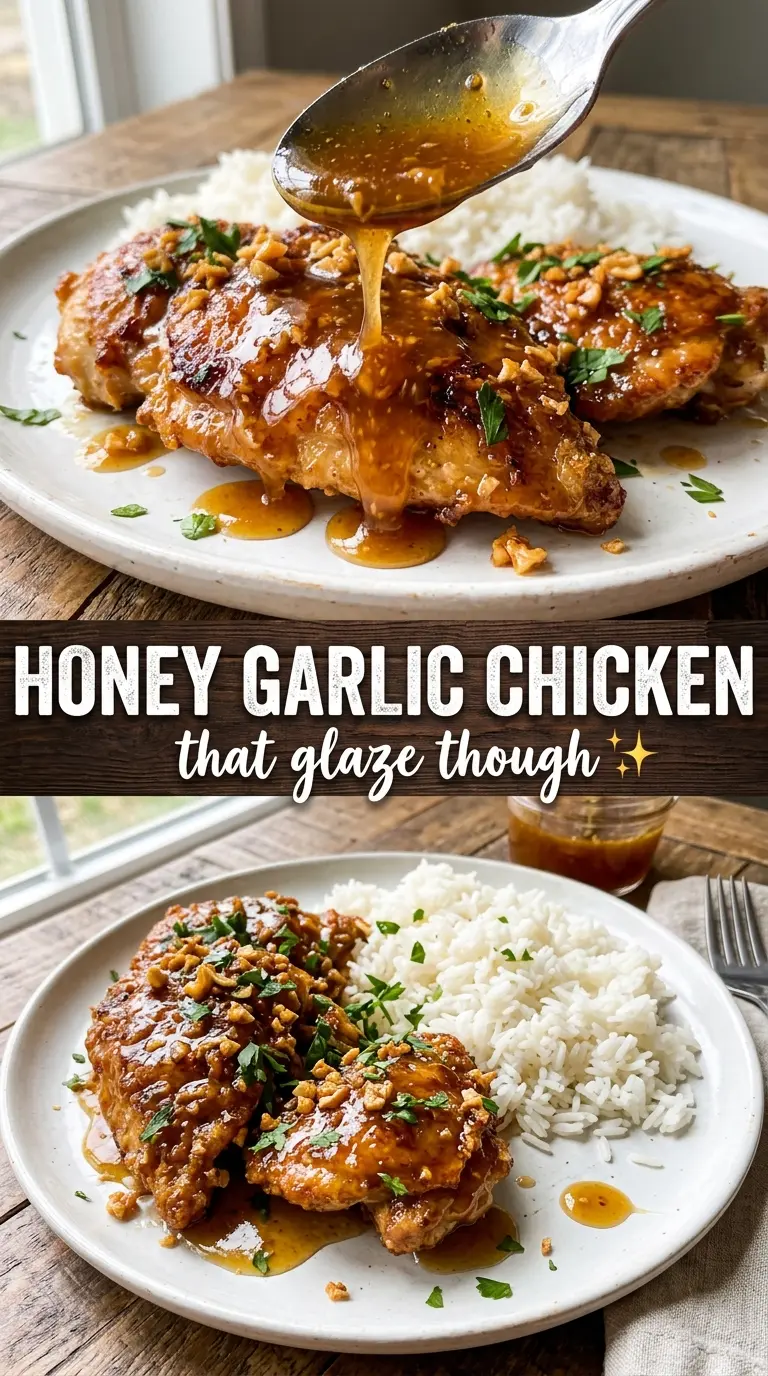
- Chicken (the protein base) — Even-sized pieces cook uniformly. Thighs stay moister than breasts under high heat.
- Honey (the glaze sweetness) — This caramelizes on the chicken and creates shine. Don’t add too early or it burns before the chicken cooks.
- Garlic (the savory depth) — Fresh minced or sliced, it adds complexity. Cook with oil first to bloom the flavors.
- Soy sauce or tamari (the salt and umami) — This gives the glaze depth and keeps it from being just sweet. Balance with acid.
- Ginger (the warmth) — Fresh ginger adds brightness and heat. Mince finely so it distributes evenly.
- Rice vinegar or lime juice (the brightness) — This prevents the glaze from tasting one-dimensional. Add at the end to preserve freshness.
- Oil for cooking (the cook and carrier) — This helps the chicken brown and the glaze adhere. High heat creates a nice sear.
- Sesame seeds or fresh herbs (the finish) — These add texture and keep the dish from feeling incomplete. Add right before serving.
Building the Chicken and Sauce in the Right Order
Seasoning and Searing the Chicken
Pat the chicken dry before it hits the pan. Moisture on the surface slows browning, and browning is what gives the final dish its savory backbone. Season both sides with salt, pepper, and garlic powder, then sear in hot olive oil until the first side has a deep golden crust and the chicken lifts cleanly from the skillet. If it sticks, it isn’t ready yet.
Waking Up the Garlic Without Burning It
Once the chicken comes out, drop the heat a little and melt the butter in the same pan. Add the garlic and stir just until it smells fragrant, not toasted. This part is fast, and if the garlic picks up much color, the sauce will taste harsh even after the honey goes in. The pan should still have those browned bits on the bottom; that’s what gives the glaze its depth.
Turning the Sauce into a Glossy Glaze
Pour in the honey, soy sauce, and rice vinegar, then stir in the cornstarch slurry. The sauce should bubble around the edges and thicken enough to coat a spoon in a thin lacquer. If it looks cloudy and loose, give it another minute. If it turns pasty, the heat was too high or the slurry sat too long before it was added.
Finishing the Chicken in the Glaze
Return the chicken to the skillet and turn it through the sauce until every side is shiny and sticky. Let it cook another minute or two so the glaze settles onto the meat instead of sliding off. Spoon the sauce over the top as it finishes, and stop as soon as the chicken is heated through. Overcooking at this stage is what dries out the breast meat.
How to Adapt This Honey Garlic Chicken for Different Needs
Use chicken thighs for a richer, juicier result
Boneless skinless thighs stay more forgiving if you’re worried about overcooking. They take a few extra minutes to sear and finish, but the tradeoff is a silkier, more succulent bite that holds up especially well under the sticky glaze.
Make it gluten-free with tamari
Swap the soy sauce for tamari in a one-to-one ratio. You’ll keep the same savory backbone and shiny finish, but the flavor reads a touch rounder and less sharp. Check the label if you’re cooking for strict gluten-free needs, since some brands still add wheat.
Make the glaze less sweet
Cut the honey back by 1 tablespoon and add another teaspoon of rice vinegar. The sauce will still cling, but it’ll land a little sharper and more balanced, which works well if you’re serving it with plain rice or a salty vegetable side.
Storage and Reheating
- Refrigerator: Store for up to 4 days in an airtight container. The sauce will thicken as it chills, and the chicken will hold onto more of the glaze once it’s reheated.
- Freezer: It freezes well for up to 2 months, though the sauce may lose a little of its original gloss after thawing. Freeze the chicken and sauce together, then thaw overnight in the fridge.
- Reheating: Warm gently in a skillet over medium-low heat with a splash of water to loosen the glaze. Microwaving works, but use short bursts and cover the dish so the honey doesn’t dry out at the edges before the center is hot.
Answers to the Questions Worth Asking
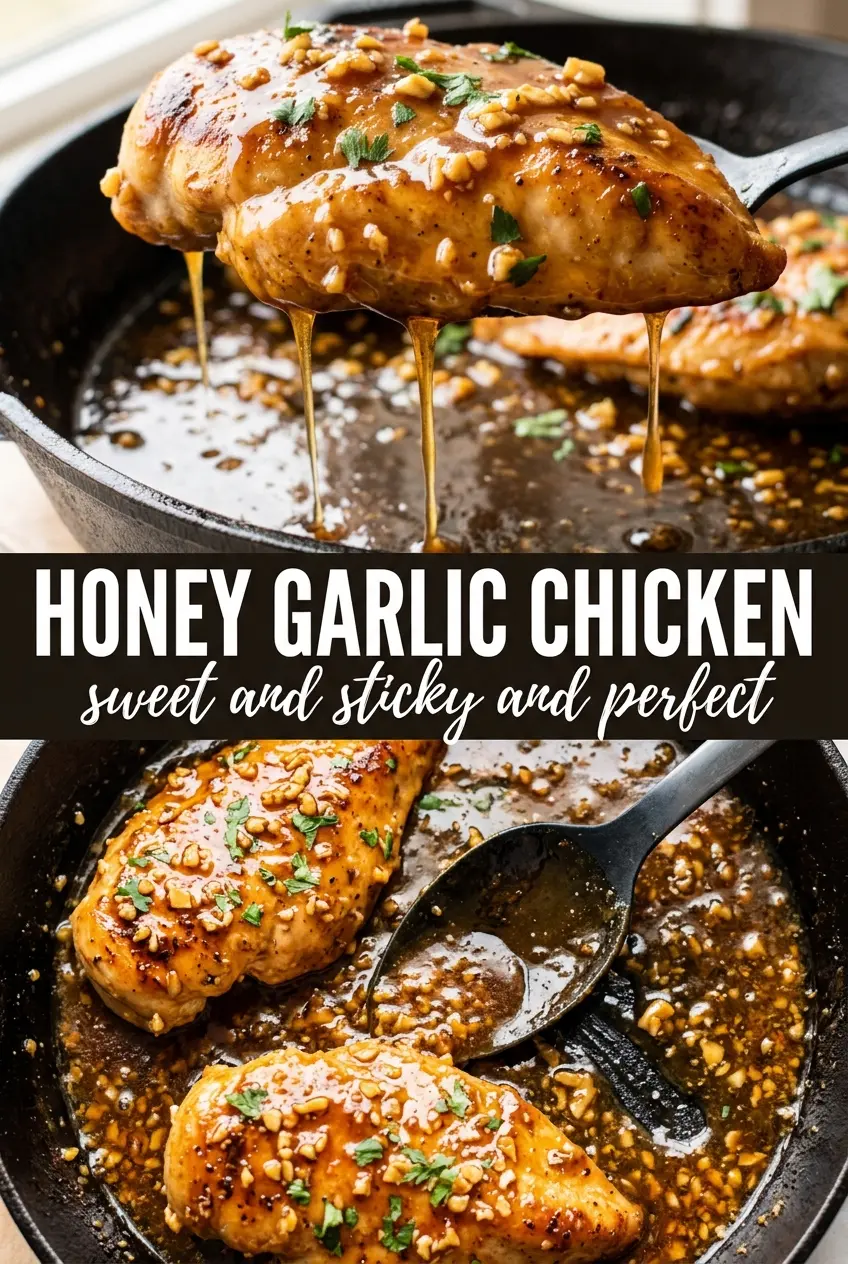
Honey Garlic Chicken
Ingredients
Equipment
Method
- Season the chicken breasts with salt, pepper, and garlic powder to taste. Heat the olive oil in a large skillet over medium-high heat, then sear the chicken for 5-6 minutes per side until golden and the internal temperature reaches 165°F, turning once for clear browning.
- Transfer the seared chicken to a plate while you make the sauce. Leave any browned bits in the skillet so they can flavor the honey-garlic glaze.
- In the same pan, cook the minced garlic in butter for 1 minute until fragrant, stirring so it doesn’t brown. You should see the garlic loosen and smell aromatic.
- Add the honey, soy sauce, and rice vinegar to the skillet and stir to combine. Bring the mixture to a steady simmer so it starts bubbling and developing a deeper amber color.
- Stir in the cornstarch slurry (cornstarch mixed with water). Simmer for 2-3 minutes, stirring, until the sauce thickens into a sticky glaze that coats the back of a spoon.
- Return the chicken breasts to the pan and turn them to coat in the honey garlic glaze. Cook for 1-2 more minutes so the glaze clings, blistering in spots and pooling around the chicken.
- Garnish with sesame seeds and sliced green onions. Serve immediately while the glaze is glossy and the chicken is hot.
- Serve the honey garlic chicken over steamed rice. Spoon the caramelized honey-garlic sauce from the pan over the top.


