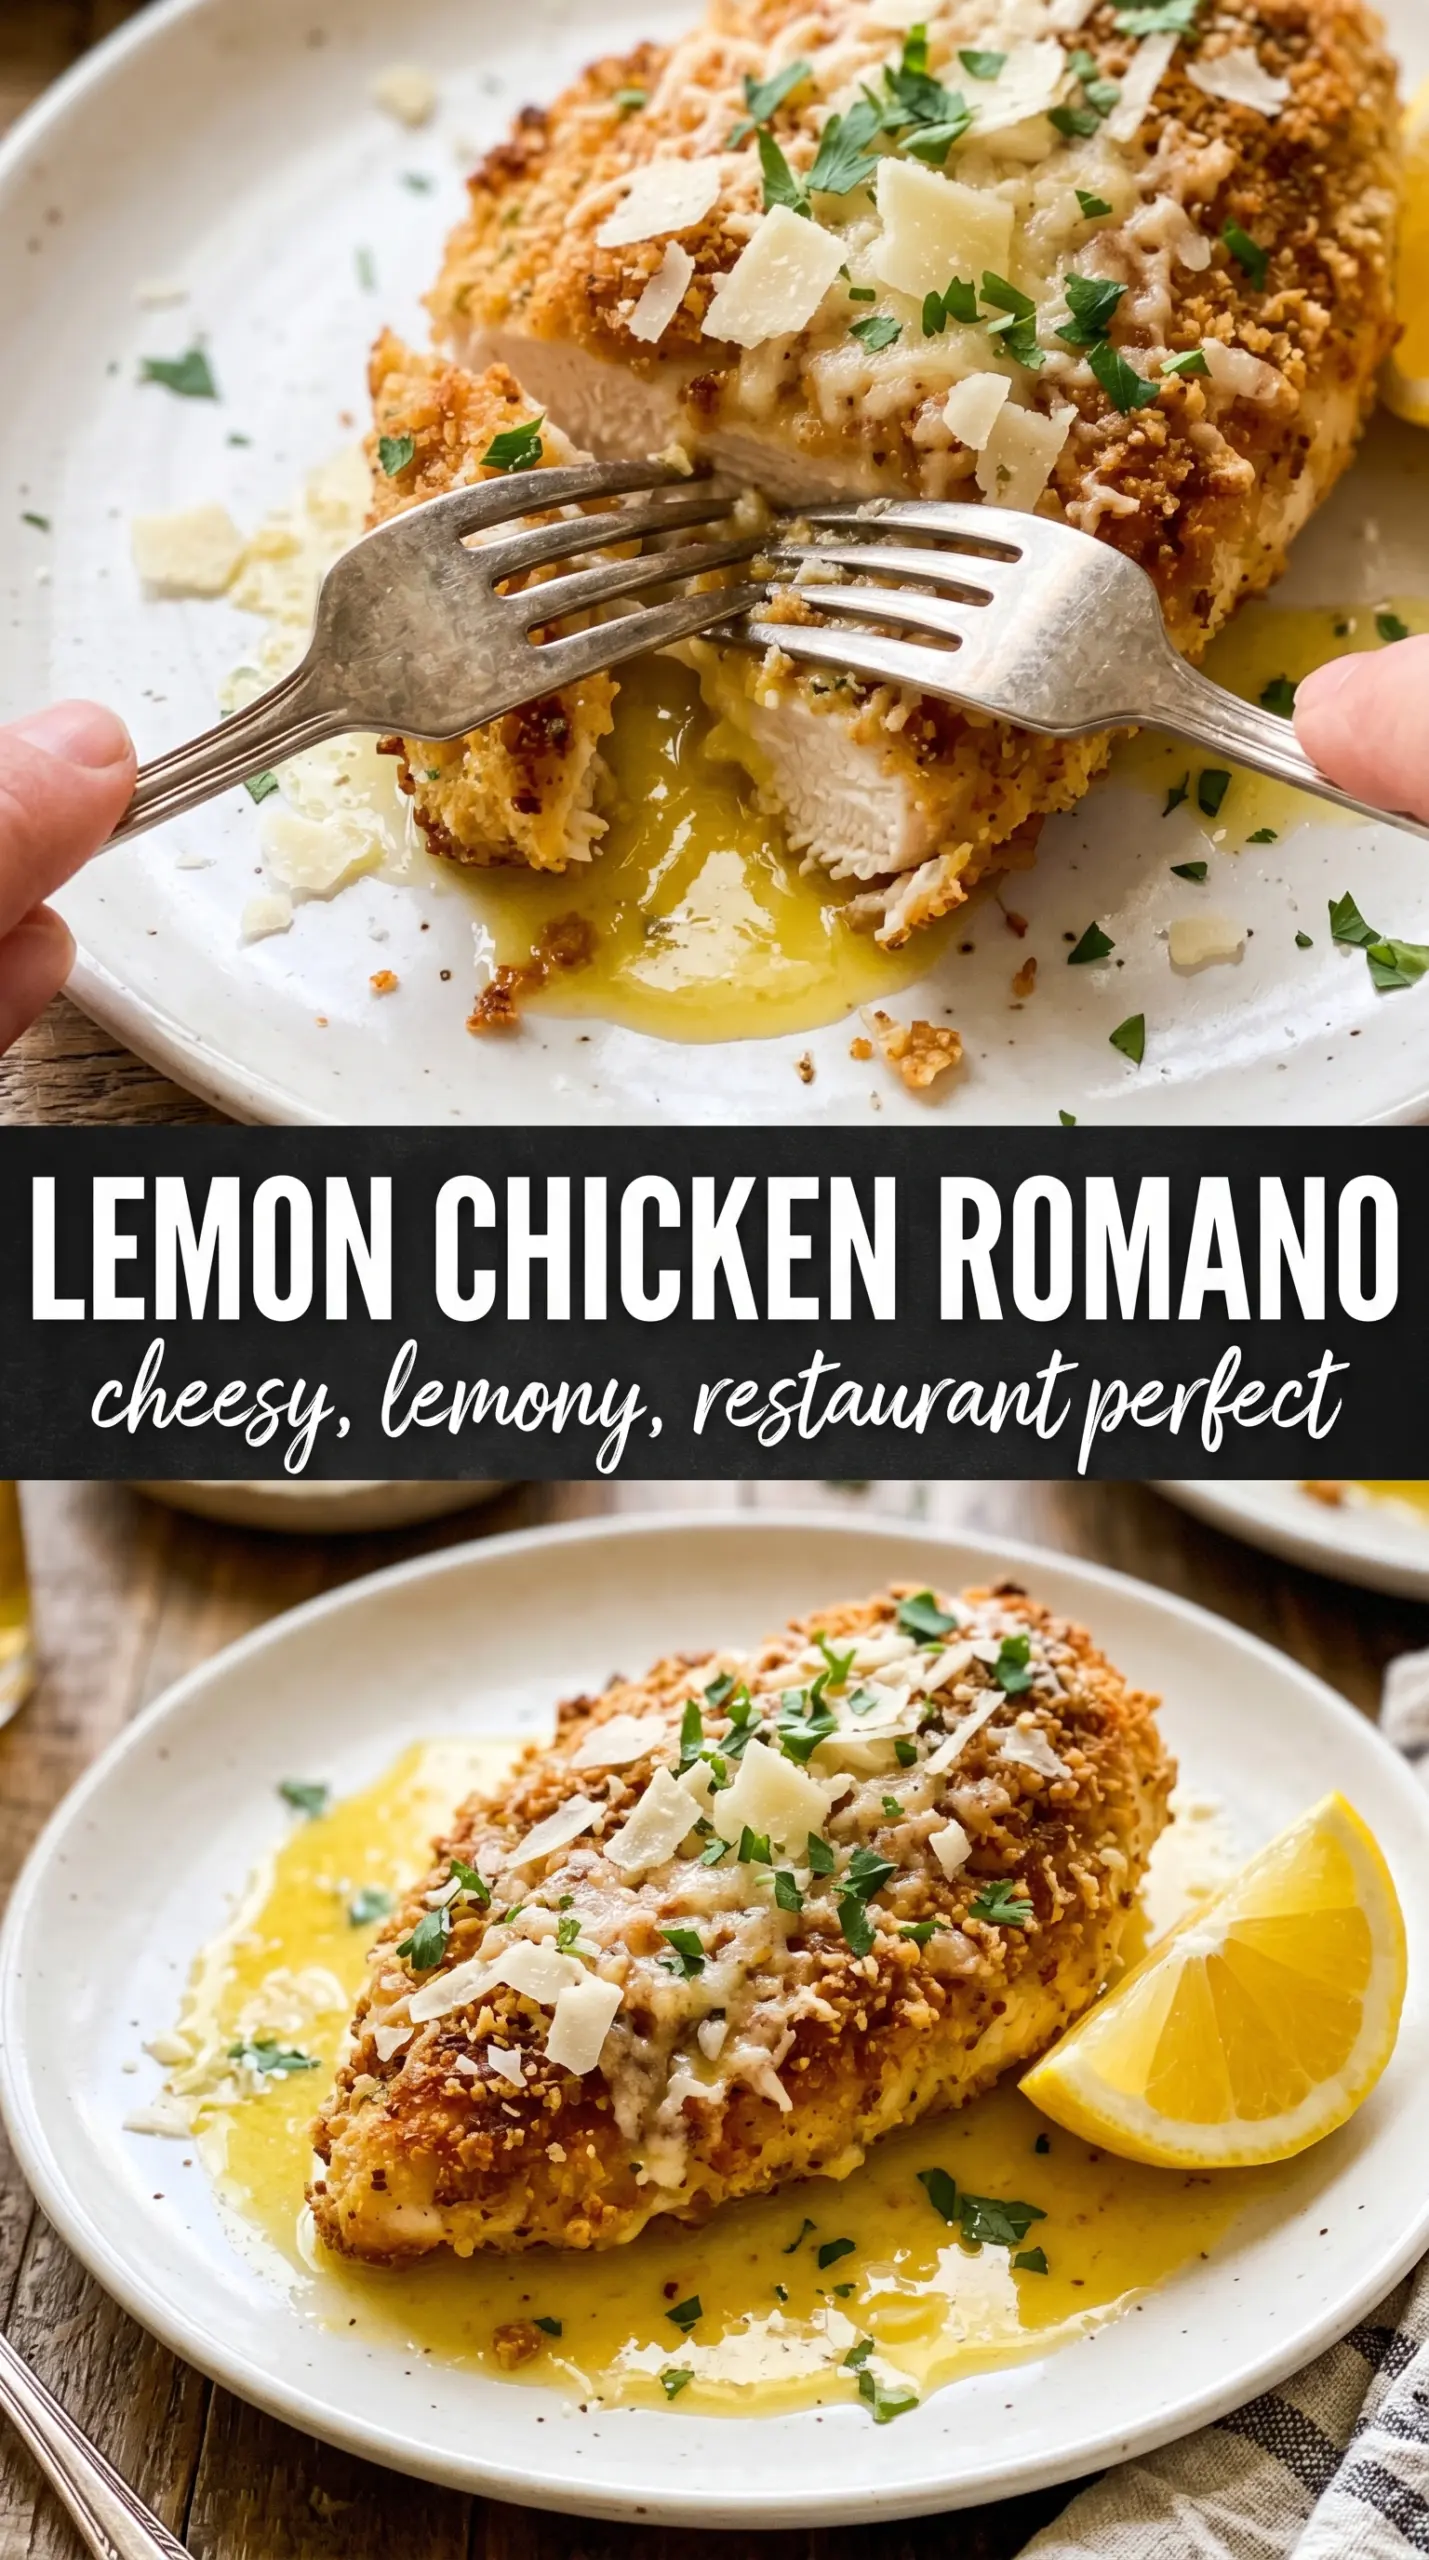
Thin, crispy chicken cutlets with a sharp Romano crust and a lemony butter sauce are the kind of dinner that disappears before the pan even cools. The coating stays shatteringly crisp when it hits the table, and the sauce brings just enough brightness to cut through the richness without softening that crunch right away. It’s the balance that makes this one worth repeating.
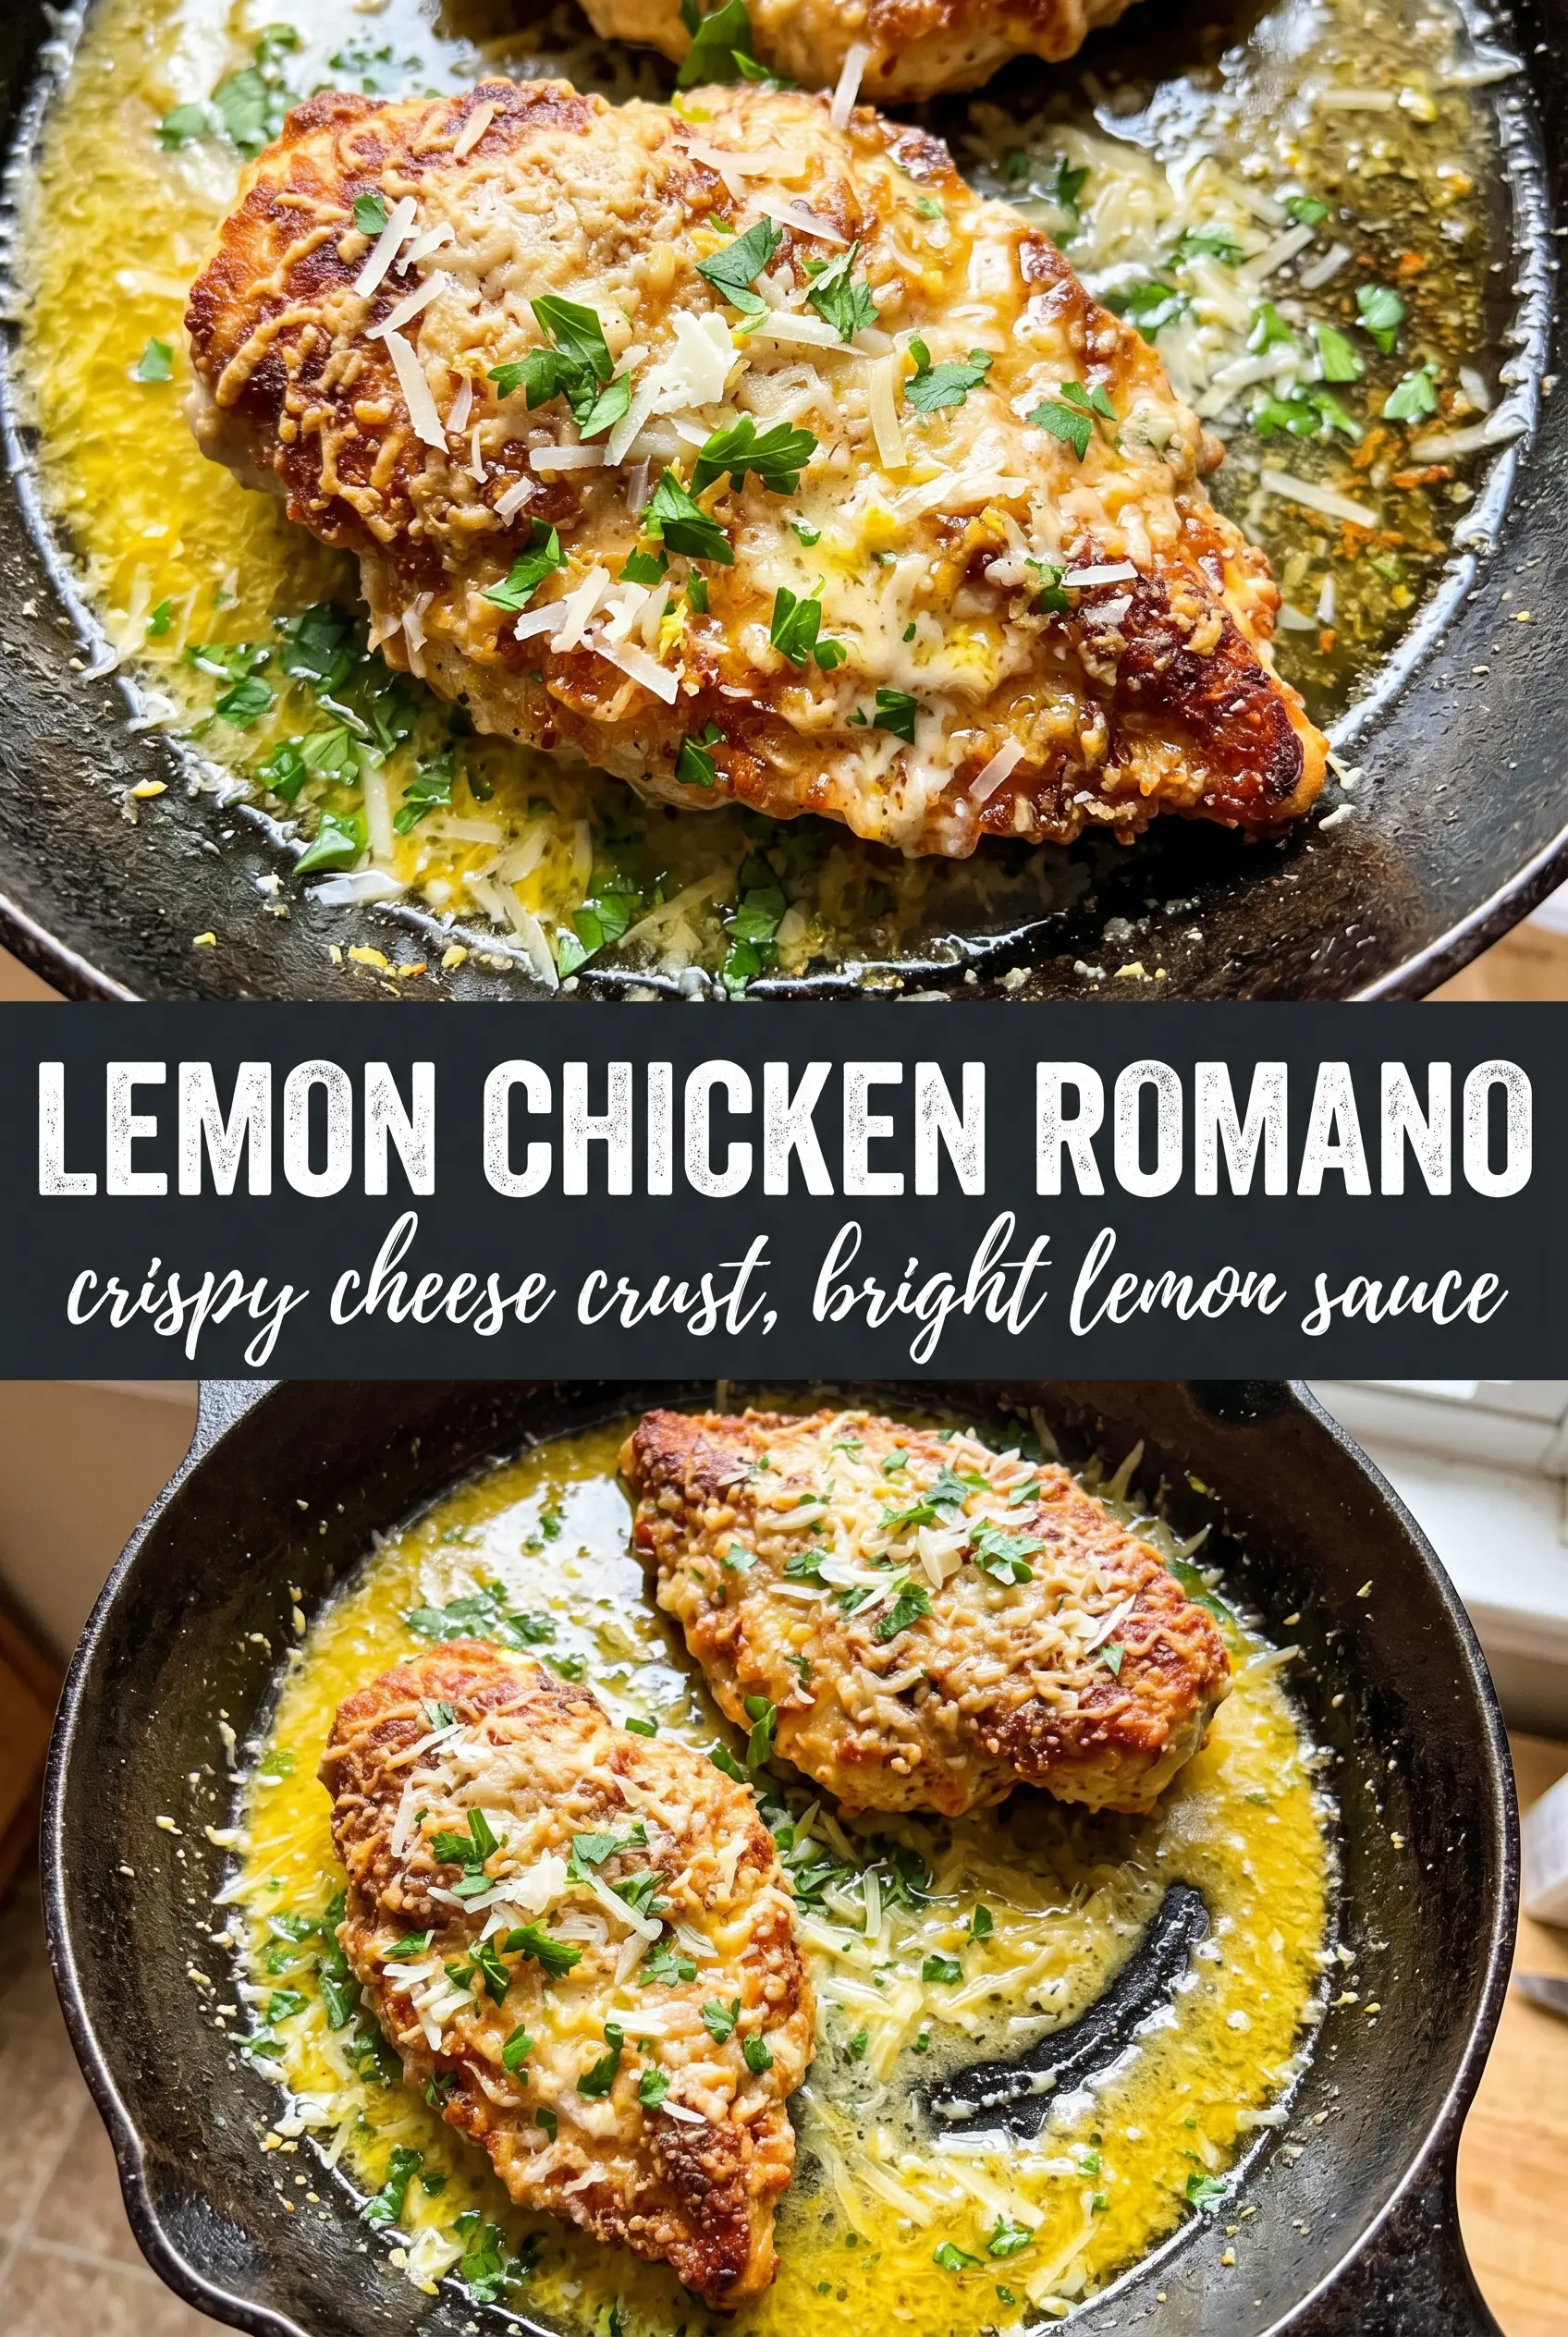
The trick is in the breading and the pan. Finely grated Pecorino Romano gives the crust its salty bite, while the panko keeps it light enough to fry up crisp instead of heavy. A quick turn in flour first helps the egg cling, and pressing the coating on firmly keeps it from shedding in the skillet. The sauce comes together in the same pan, which means the browned bits from frying melt into the wine, lemon, and capers instead of getting washed away.
Below, I’ll walk through the part that matters most: how to get that deep golden crust without overcooking the chicken, plus the small sauce move that keeps everything glossy instead of greasy.
The Romano crust got insanely crisp in the skillet, and the lemon-caper butter sauce was perfect over the cutlets without making them soggy. I served it with pasta and my husband asked if I could make it again next week.
Crispy Lemon Chicken Romano is one to pin for the nights when you want a crunchy cutlet and a bright lemon-caper sauce with almost no extra cleanup.
The Crust Falls Off When the Pan Is Too Cold
This recipe lives or dies by the first minute in the skillet. If the oil and butter haven’t heated properly, the coating sticks before it sets, and you end up losing half the Romano crust when you flip. Medium-high heat is the right zone here: hot enough to brown fast, not so hot that the cheese scorches before the chicken cooks through. Thin cutlets help a lot because they cook in the same window that it takes the crust to turn deep golden.
The other mistake is crowding the pan. These cutlets need direct contact with the heat and a little breathing room so the breading fries instead of steaming. If your skillet looks crowded, cook in batches and keep the finished pieces on a wire rack rather than stacking them on a plate. That one detail protects the crunch while you finish the sauce.
What Each Ingredient Is Actually Doing in This Dish
- Pecorino Romano — This is the backbone of the crust. It brings salt, sharpness, and a dry, fine texture that browns well. If you swap in a milder cheese, the coating loses its punch and tastes flatter. Grate it finely so it blends evenly with the panko and clings instead of clumping.
- Panko breadcrumbs — Panko keeps the crust light and crisp. Regular breadcrumbs will work in a pinch, but they make the coating denser and less shattery. If you only have standard breadcrumbs, use a little less and press the coating on firmly so it doesn’t turn bready.
- Boneless skinless chicken breasts — Halving them into thin cutlets is what keeps the timing tight and the chicken tender. Thick pieces need longer heat, which overcooks the breading before the middle is done. If your cutlets are uneven, pound the thicker spots lightly so they cook at the same pace.
- Dry white wine — The wine is doing more than adding flavor. It deglazes the pan, loosens the browned bits, and gives the sauce a little backbone before the lemon goes in. If you don’t cook with wine, use chicken broth plus a tiny splash more lemon juice, but the sauce will taste softer.
- Cold butter at the end — Swirling in cold butter off the heat is what makes the sauce glossy instead of broken. If you boil the sauce after the butter goes in, it can separate and turn greasy. Pull the pan down to a gentle simmer or off the burner for the final swirl.
How to Keep the Chicken Crispy While the Sauce Comes Together
Set Up the Breading So It Stays Put
Season the cutlets first, then move them through flour, egg, and the Romano-panko mix in that order. The flour gives the egg something to grab, which helps the crust stick all the way around instead of slipping off in the pan. Press the coating on with your fingers so it looks compact and even. If you leave loose patches, those are the spots that fall apart when you flip.
Fry for Color, Not Time
Cook the cutlets in the olive oil and butter until the crust turns deeply golden and the edges look crisp, about 3 to 4 minutes per side. Don’t chase a high, aggressive sizzle; you want steady frying, not smoking butter. If the outside darkens too fast, drop the heat a notch. The chicken should be just cooked through when you remove it, because it’ll warm again when the sauce goes over the top.
Build the Lemon-Caper Pan Sauce
After the chicken comes out, the pan should still have browned bits stuck to the bottom. Add the garlic and stir for about 30 seconds, just until fragrant, then pour in the wine to dissolve those browned bits. The lemon juice and capers go in after that, and the sauce should bubble for a few minutes until it looks lightly reduced and a little more concentrated. If it tastes sharp, it just needs another minute or two on the heat.
Finish Without Breaking the Sauce
Turn the heat down before you add the last butter, then swirl it in until the sauce looks glossy and slightly thickened. This is the point where rushing causes trouble. If the pan is too hot, the butter can separate instead of emulsifying. Spoon the sauce over the cutlets right away, then add parsley so it stays bright and fresh.
How to Adapt It Without Losing the Crunch
Gluten-Free Version
Use a gluten-free all-purpose flour blend for dredging and gluten-free panko for the crust. The method stays the same, and the texture still comes out crisp as long as you press the coating on firmly and fry in a hot pan. Don’t skip the flour layer, because that’s what helps the egg and cheese cling to the chicken.
Dairy-Free Adjustment
This one is harder to mimic because the Romano cheese is carrying a lot of the signature flavor. If you need to go dairy-free, use a seasoned dairy-free Parmesan-style topping plus extra salt and a little lemon zest to wake it up. The crust won’t taste as sharp, but the chicken will still fry up crisp if the coating is pressed on well.
No-Wine Sauce
Swap the white wine for low-sodium chicken broth and add an extra teaspoon of lemon juice. The sauce will be a little rounder and less sharp, but it still picks up the browned bits from the pan and tastes clean with the capers. Let it simmer a minute longer so the broth doesn’t thin the finish.
Make It for a Crowd
Fry the cutlets in batches and hold them on a rack in a low oven while you make the sauce. Don’t stack them, or the trapped steam will soften the crust before serving. If you’re scaling up, make the sauce in two rounds so the pan doesn’t cool down too much while you’re working.
Storage and Reheating
- Refrigerator: Store the chicken and sauce separately for up to 3 days. The crust will soften in the fridge, but it still reheats well.
- Freezer: The cooked chicken can be frozen, but the sauce doesn’t freeze as well because the butter can separate. Freeze the cutlets flat, then make the sauce fresh when you’re ready to serve.
- Reheating: Reheat the chicken on a wire rack in a 375°F oven until hot and crisp again, about 10 to 12 minutes. Warm the sauce gently in a small pan; if you boil it, the butter can split.
Answers to the Questions Worth Asking
Lemon Chicken Romano
Ingredients
Equipment
Method
- Season the chicken cutlets with salt and pepper, then set up a breading station with flour, beaten eggs, and a mixture of Pecorino Romano cheese with panko breadcrumbs.
- Dredge each cutlet in flour, dip in egg, then press firmly into the Romano-panko coating so it adheres.
- Heat olive oil and 2 tablespoons butter in a cast iron skillet over medium-high heat and pan-fry the cutlets for 3-4 minutes per side until deeply golden and crisp; remove to a plate.
- In the same pan, cook the minced garlic for 30 seconds until fragrant, then deglaze with dry white wine.
- Add fresh lemon juice and drained capers, then simmer for 3 minutes to concentrate the sauce.
- Swirl in the remaining 2 tablespoons cold butter until the sauce turns glossy.
- Plate the crispy chicken cutlets and pour the lemon-caper butter sauce over each one.
- Garnish with fresh parsley and serve immediately while the Romano crust is shatter-crisp.