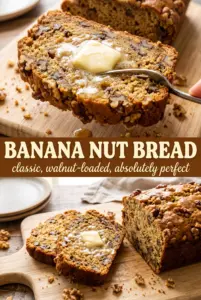
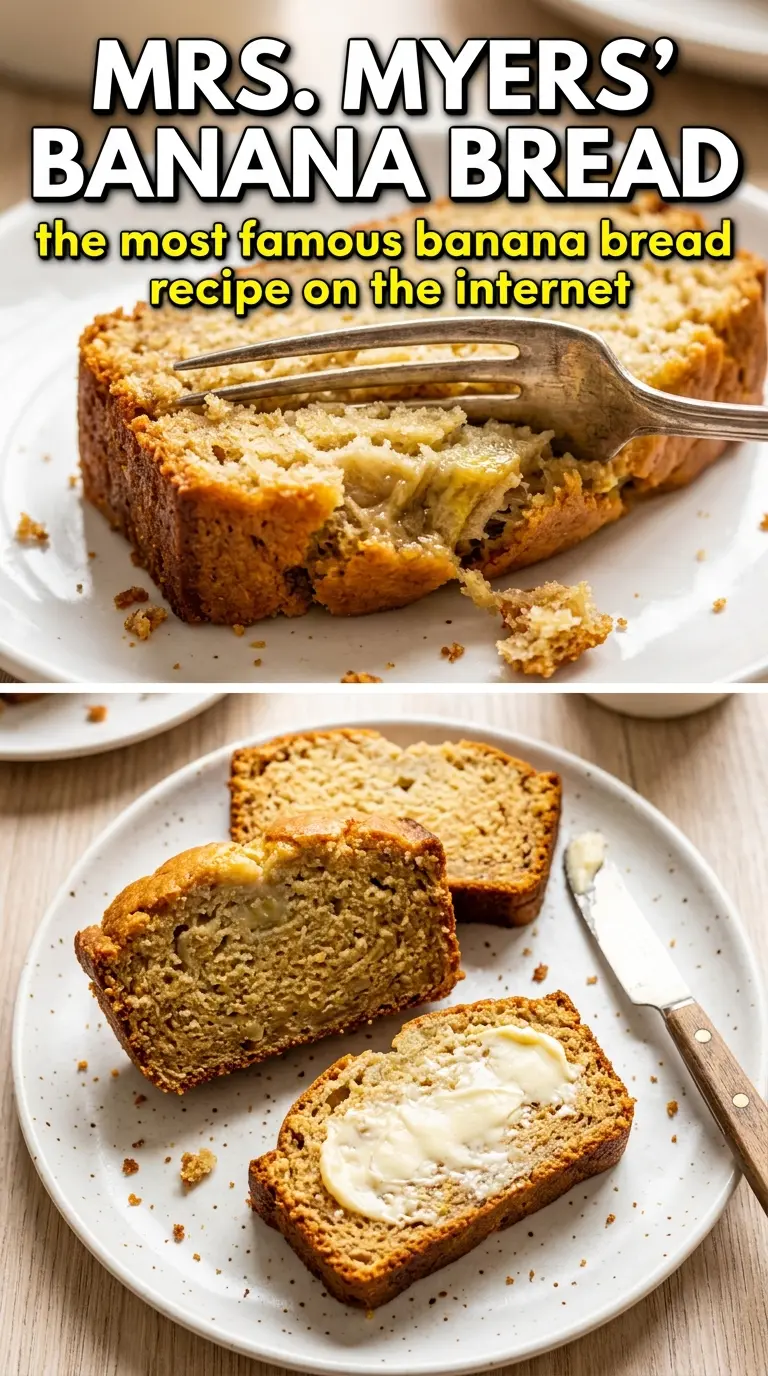
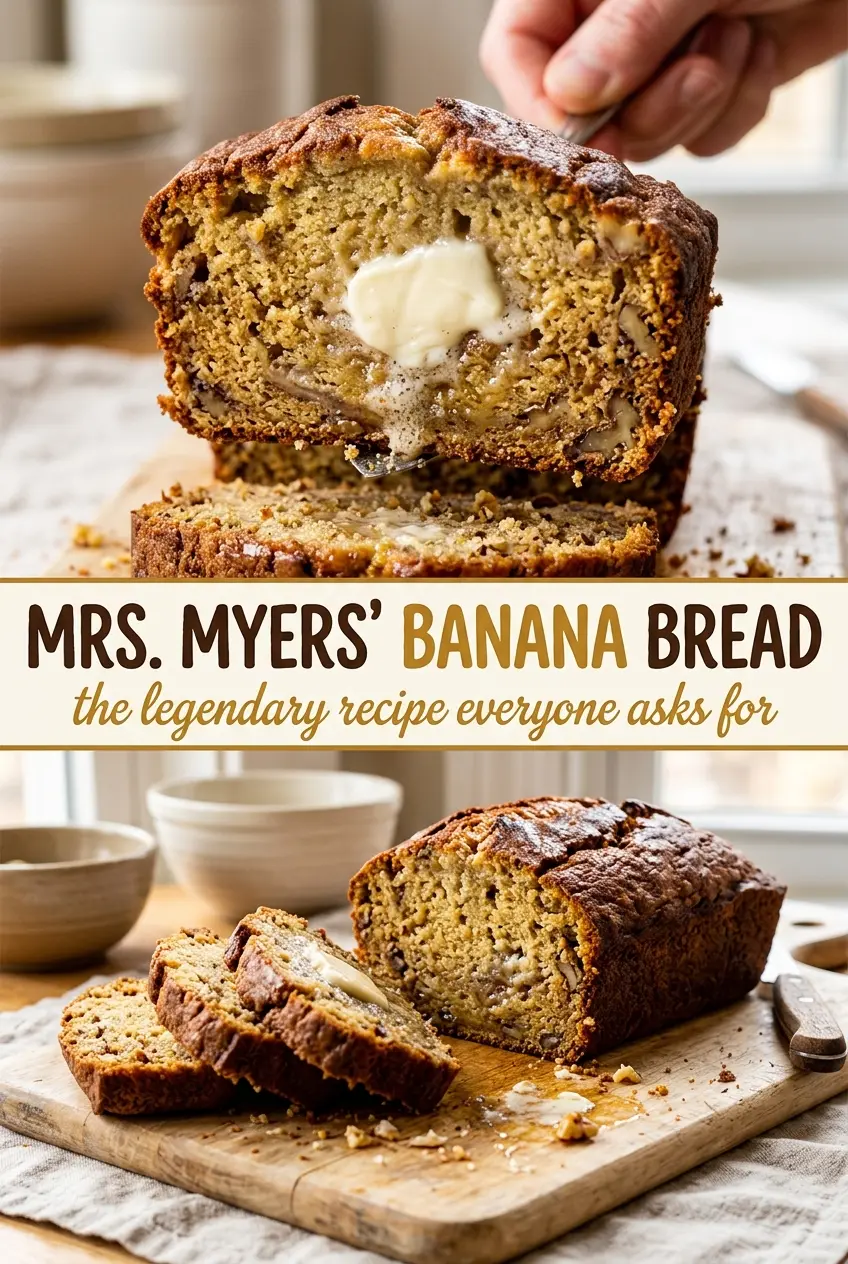
Mrs. Myers’ banana bread bakes up with the kind of crackly top and tender crumb that makes a loaf disappear before it has a chance to cool all the way. The flavor is straightforward in the best way: ripe bananas, a buttery base, and just enough vanilla to keep it from tasting flat. What sets it apart is the texture. It stays moist without getting heavy, and the crust takes on that deep golden color that tells you the loaf baked through all the way.
The method matters here. Creaming the shortening or butter with the sugar gives the bread a lighter structure than a quick stir-together loaf, and alternating the dry ingredients with the milk keeps the batter from tightening up. If your banana bread usually comes out dense or gummy in the center, it’s often because the batter was overmixed or the pan was pulled too early. This version gives you a clean, old-fashioned crumb that slices neatly once it has had time to rest.
Below you’ll find the exact cues I watch for while it bakes, plus a few smart swaps if you only have butter on hand or need to work with very ripe bananas that are almost black on the counter.
The loaf came out with a beautiful crack down the middle and a really moist crumb. I used the butter version, and it sliced cleanly after cooling like you said instead of falling apart.
Pin Mrs. Myers’ banana bread for the kind of old-fashioned loaf that bakes up with a cracked top, a moist crumb, and no extra fuss.
The Reason This Loaf Stays Moist Without Turning Heavy
A lot of banana bread goes wrong because the batter gets pushed too hard once the flour goes in. Stir it enough to combine, and stop there. This loaf depends on a tender crumb, not a tough one, and overmixing is the fastest way to end up with a rubbery middle and a tight, bread-like slice.
The other place people get tripped up is the bake. Banana bread can look done on top before the center has actually set. A deep golden crust and a clean toothpick are the clues here, but the real test is a loaf that springs back lightly when pressed and pulls a little from the sides of the pan.
- Ripe bananas — The darker and softer they are, the better the flavor and moisture. Three medium bananas is the sweet spot here; if yours are on the small side, mash enough to equal about 1 1/2 cups.
- Shortening or butter — Shortening gives the classic old-school texture and stays neutral, while butter adds a little more flavor. Both work well, so use butter if you want a richer loaf and shortening if you want the most traditional crumb.
- Milk — This loosens the batter just enough to keep the loaf tender. Whole milk is ideal, but 2% works fine. If you need a substitute, use an equal amount of plain buttermilk for a slightly tangier loaf.
- All-purpose flour — This is the flour that gives you the right structure without making the loaf dense. Measure it lightly, or the bread will bake up dry and tight.
What Each Ingredient Is Actually Doing in This Banana Bread
- Bananas (the moisture and sweetness) — Use very ripe bananas for maximum sweetness and moisture. Overripe bananas are actually better here.
- Flour (the structure) — Don’t overmix or the bread becomes tough. Mix just until dry ingredients are incorporated.
- Sugar (the sweetness) — Ripe bananas are already sweet, so you might reduce sugar slightly. Adjust to taste.
- Butter or oil (the richness) — This creates tender crumb and carries flavors. Room temperature butter creams better.
- Eggs (the binder and lift) — These hold everything together and help the bread rise. Use room temperature eggs.
- Leavening (baking soda or powder) — This creates rise. Too much makes it taste bitter.
- Vanilla extract (the flavor enhancer) — This brings out the banana flavor. Use quality vanilla extract.
- Optional mix-ins (nuts, chocolate, or dried fruit) — These add texture and prevent the bread from being one-dimensional.
Mixing the Batter Without Losing the Tender Crumb
Creaming the Fat and Sugar
Beat the shortening or butter with the sugar until it looks pale and a little fluffy. That step puts air into the base of the batter, which helps the loaf rise with a softer crumb. If the fat is too cold, it will stay grainy and won’t trap air well, so let it soften fully before you start.
Adding the Eggs and Bananas
Add the eggs one at a time and beat after each one until the mixture looks smooth again. Then stir in the mashed bananas and vanilla just until combined. If the batter looks slightly curdled at this stage, that’s normal and it will come together once the dry ingredients go in.
Folding in the Flour
Sift the flour, baking soda, and salt together, then add them to the batter alternately with the milk. This keeps the mixture from getting stiff and helps the loaf bake evenly from edge to center. Stop mixing as soon as the flour disappears; a few streaks are better than overworking the batter.
Knowing When the Loaf Is Done
Pour the batter into the prepared pan and bake until the top is deeply golden and a toothpick comes out clean from the center. If the loaf is browning too fast before the middle is set, lay a loose piece of foil over the top for the last part of the bake. Let it rest in the pan for 15 minutes before turning it out, then cool it completely before slicing so the crumb sets cleanly.
How to Adapt Mrs. Myers’ Banana Bread for Butter, Dairy-Free, or Extra Banana Flavor
Butter Instead of Shortening
Use softened butter in place of shortening for a richer flavor and a slightly more tender crumb. The loaf will taste a little more buttery and less old-school neutral, but it still slices beautifully. If the butter is melted instead of softened, the batter won’t trap air the same way and the texture gets heavier.
Dairy-Free Version
Use shortening instead of butter if you want to keep it dairy-free, then swap the milk for an unsweetened non-dairy milk like almond or oat. The loaf will still rise and stay moist, though oat milk gives a fuller finish than almond milk. Choose an unflavored milk so the banana stays front and center.
Extra Banana Loaf
If you want a stronger banana flavor, add a fourth very ripe banana, but reduce the milk slightly so the batter doesn’t get too loose. That gives you a softer, more fragrant loaf, though the center will need a few extra minutes in the oven. Watch the middle closely and rely on the toothpick test, not just the color on top.
Storage and Reheating
- Refrigerator: Keep the loaf covered at room temperature for 2 to 3 days, or refrigerate for up to 5 days. The crumb firms up a bit in the fridge, so it’s best sliced only as needed.
- Freezer: This freezes well. Wrap the cooled loaf or individual slices tightly in plastic and foil, then freeze for up to 3 months. Thaw at room temperature while still wrapped so condensation doesn’t make the crust soggy.
- Reheating: Warm slices in a toaster oven or low oven for a few minutes until the butter melts on contact. The common mistake is microwaving too long, which turns the crumb rubbery; short bursts are enough if you want it warm.
Questions I Get Asked About This Recipe
Mrs. Myers' Banana Bread
Ingredients
Equipment
Method
- Preheat the oven to 350°F and grease and flour a 9x5 loaf pan.
- Cream shortening or butter with sugar until light and fluffy.
- Add eggs one at a time and beat well after each addition.
- Stir in mashed bananas and vanilla extract until combined.
- Sift all-purpose flour, baking soda, and salt together.
- Fold the flour mixture into the banana mixture alternating with the milk, mixing just until no dry streaks remain.
- Pour the batter into the prepared pan.
- Bake for 60–70 minutes at 350°F until a toothpick comes out clean and the top is a deep golden brown.
- Cool in the pan for 15 minutes before turning out.
- Rest fully before slicing for the cleanest cut.