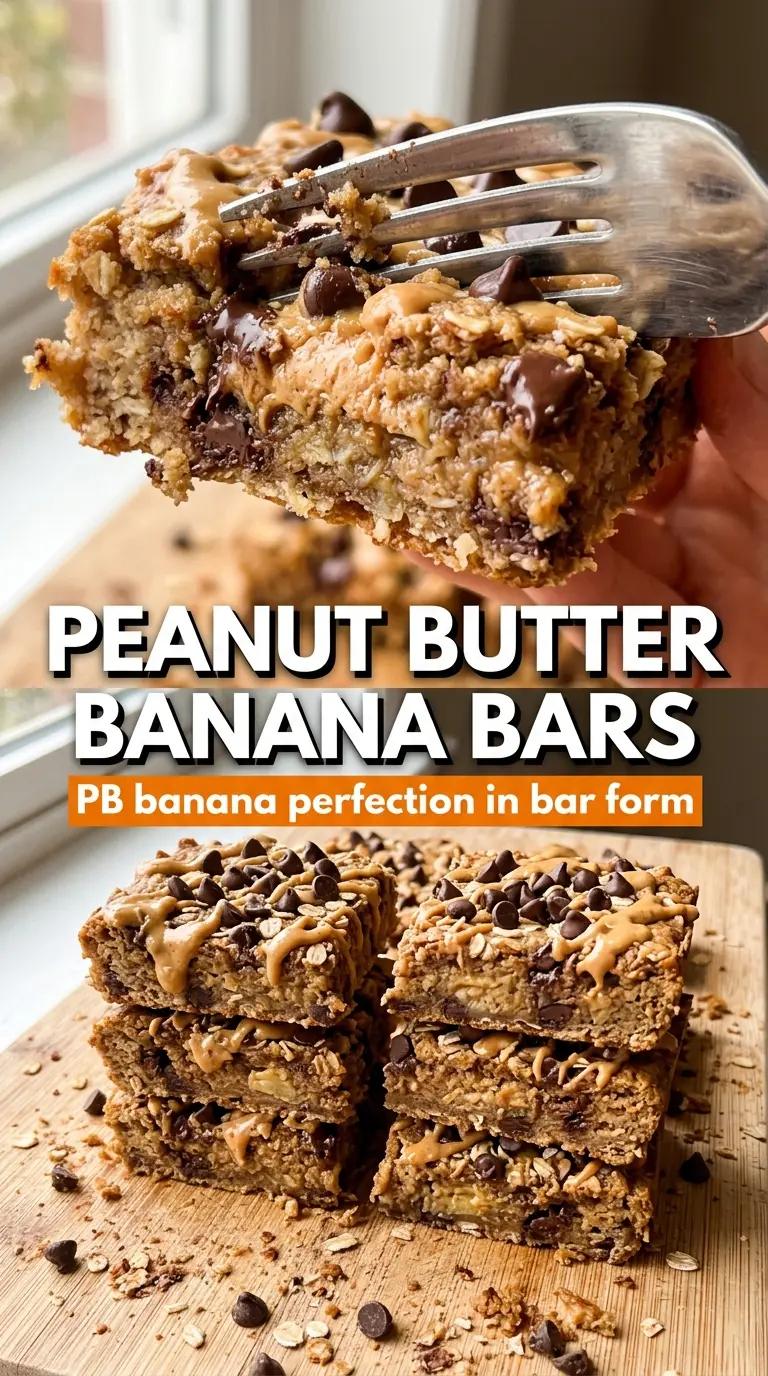
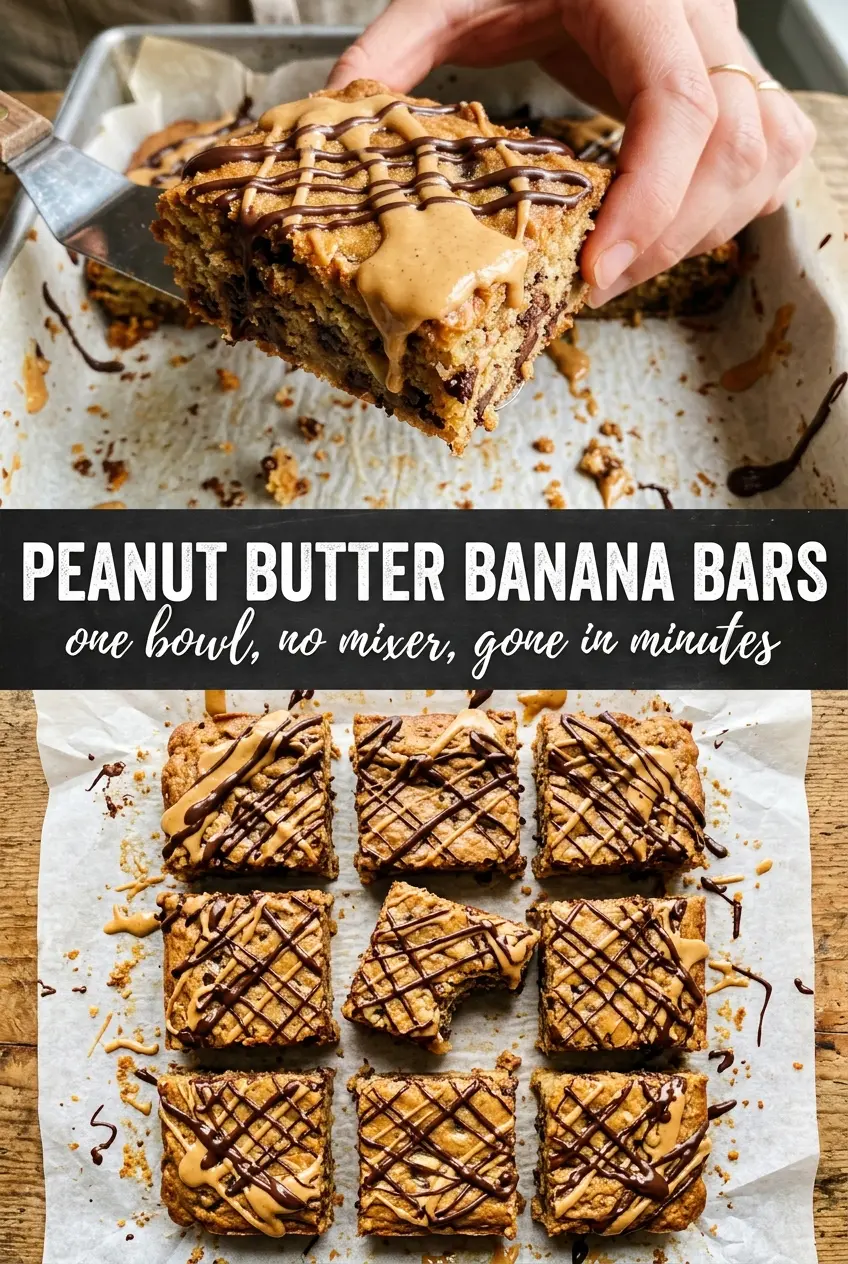
Dense, fudgy peanut butter banana bars are what happens when overripe bananas meet a jar of peanut butter and turn into something you can slice and eat with your hands. They bake up soft in the center with set edges, a little chew from the oats, and just enough structure to hold together without feeling cakey or dry. The chocolate drizzle on top is optional, but it gives the bars that finished look and plays nicely with the banana and peanut butter in every bite.
What makes this version work is the balance. The bananas bring moisture and sweetness, the peanut butter adds body and richness, and the small amount of flour keeps the bars from collapsing into a sticky square of batter. I’ve tested these with both honey and maple syrup, and either one works; honey gives a slightly more rounded sweetness, while maple keeps the flavor a little softer and more mellow.
Below, I’ll walk you through the texture cues that matter most so you don’t end up with underbaked centers or dry edges. There’s also a simple way to adapt these if you want them a little more dessert-like or a little more snackable.
The bars came out so fudgy and the peanut butter flavor stayed strong even after baking. I used maple syrup and the chocolate drizzle set up beautifully once they cooled.
Save these peanut butter banana bars for the days when you want a fudgy snack cake texture with a chocolate drizzle finish.
The Reason These Bars Stay Fudgy Instead of Turning Dry
The biggest trap with banana bars is treating them like cake. Once you add oats, flour, and baking powder, it’s easy to keep mixing until the batter looks fluffy and that’s usually the moment the bars start heading toward dry and bready. Here, the goal is a thick batter that spreads slowly and bakes into a soft, dense square with a tender crumb.
The second trap is overbaking. These are done when the edges are set and the center gives up a few moist crumbs on a toothpick. If the middle looks completely dry in the pan, it will be dry on the plate. Let the bars finish setting as they cool; that’s when the texture settles into that fudgy, sliceable middle.
- Bananas — Use ripe bananas with plenty of brown spots. They mash smoothly, sweeten the batter naturally, and keep the bars soft without needing extra fat.
- Creamy peanut butter — Standard shelf-stable peanut butter gives the most reliable texture here. Natural peanut butter can work, but stir it extremely well first or the batter can separate.
- Rolled oats — These add chew and help the bars feel substantial. Quick oats will work in a pinch, but the texture gets softer and less defined.
- Honey or maple syrup — Either sweetener works, but both also help with moisture. If you swap in granulated sugar, the bars lose some of that soft, almost blondie-like texture.
What Each Ingredient Is Actually Doing in This Pan
The eggs bind everything together and give the bars enough lift to hold a clean slice. Without them, the center tends to stay heavy and overly soft in a way that feels underbaked even when it isn’t.
The flour is the quiet structure builder. All-purpose flour gives the bars enough body to slice neatly, while the oats keep them from feeling too cake-like. If you need a gluten-free version, use certified gluten-free oats and a 1:1 gluten-free flour blend; the bars will be a little more tender, but they’ll still hold.
The chocolate chips are more than a topping-in-disguise. They melt into little pockets through the batter, which keeps each bite from tasting one-note. If you skip the drizzle, the bars still work, but the finish is a little less polished and less dessert-like.
Getting the Batter Smooth Without Overmixing It
Mashing and Whisking the Wet Ingredients
Start by mashing the bananas until they’re as smooth as you can get them; chunks leave wet spots in the bars. Whisk in the peanut butter, honey or maple syrup, eggs, and vanilla until the mixture looks uniform and glossy. If the peanut butter is stiff, stir it into the bananas first so it loosens before the eggs go in.
Adding the Dry Ingredients Just Until Combined
Stir in the oats, flour, baking powder, cinnamon, and salt with a spatula, not a whisk. Stop as soon as the flour disappears. If you keep mixing, the bars turn tighter and more bread-like, and you’ll lose that soft, fudgy middle. Fold in the chocolate chips at the end so they stay intact instead of smearing through the batter.
Baking Until the Center Still Has a Little Give
Spread the batter evenly into the prepared pan and smooth the top so it bakes at the same rate across the surface. The bars are ready when the edges look set and pull just slightly from the pan, while the center still looks a touch soft. That last bit of carryover heat finishes the middle as it cools. Pulling them too late is the fastest way to dry them out.
Cooling Before You Slice
Let the bars cool completely in the pan before adding any drizzle or cutting them. Warm bars seem too fragile and the center can crumble even when they’re baked correctly. Once cool, the texture firms into that dense, fudgy slice that holds together cleanly.
Three Ways to Adjust the Bars Without Losing the Texture
Make Them More Dessert-Like
Drizzle melted chocolate over the cooled bars instead of, or in addition to, peanut butter. The extra chocolate pushes the bars toward brownie territory and gives you a firmer finish on top without changing the interior.
Make Them Gluten-Free
Use certified gluten-free oats and replace the all-purpose flour with a 1:1 gluten-free blend. The bars stay soft and sliceable, though the crumb will be a little more delicate, so let them cool fully before cutting.
Use Natural Peanut Butter
Natural peanut butter works if it’s stirred until completely smooth and the oil is fully incorporated. The bars will bake up a little softer and less rich-looking, but the flavor stays strong. If the peanut butter is separated, the batter can turn greasy and uneven.
Make a Smaller Batch in a 9×9 Pan
If you use a 9×9 pan, expect the bars to bake a little faster and come out slightly thicker. Start checking a few minutes early so the edges don’t overcook before the center sets.
Storage and Reheating
- Refrigerator: Store in an airtight container for up to 5 days. They get a little firmer when chilled, which works nicely if you like a denser bar.
- Freezer: These freeze well. Wrap the sliced bars individually and freeze for up to 2 months, then thaw in the fridge or at room temperature.
- Reheating: Warm a bar for 10 to 15 seconds in the microwave if you want the chocolate soft and the center just a bit gooey. Don’t heat them long enough to dry out the edges.
Answers to the Questions Worth Asking
Peanut Butter Banana Bars
Ingredients
Equipment
Method
- Preheat the oven to 350°F and line an 8x8 or 9x13 baking pan with parchment paper, leaving overhang for easy lifting later. Make sure the parchment lies flat so the bars release cleanly.
- Mash the ripe bananas completely smooth, then whisk in the creamy peanut butter, honey (or maple syrup), eggs, and vanilla extract until fully combined. Keep whisking until no banana lumps remain.
- Stir in the rolled oats, all-purpose flour, baking powder, cinnamon, and salt until just combined, then fold in the chocolate chips. Stop mixing as soon as you don’t see dry flour to avoid a dry bar.
- Spread the batter evenly into the prepared pan and smooth the top. Press gently to level so the bars bake uniformly.
- Bake at 350°F for 22–25 minutes until the edges are set and a toothpick inserted in the center comes out with just a few moist crumbs. Look for a golden top and a center that holds together without wet batter.
- Cool completely in the pan before slicing. Waiting for full cool helps the bars cut into dense, fudgy squares without crumbling.
- Drizzle with melted peanut butter and/or chocolate, then slice into bars. Use a zigzag motion so you get glossy swirls across the batch.