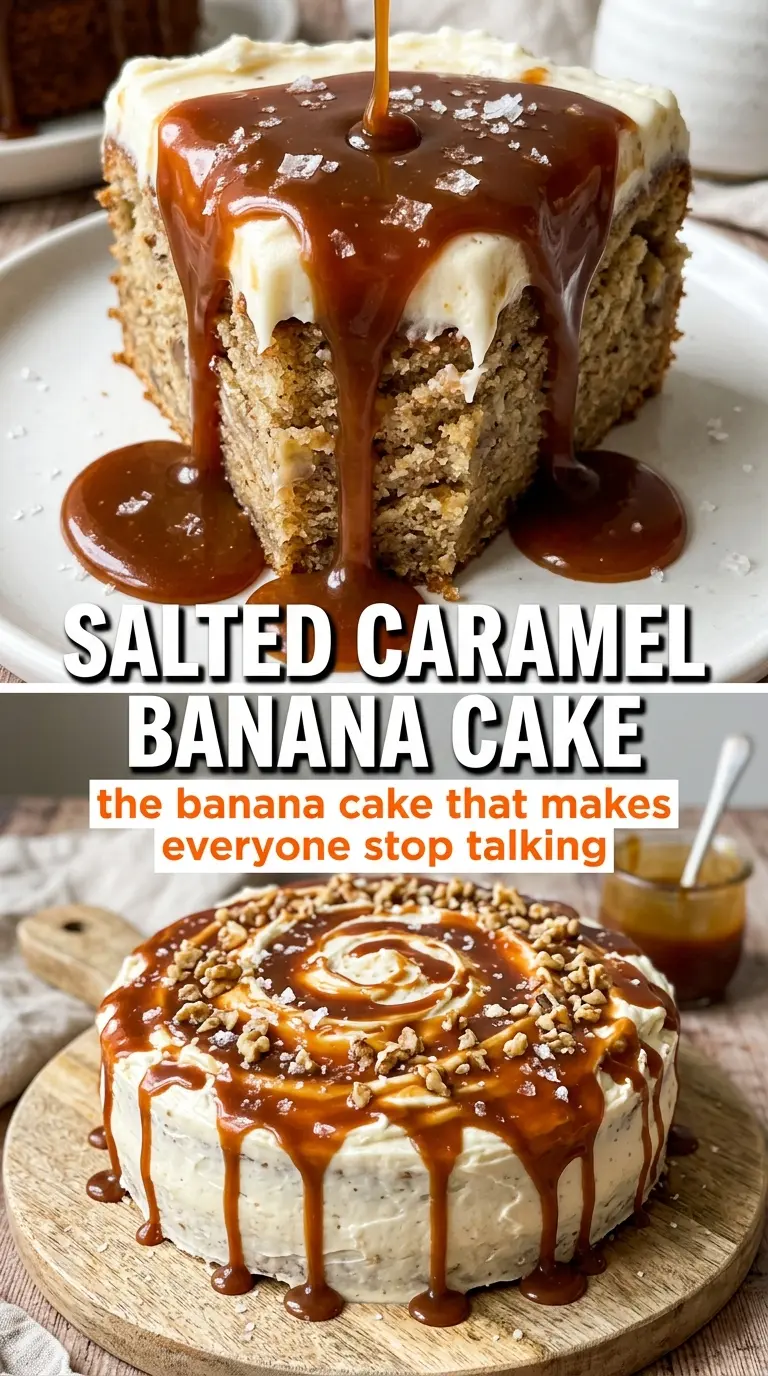
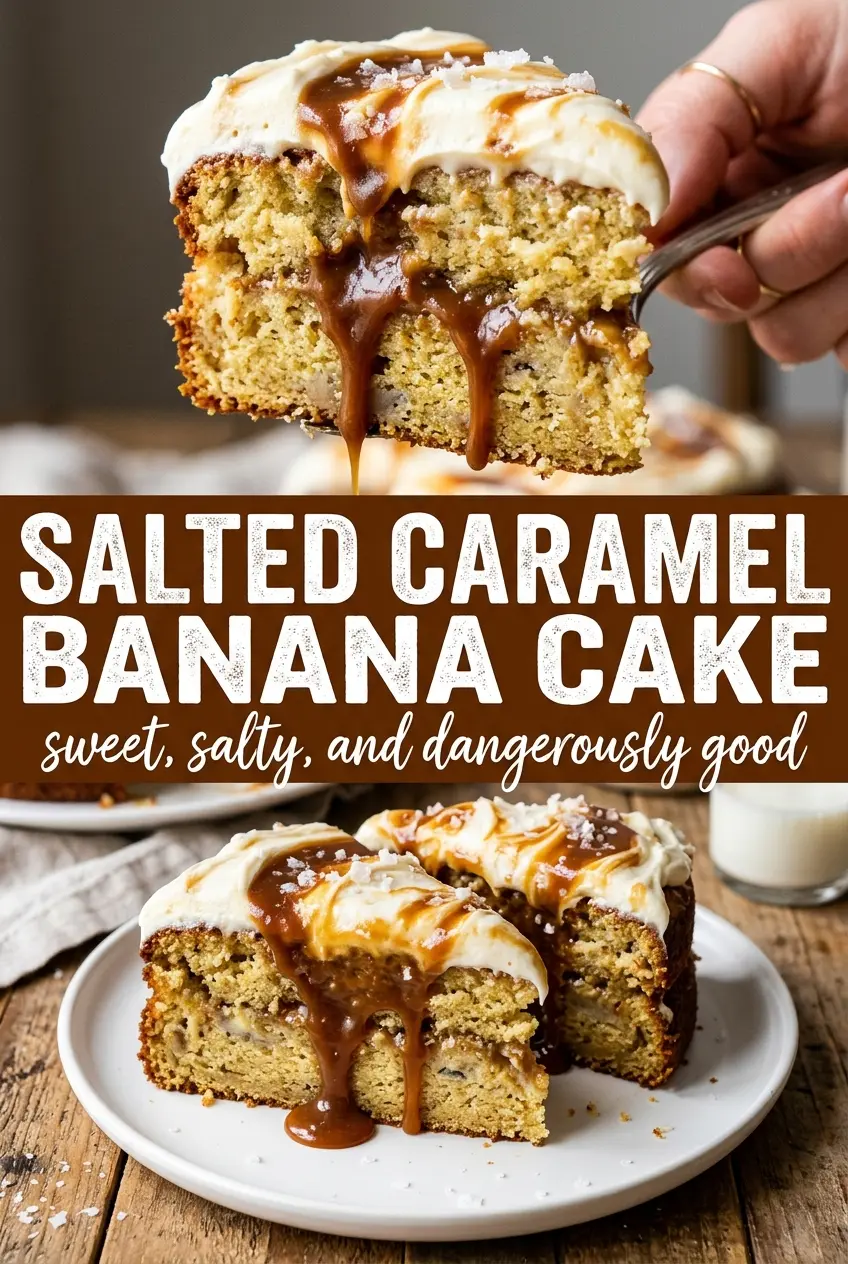
Salted caramel banana cake hits that sweet spot between nostalgic and over-the-top: tender banana layers, a tangy caramel-kissed frosting, and just enough flaky sea salt to keep every bite from tasting one-note. The banana cake stays soft for days, and the salted caramel cream cheese frosting gives it the kind of finish that makes people pause before cutting the first slice. It looks like a celebration cake, but it bakes up with the easygoing feel of a loaf cake dressed up for company.
What makes this version work is balance. The mashed bananas bring moisture and deep banana flavor, while sour cream keeps the crumb plush without turning heavy. The frosting leans on cream cheese for structure and a little tang, which keeps the caramel from becoming cloying. Use ripe bananas with plenty of brown spots; under-ripe bananas don’t melt into the batter the same way, and that missing sweetness shows up in the finished cake.
Below, I’ve laid out the part that matters most: how to keep the layers tender, how to keep the frosting smooth, and how to get that caramel drizzle to look dramatic instead of messy. If you want a banana dessert that feels special enough for birthdays but still bakes reliably on a regular afternoon, this one earns its place.
The cake stayed incredibly moist and the salted caramel frosting tasted balanced instead of too sweet. I used very ripe bananas and the layers baked up flat and even, so the caramel drizzle looked gorgeous on top.
Love a dramatic dessert? Save this salted caramel banana cake for the next time you want tall banana layers, silky frosting, and a glossy caramel drip.
The Trick to Keeping Banana Cake Tender Without Making It Dense
Banana cake goes wrong when the batter gets overworked or overloaded with banana. You want enough mashed banana for flavor and moisture, but not so much that the crumb turns gummy. The other common mistake is using cold ingredients straight from the fridge, which keeps the butter from blending properly and leaves the batter lumpy instead of airy.
Here, the butter and sugar get beaten until fluffy first, which builds a little structure before the bananas go in. After that, the dry ingredients and sour cream are added in alternating turns so the batter stays smooth without being beaten to death. That alternating method matters because it keeps the cake tender while still giving you two layers that can hold frosting and caramel without sinking under the weight.
- Ripe bananas — Use bananas with deep brown speckles and soft flesh. They mash smoothly and bring the strongest banana flavor. If yours are only lightly spotted, the cake will still work, but it won’t taste as full.
- Sour cream — This is what keeps the crumb moist and plush. Plain Greek yogurt can stand in, and it works well, but the cake will be a touch firmer and a little tangier.
- Butter — Softened butter creams with the sugar to trap air, which helps the layers bake up lighter. If the butter is melting at the edges, it’s too warm and the batter can turn greasy.
- Salted caramel sauce — Use a thick sauce here, not a thin drizzle. A loose caramel can slide off the frosting instead of sitting on top in those pretty ribbons.
What Each Ingredient Is Actually Doing in This Banana Bread
- Bananas (the moisture and sweetness) — Use very ripe bananas for maximum sweetness and moisture. Overripe bananas are actually better here.
- Flour (the structure) — Don’t overmix or the bread becomes tough. Mix just until dry ingredients are incorporated.
- Sugar (the sweetness) — Ripe bananas are already sweet, so you might reduce sugar slightly. Adjust to taste.
- Butter or oil (the richness) — This creates tender crumb and carries flavors. Room temperature butter creams better.
- Eggs (the binder and lift) — These hold everything together and help the bread rise. Use room temperature eggs.
- Leavening (baking soda or powder) — This creates rise. Too much makes it taste bitter.
- Vanilla extract (the flavor enhancer) — This brings out the banana flavor. Use quality vanilla extract.
- Optional mix-ins (nuts, chocolate, or dried fruit) — These add texture and prevent the bread from being one-dimensional.
Building the Layers So the Frosting and Caramel Stay Put
Creaming the Base
Beat the butter and sugar until the mixture looks pale and fluffy, not just combined. That step gives the cake its lift, especially since banana batter can turn heavy fast. Add the eggs one at a time so the mixture stays smooth, then mix in the vanilla and mashed bananas. If the batter looks slightly curdled after the bananas go in, that’s fine; it should come back together once the dry ingredients are folded in.
Bringing the Batter Together
Stir the flour, baking soda, baking powder, salt, and cinnamon together before they go into the bowl. Add the dry ingredients and sour cream in three additions, starting and ending with the flour mixture. Stop mixing as soon as the batter is smooth and no dry streaks remain, because overmixing is what turns banana cake tight and chewy instead of soft.
Baking and Cooling the Layers
Divide the batter evenly between two greased 8-inch pans and bake until the tops spring back and a toothpick comes out clean. The centers should be set but not dried out; if the cakes pull too far from the sides or smell deeply toasted, they’ve gone a little long. Let them cool completely before frosting, or the cream cheese frosting will soften and slide right off.
Making the Salted Caramel Frosting
Beat the cream cheese and butter until smooth before adding the powdered sugar and caramel sauce. If the frosting looks thin, it usually means the cream cheese was too warm or the caramel was too loose. Chill it for a few minutes if needed, then beat again until it holds soft peaks that spread cleanly between the layers and over the sides.
Finishing the Cake
Stack the first layer, spread on frosting, then add the second layer and coat the top and sides. Drizzle extra caramel over the edges so it runs down naturally instead of flooding the frosting. Finish with flaky sea salt while the caramel is still tacky so the crystals stick and give each slice a sharp little finish against the sweetness.
Three Ways to Shift the Cake Without Losing What Makes It Good
Dairy-Free Version
Swap the butter for a plant-based baking stick, the sour cream for thick dairy-free yogurt, and use a dairy-free cream cheese for the frosting. The cake still bakes up tender, but the frosting will be a little softer, so chill it before layering if your kitchen runs warm.
Cupcake Version
Bake the batter in lined muffin tins for about 18 to 22 minutes. You’ll get a lighter dessert with more frosting in each bite, and the caramel drizzle looks especially nice on top. This is the best route when you want the flavor without committing to a whole layer cake.
Extra Caramel, Less Sweet Frosting
If you prefer the caramel to lead, cut the powdered sugar back slightly and use a thicker caramel sauce in the frosting. The result is less sugary and a little more tangy, with the banana coming through more clearly. Don’t cut too much sugar, though, or the frosting won’t hold its shape on the sides.
Storage and Reheating
- Refrigerator: Store covered for up to 4 days. The cake stays moist, and the frosting firms up slightly.
- Freezer: Freeze unfrosted layers tightly wrapped for up to 2 months. Frosted slices can be frozen, but the caramel drizzle will lose some of its shine.
- Reheating: Let chilled slices sit at room temperature for 20 to 30 minutes before serving. Microwaving is not the move here; it softens the frosting too much and makes the cake feel greasy.
Answers to the Questions Worth Asking
Salted Caramel Banana Cake
Ingredients
Equipment
Method
- Preheat the oven to 350°F and grease two 8-inch round pans.
- Beat the softened butter and sugar until fluffy, then beat in the eggs, vanilla, and mashed bananas.
- In a separate bowl, mix the flour, baking soda, baking powder, salt, and cinnamon.
- Fold the dry flour mixture into the wet batter in three additions, then fold in the sour cream with each addition (three total additions).
- Divide the batter between the two pans and bake for 30–35 minutes, until a toothpick comes out clean.
- Cool the cakes completely before frosting.
- Beat the softened cream cheese and butter until smooth.
- Beat in the powdered sugar, then add the salted caramel sauce and continue beating until fluffy.
- Place one cooled cake layer on a plate or cake stand and spread frosting over the top.
- Stack the second cake layer on top and frost the top and sides.
- Drizzle additional salted caramel over the top and down the sides for a dramatic drip effect.
- Finish with flaky sea salt on top.


