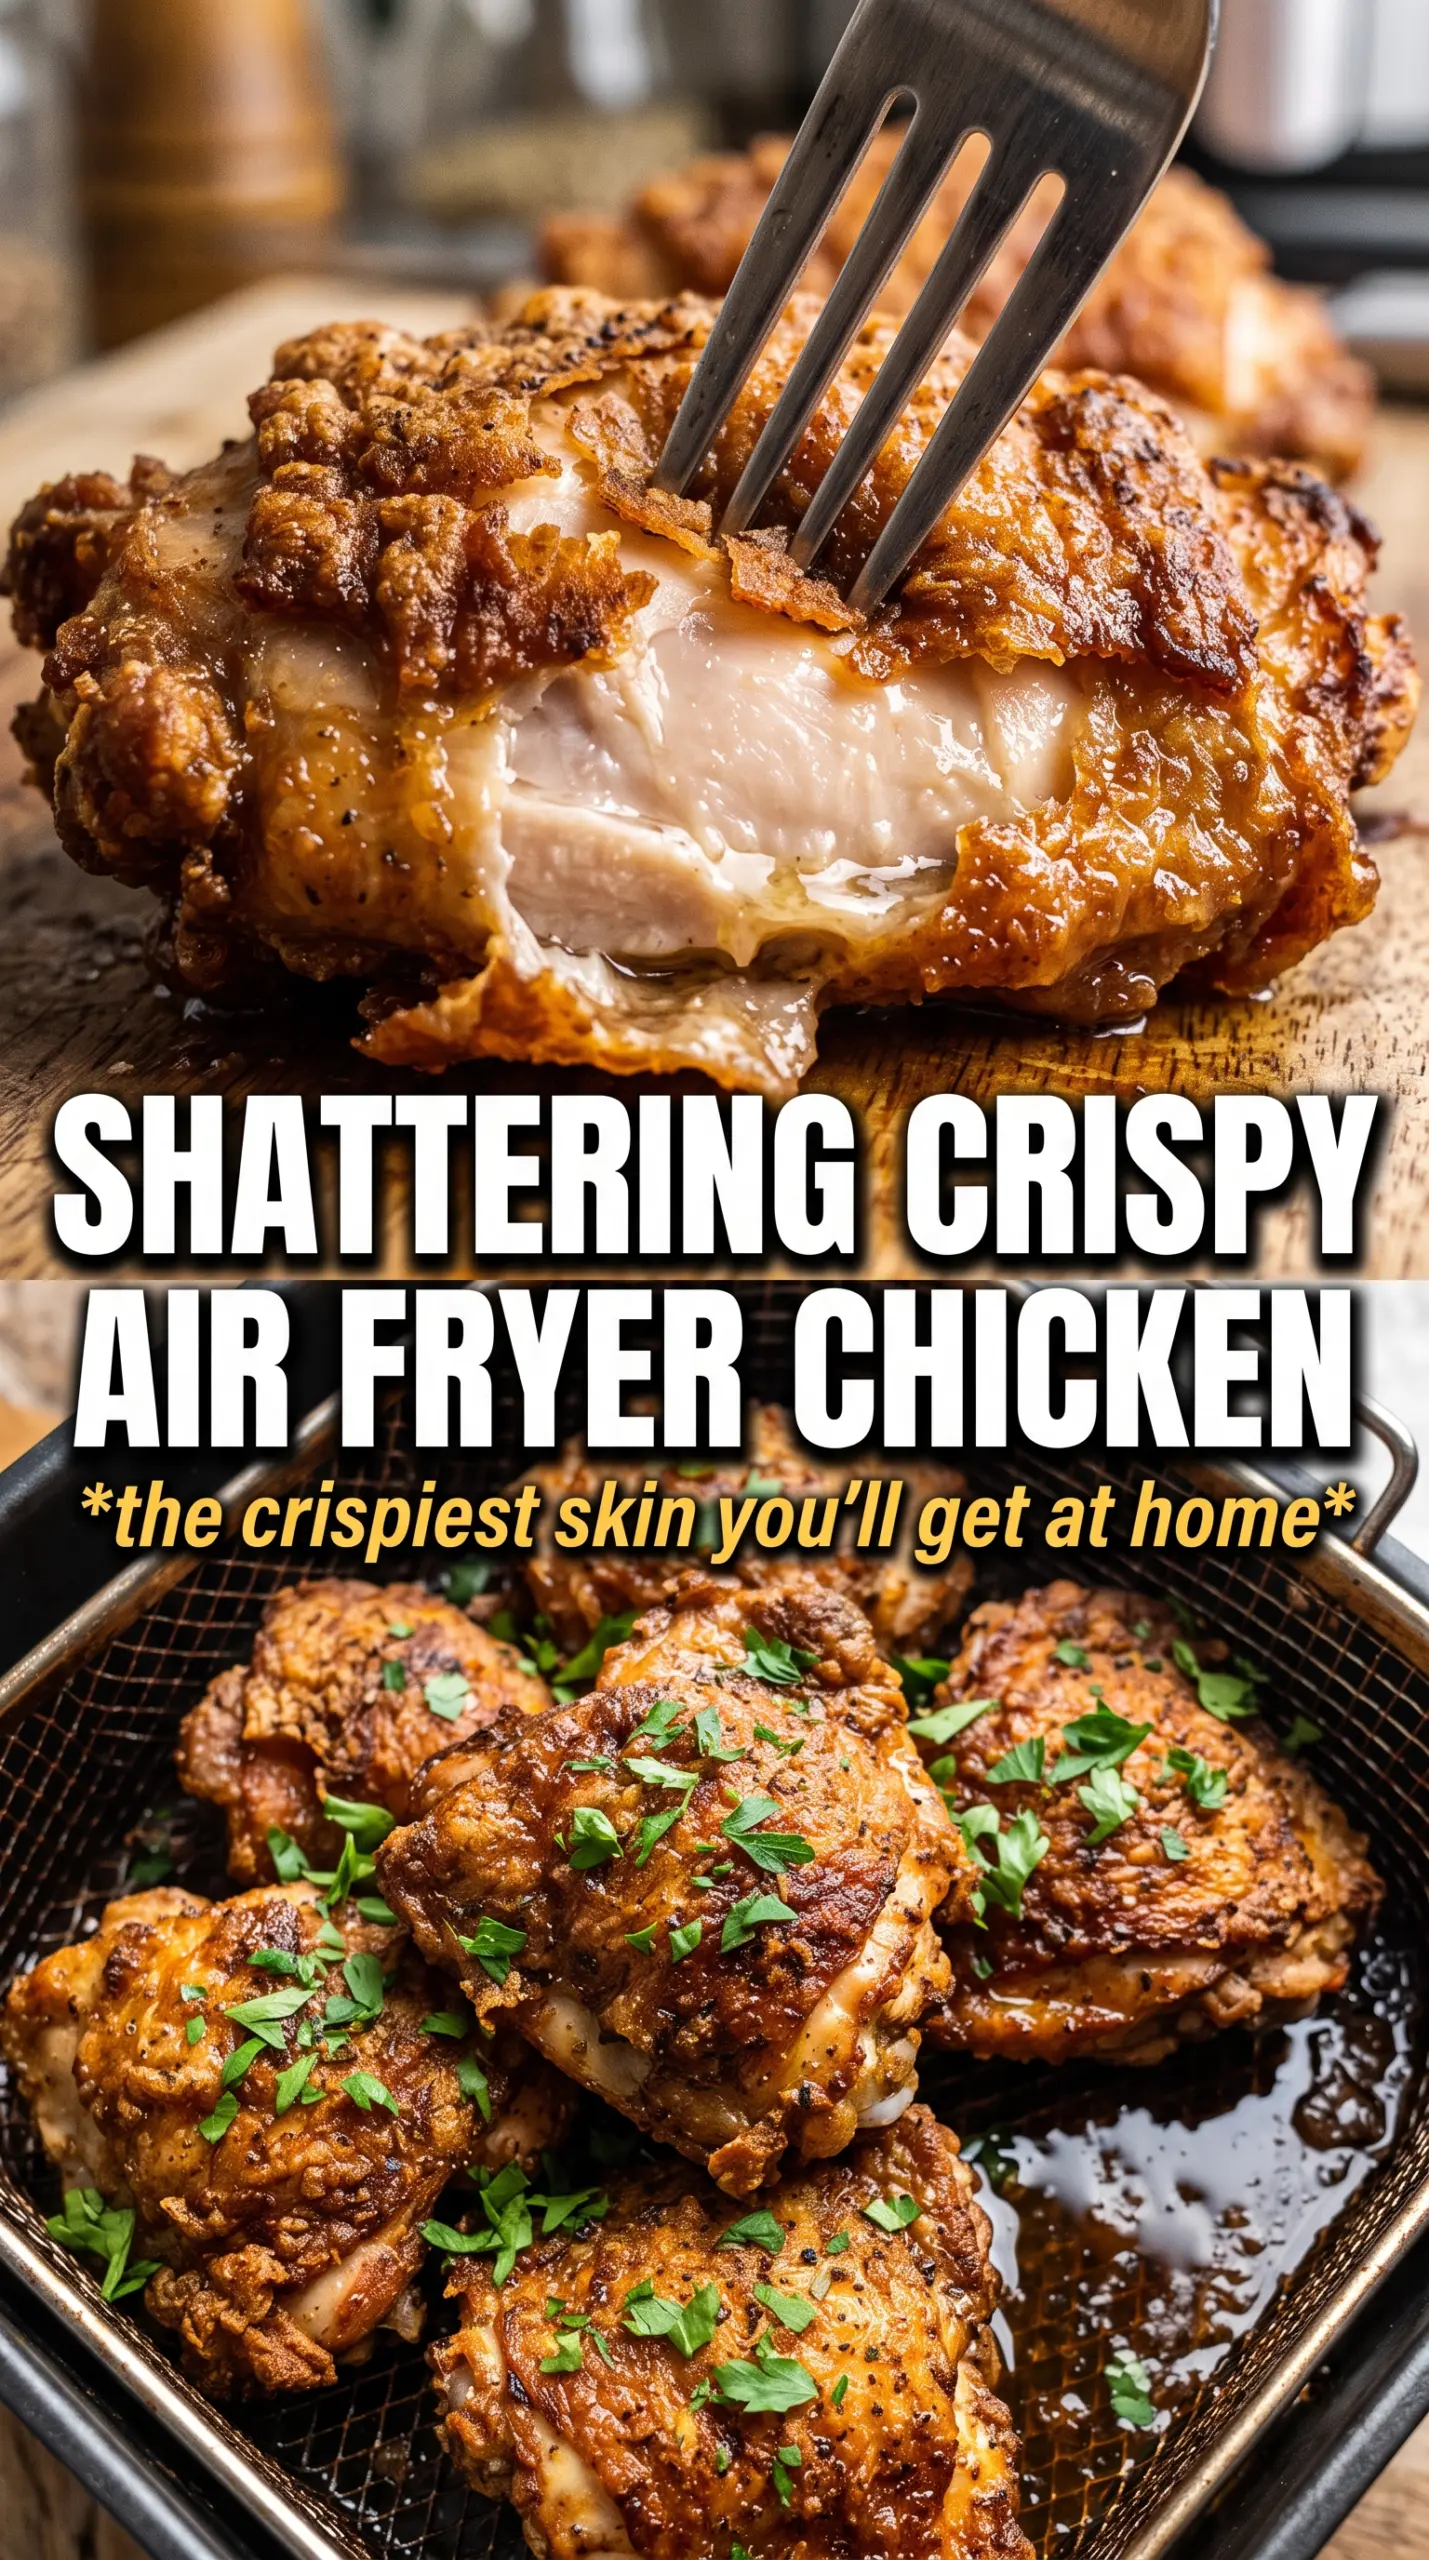
Shatteringly crisp skin, juicy meat, and deep savory seasoning are what make these air fryer chicken thighs worth putting on repeat. The skin turns glassy and crackly in the basket, with the kind of crunch that makes people glance over at the plate before they even take a bite. The meat underneath stays tender and flavorful, so you get the best part of fried chicken energy without pulling out a pot of oil.
The trick is a thin, even coating of baking powder mixed with the spices. It raises the skin’s surface pH, which helps it dry out and brown faster, and that’s what gives you the lacquered, bronzed finish instead of soft, pale chicken skin. Patting the thighs completely dry matters just as much. If there’s surface moisture left on the skin, the air fryer has to steam it off before it can crisp it, and that slows everything down.
Below, I’ll walk through the one detail that keeps the skin from turning leathery, the ingredient that does the heavy lifting here, and the timing that gets you to deeply crisp chicken without guessing.
The skin came out unbelievably crisp, and the baking powder trick gave it that fried-chicken crunch without any weird aftertaste. I let them rest five minutes like you said, and they still stayed crunchy when we ate them.
Save these super crispy air fryer chicken thighs for the night you want shatter-crisp skin and juicy meat without deep frying.
The Step That Keeps the Skin Crispy Instead of Soggy
The whole recipe hinges on one thing: starting with dry skin. Chicken thighs carry a little surface moisture even when they look dry out of the package, and that moisture is what blunts crisping in the air fryer. If you skip the drying step, the seasoning slides around and the skin spends the first stretch of cooking steaming instead of tightening up.
Skin-side-down first might look backward, but it helps render a little fat before the final crisping blast. That early contact pulls some of the moisture out of the skin, and the flip at the end lets the top finish bronze and crackly. If your air fryer runs hot, keep an eye on the last few minutes. The line between deeply crisp and over-dark can move fast on chicken thighs because the skin is thin while the meat underneath stays protected by its own fat.
What Each Ingredient Is Actually Doing in This Recipe
- Primary ingredient (the star) — Quality matters most. Choose the best you can find.
- Cooking medium (oil, butter, or broth) — This carries flavors and prevents dryness.
- Seasonings (salt, pepper, spices, herbs) — Layer flavors so nothing overpowers. Build depth gradually.
- Aromatics (garlic, onion, herbs) — Cook with fat to bloom flavors. Become the foundation.
- Supporting ingredients — Complement the main ingredient without overpowering it.
- Sauce or liquid (if applicable) — Brings flavors together. Balance richness with acid.
- Acid (lemon, vinegar, wine, or other) — Brightens and prevents flat-tasting results.
- Final finish (garnish, glaze, or sauce) — Prevents one-dimensional taste and adds visual appeal.
What the Baking Powder Is Doing Here
- Chicken thighs — Bone-in, skin-on thighs are the right cut for this method. They stay juicy under high heat and the skin has enough fat to crisp well. Boneless thighs won’t give you the same result, and skinless thighs will just turn out seasoned, not crunchy.
- Baking powder — This is the ingredient that changes the texture of the skin. Use plain baking powder, not baking soda. Too much baking soda can taste metallic and harsh, while baking powder gives you crisp skin without that off note.
- Olive oil — The oil helps the spice mixture cling and promotes even browning. You don’t need a lot. The skin already contains fat, and too much oil can pool in the air fryer and soften the surface instead of crisping it.
- Smoked paprika and garlic powder — These give the chicken a savory, roasted edge that tastes fuller than salt and pepper alone. Fresh garlic won’t work the same way here because it can burn in the dry air fryer heat.
Getting from Seasoned Chicken to Shattering Skin
Drying the Skin Thoroughly
Pat the chicken thighs dry with paper towels until the skin feels almost tacky, not wet or slick. This is the moment that decides whether you get crisp skin or a soft, oily finish. If there’s visible moisture, keep blotting it away. Seasoning clumps on damp skin instead of forming an even coat, and uneven coating means uneven browning.
Coating with the Baking Powder Rub
Mix the baking powder with the garlic powder, paprika, onion powder, salt, and pepper, then rub everything over the chicken with the olive oil. The coating should look thin and dusty, not pasty. If you can see thick white patches, there’s too much on one spot and that area can taste chalky. Work the mixture over the entire surface, especially under the edges of the skin where crisping starts.
Air Frying for Rendered Fat First
Preheat the air fryer to 400°F, then place the thighs skin-side down for the first 10 minutes. You’re looking for the skin to tighten and start to render, not finish browning yet. If your basket is crowded, the chicken steams instead of crisps, so leave space around each thigh. After the first stage, flip them skin-side up and cook 12 to 14 minutes more until the skin is deeply golden and the thickest part hits 165°F.
Resting Without Losing the Crunch
Let the chicken rest for 5 minutes before serving. Resting keeps the juices in the meat, and it also lets the skin firm up another notch as steam escapes. If you slice too early, the juices run out and soften the crust from the inside. A short rest is enough here; don’t cover the chicken or the trapped steam will undo some of the crispness you just built.
How to Change These Chicken Thighs Without Losing the Crunch
Make Them Gluten-Free Without Changing the Texture
This recipe is already naturally gluten-free as written, so there’s nothing to swap. The important part is keeping the baking powder plain and checking that your seasoning blend doesn’t include added starches or fillers if you use a store-bought one.
Swap the Spices for a Different Finish
The baking powder does the crisping, so the spices can move around without breaking the method. Try cayenne and extra smoked paprika for a spicier version, or use lemon pepper for a brighter, sharper edge. Just keep the total dry seasoning amount close to the original so the skin doesn’t get overloaded and clumpy.
Use Drumsticks Instead of Thighs
Drumsticks work well, but they need a little more time because the meat is shaped differently and the skin coverage isn’t as even. Keep the same temperature, then cook until the meat near the bone reaches 165°F. The skin will still crisp, but it won’t look quite as lacquered as it does on thighs.
Storage and Reheating
- Refrigerator: Store in an airtight container for up to 4 days. The skin will soften a bit in the fridge, but the flavor holds up well.
- Freezer: Freeze cooked thighs for up to 2 months, wrapped tightly and then sealed. The skin won’t return to its original crackly texture after freezing, but the meat stays useful for meal prep.
- Reheating: Reheat in the air fryer at 375°F for 5 to 7 minutes until hot and the skin crisps back up. Don’t microwave if you want any crunch left; it turns the skin rubbery fast.
Questions I Get Asked About This Recipe
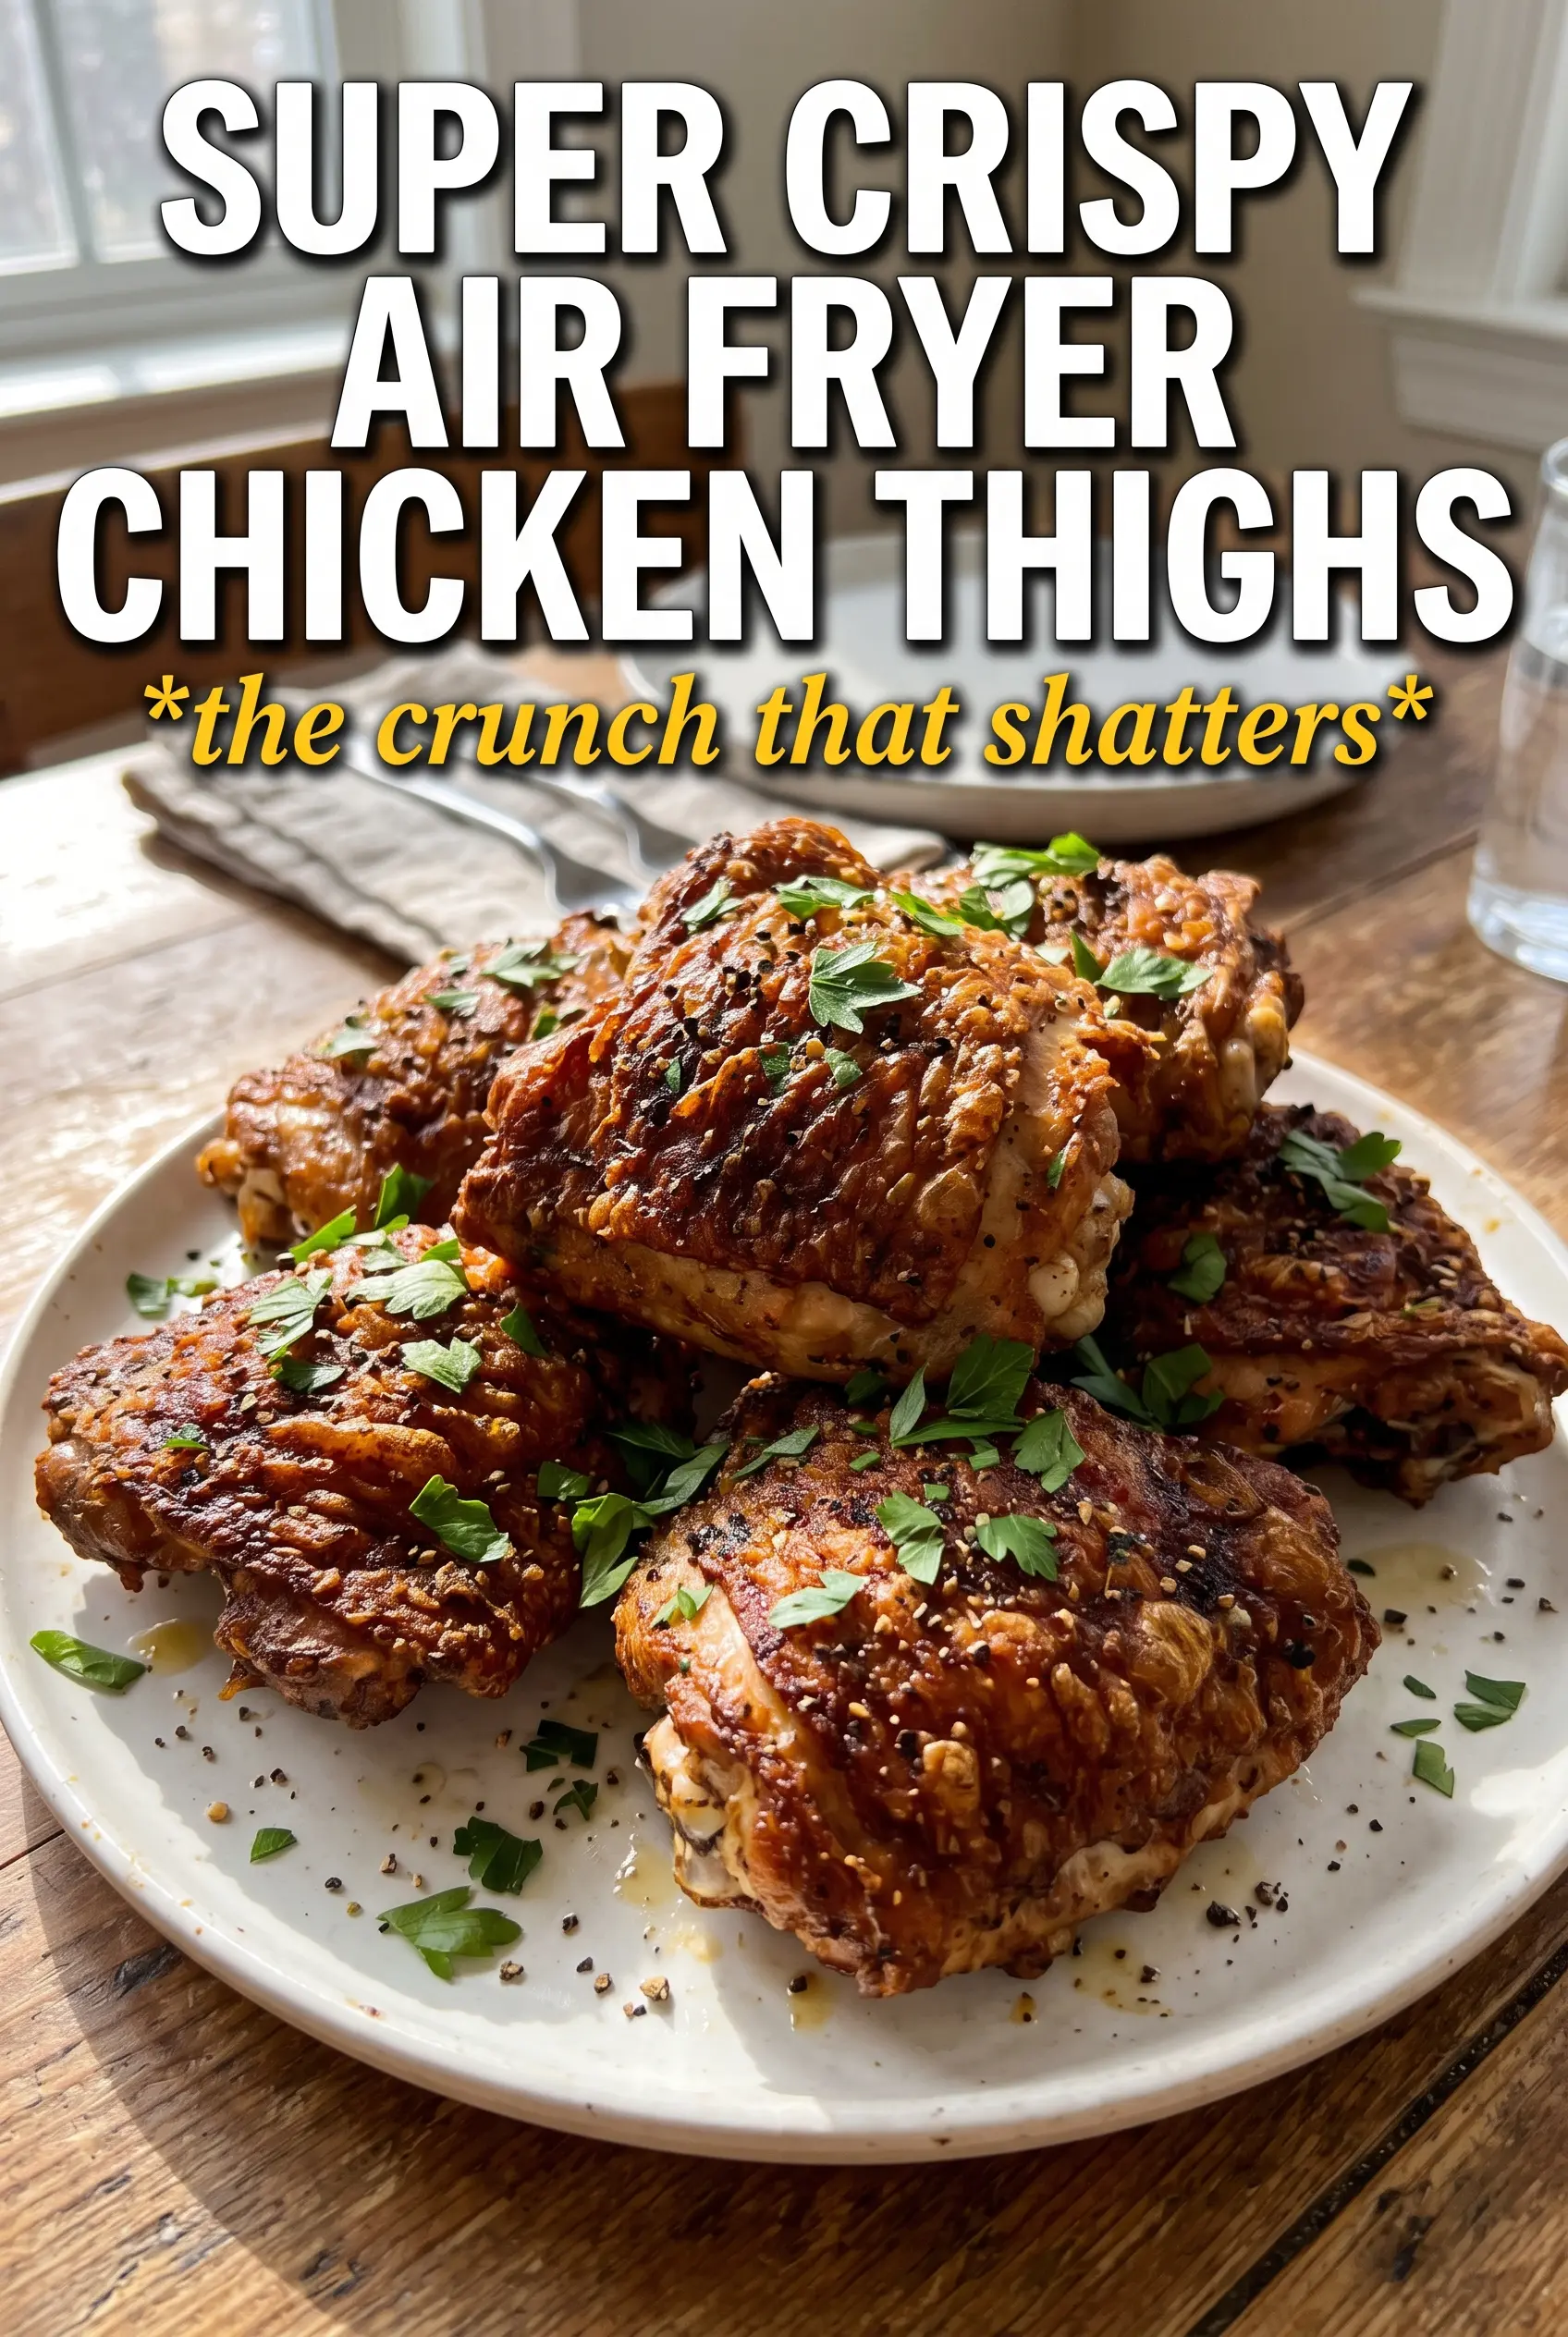
Super Crispy Air Fryer Chicken Thighs
Ingredients
Equipment
Method
- Pat the chicken completely dry, making sure no moisture remains on the skin to promote crisping.
- Rub the chicken with olive oil, then mix baking powder with garlic powder, smoked paprika, onion powder, salt, and black pepper and rub thoroughly all over the chicken.
- Preheat the air fryer to 400°F and let it fully come up to temperature.
- Place the chicken skin-side down and air fry for 10 minutes, until the skin starts setting and turning golden at the edges.
- Flip to skin-side up and air fry for 12-14 more minutes at 400°F until the skin is deeply golden and incredibly crispy, and the internal temperature reaches 165°F.
- Rest the chicken for 5 minutes so the skin continues to crisp as it cools slightly, then serve with lemon and parsley.


