Texas Roadhouse rolls hit that sweet spot between soft dinner roll and bakery-style treat: tender enough to pull apart in fluffy layers, with a lightly sweet crumb that begs for a thick swipe of cinnamon honey butter. The best part is the texture. These bake up with a pillowy center and a delicate golden top that still stays supple after cooling, which is why they disappear fast the minute they reach the table.
What makes this version work is the balance of warm dairy, enriched dough, and two separate rises. The milk and butter give the rolls their soft, almost cloudlike interior, while the sugar feeds the yeast and adds just enough sweetness to echo the restaurant version without turning them into dessert. Cutting the dough into squares instead of shaping tight rounds also helps keep that signature rustic look and keeps the crumb extra tender.
Below, I’ve included the little details that matter most: how to know when the dough has risen enough, why the butter should go on while the rolls are still warm, and what to do if you want to make the dough ahead so dinner comes together without a rush.
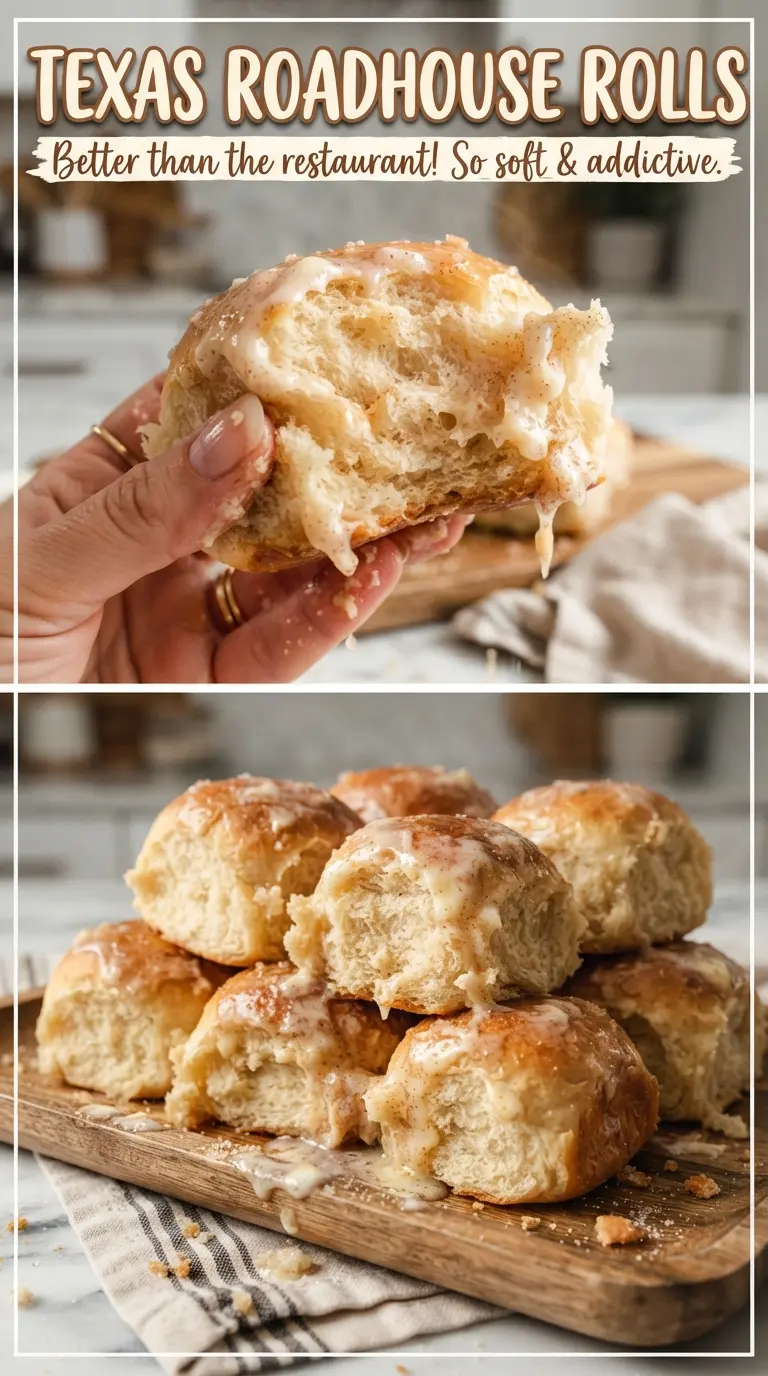
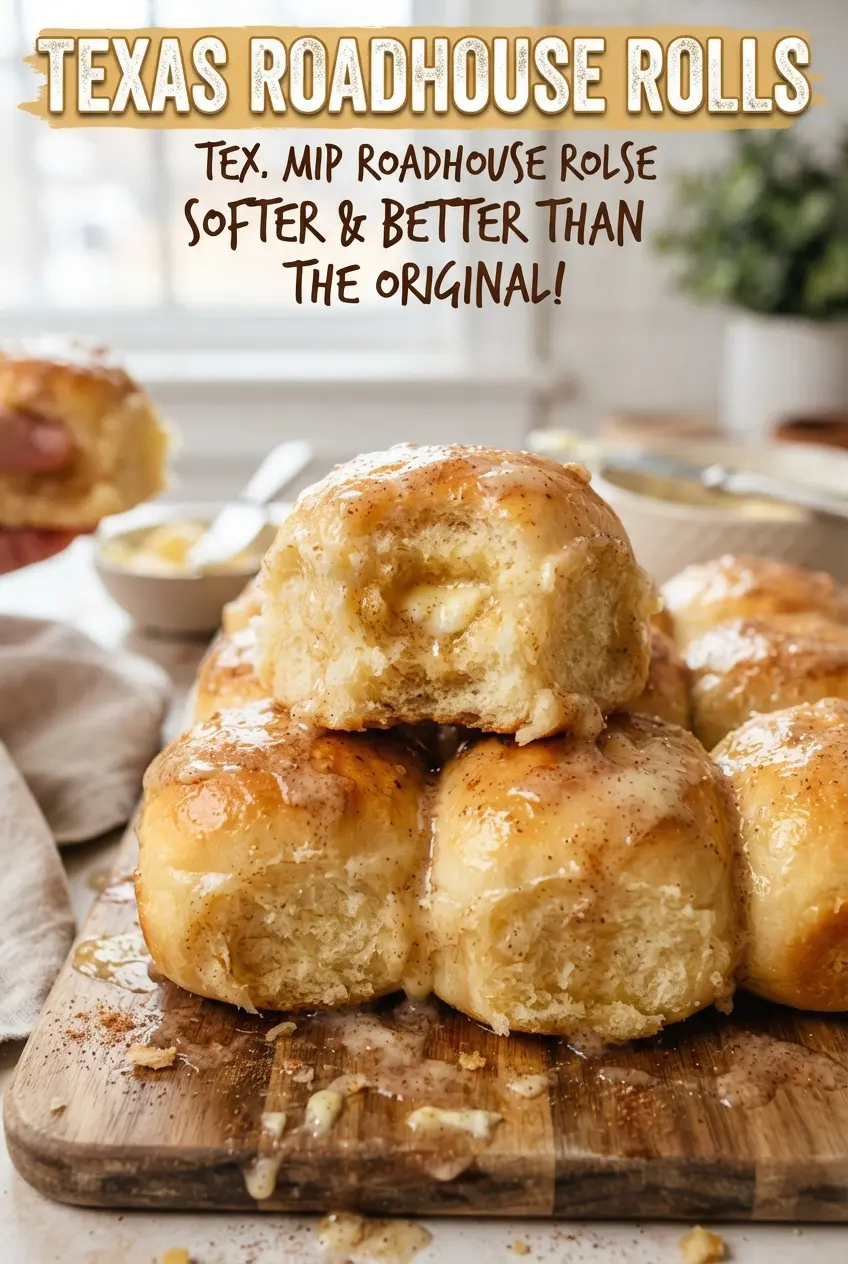
The rolls were unbelievably soft, and brushing them with butter the second they came out made the tops shiny and tender. The cinnamon honey butter was spot on and tasted just like the restaurant.
Save these Texas Roadhouse Rolls for the soft, buttery squares and that cinnamon honey butter finish.
The Step That Keeps These Rolls Soft Instead of Dry
The biggest mistake with homemade rolls is baking them until they look deeply browned. By that point, the interior has usually gone past tender and starts drying out. These rolls are done when the tops are just golden and the sides still look pale and soft. They finish setting from carryover heat, which is exactly what keeps the crumb fluffy.
The other thing that matters is the dough texture before the first rise. It should be soft and slightly tacky, not stiff. Too much flour turns these dense and bready. If the dough clings hard to your hands, dust lightly, but stop before it becomes dry to the touch.
What the Butter, Milk, and Honey Are Doing Here
- Whole milk — This adds richness and keeps the crumb softer than water alone ever could. Warm it to about 110F so it wakes the yeast without killing it. If you need to substitute, use 2% milk before you reach for anything non-dairy, because the lower fat still behaves more like the original.
- Butter — Melted butter goes into the dough for tenderness, then more butter gets brushed on after baking for that signature glossy top. Use real butter here; margarine won’t give the same flavor or finish. For the filling-style topping, softened butter needs to be fluffy so it spreads cleanly over the warm rolls.
- Active dry yeast — The bloom is your first check that it’s alive and ready. If the mixture doesn’t look foamy after 5 minutes, start over with fresher yeast and correctly warmed liquid. That step saves you from a flat batch later.
- Honey and cinnamon — These belong in the butter, not the dough, if you want the classic restaurant-style contrast between plain roll and sweet spread. Honey loosens the butter just enough to make it spreadable, while cinnamon gives the finish its familiar warmth.
Building the Dough So It Rises Tall and Stays Tender
Proofing the yeast
Stir the warm milk, water, yeast, and a spoonful of sugar together, then leave it alone for 5 minutes. You’re looking for a foamy cap and a yeasty smell, not just a few bubbles around the edge. If the surface stays flat, the yeast is dead or the liquid was too hot, and the dough won’t rise properly.
Mixing until soft, not stiff
Add the remaining sugar, egg, melted butter, salt, and flour, then knead until the dough turns smooth and elastic, about 8 minutes. It should feel supple and slightly tacky. If it feels firm like a bread loaf, it already has too much flour and the finished rolls will lose that pull-apart texture.
Shaping the squares
After the first rise, roll the dough into a rectangle about 1/2-inch thick and fold it over itself before cutting. That fold helps create the layered look and makes the squares puff in a more structured way. Cut cleanly with a sharp knife or bench scraper so the edges don’t get mashed shut, which can slow the second rise.
Baking and finishing with butter
Let the cut rolls rise until visibly puffy, then bake just until the tops are lightly golden. The second they come out, brush them with melted butter so the crust stays soft instead of setting dry. If you wait until they cool, the butter won’t soak in as well and the tops will lose that bakery-style sheen.
How to Adapt These Rolls Without Losing the Soft Crumb
Make-ahead overnight rolls
After shaping the squares, cover the pan tightly and refrigerate overnight instead of doing the second rise at room temperature. The next day, let them sit out until they look puffy before baking. This slows the schedule without changing the soft interior, and the cold rest can even deepen the flavor a bit.
Dairy-free version
Use a rich unsweetened non-dairy milk and a plant-based butter with decent fat content. The rolls will still rise and stay tender, but they won’t have quite the same depth as whole milk and real butter. Brush the tops with extra melted dairy-free butter as soon as they come out so they keep that soft finish.
Freezer-friendly baked rolls
Bake the rolls fully, cool them, and freeze in a sealed bag. They hold up well because of the enriched dough, but the key is reheating them wrapped in foil so the steam softens the crumb instead of drying the exterior. Reheat just until warmed through, then brush with a little fresh butter.
Extra-sweet cinnamon butter
If you want the spread closer to the restaurant version, add a touch more powdered sugar and a little extra honey. Whip it until pale and fluffy so it melts into the warm rolls instead of sitting in a dense layer. The texture matters here as much as the flavor.
Storage and Reheating
- Refrigerator: Store in an airtight container for up to 4 days. They’ll soften a bit as they sit, which is normal for enriched rolls.
- Freezer: Freeze baked rolls for up to 2 months. Wrap well and thaw at room temperature before reheating.
- Reheating: Warm in a 300F oven, wrapped loosely in foil, for 8 to 10 minutes. The common mistake is microwaving too long, which turns the crumb chewy instead of soft.
Answers to the Questions Worth Asking
Texas Roadhouse Rolls
Ingredients
Equipment
Method
- Combine whole milk, warm water, active dry yeast, and 1 tablespoon sugar in a bowl, then let stand 5 minutes until foamy.
- Whisk in the remaining sugar until dissolved and the mixture looks slightly thick and bubbly.
- Add the large egg, melted butter, salt, and all-purpose flour, then knead 8 minutes until soft and smooth.
- Check the dough texture: it should be cohesive and elastic, not sticky or dry.
- Cover the dough and let rise 1 hour until doubled in size.
- When ready, gently press the dough and it should spring back slowly, with a puffy look.
- Roll the dough into a 1/2-inch thick rectangle, then fold it in half and cut into 2-inch squares.
- Place squares on a parchment-lined sheet, leaving space between them, cover, and rise 1 hour until puffy.
- Preheat oven to 350F, then bake 12-15 minutes until golden.
- Brush the hot rolls with melted butter to create a glossy, buttery finish.
- Whip softened butter, powdered sugar, honey, and ground cinnamon until fluffy, light in color, and spreadable.
- Serve the rolls warm with the whipped cinnamon honey butter melting on contact.