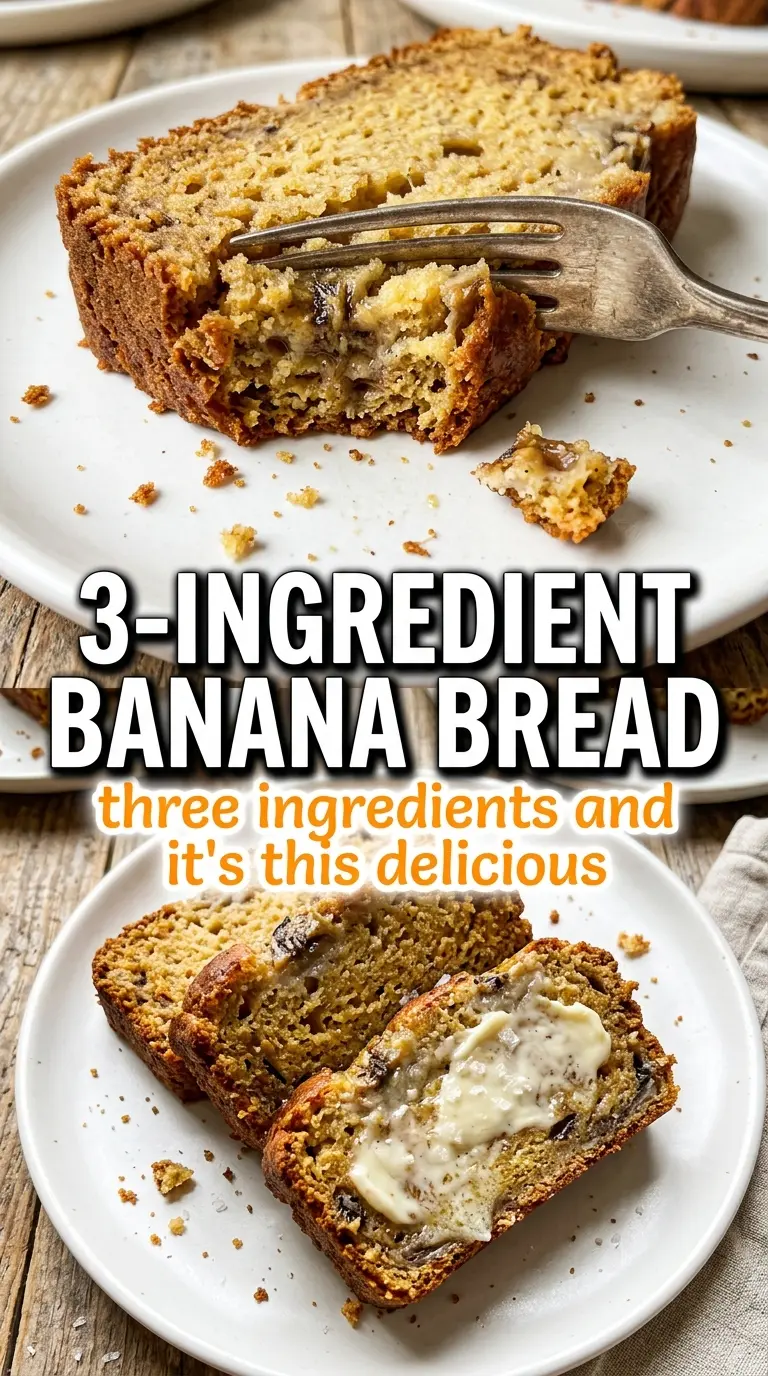
Golden banana bread with a tender, cakey crumb is hard to beat, especially when it comes together from just three ingredients. This version bakes up lighter than a dense quick bread, with a sweet banana flavor that tastes like the ripest bananas on your counter were meant for this job. It slices cleanly once cooled and has that old-fashioned, butter-on-warm-bread comfort people keep coming back for.
The trick is in the bananas. They need to be mashed as smoothly as possible so they disappear into the batter and bake into a soft, even crumb instead of leaving wet pockets. Self-rising flour does the heavy lifting here, which is why this recipe can stay so stripped down and still rise properly. A small amount of honey or sugar rounds out the flavor and helps the top brown without making the loaf heavy.
Below, I’ve included the one swap that matters if you don’t have self-rising flour, plus the pan size change that affects bake time the most. If you’ve ever had banana bread turn out gummy in the middle, the timing notes here will save you from that.
I used super spotty bananas and the loaf came out light, not heavy at all. The top browned nicely, the center set up in 35 minutes in my square pan, and my kids kept sneaking slices before it even cooled.
Save this 3-ingredient banana bread for the days when you want a soft, golden loaf with almost no measuring.
The Banana Masher Mistake That Makes Quick Bread Gummy
Banana bread goes wrong when the fruit is left in chunks. Those pieces look harmless going into the bowl, but they create wet pockets that bake up dense and underdone while the rest of the loaf sets. For this recipe, the bananas need to be mashed until almost smooth, with only a few tiny soft bits left behind.
That smooth texture matters even more because there are so few ingredients in the batter. There’s no egg to help bind the mixture and no sour cream or yogurt to smooth out uneven pockets, so the banana puree has to do that work. The batter should look thick and spoonable, not loose or pourable. If it seems runny, the bananas were likely extra large, and a spoonful or two more flour will usually bring it back into balance.
What Each Ingredient Is Actually Doing in This Bread
- Ripe bananas — These are the flavor, moisture, and structure all at once. The darker and spottier they are, the sweeter the bread will taste without needing much added sugar. If your bananas are just yellow, the loaf will still work, but it won’t have the same deep banana flavor.
- Self-rising flour — This is what gives the bread lift without adding baking powder, baking soda, or extra salt separately. If you don’t have it, use all-purpose flour plus 2.25 teaspoons baking powder and 3/4 teaspoon salt for the same general result. Don’t use cake flour here; it’s too soft and can leave the loaf fragile in the center.
- Honey or sugar — Just enough sweetener helps the bananas taste fuller and gives the top a better color in the oven. Honey adds a slightly rounder, warmer sweetness, while sugar keeps the flavor more neutral. Either one works, but honey can make the batter a touch looser, so keep an eye on the texture if your bananas are extra juicy.
Mix Fast, Bake Light, and Don’t Overthink the Batter
Smash the Bananas Until They’re Nearly Smooth
Use a fork or potato masher and keep going until the bananas look like a thick puree with only tiny soft flecks left. This is the stage that decides whether the loaf slices neatly or turns patchy and wet in the middle. If the bananas are very ripe, they’ll mash almost into a liquid, which is exactly what you want for an even crumb.
Stir Just Until the Flour Disappears
Add the honey or sugar first, then the flour, and stir only until no dry streaks remain. The batter should look thick and a little rough, not whipped or glossy. Overmixing builds gluten and makes a three-ingredient loaf tight instead of tender, which defeats the whole point of keeping it this simple.
Bake to the Pan Size, Not Just the Clock
An 8×8 square pan bakes faster and usually finishes in about 30 to 35 minutes, while a 9×5 loaf pan needs more like 50 to 60 minutes. The top should be deeply golden and a toothpick should come out clean or with just a few moist crumbs. If the center still jiggles, give it more time; banana bread that looks done too early usually collapses as it cools.
Let It Set Before You Slice
The bread needs at least 10 minutes in the pan before you turn it out and cut it. That short rest lets the crumb firm up so the slices hold together instead of smearing. Warm slices with butter are excellent, but cutting into it straight from the oven is how you end up with a gummy middle that hasn’t had time to finish setting.
Three Ways to Make This Banana Bread Fit What You Have
No Self-Rising Flour
Use 1.5 cups all-purpose flour mixed with 2.25 teaspoons baking powder and 3/4 teaspoon salt. That gives you the same lift and seasoning without changing the texture much. Skip any extra baking soda here; there isn’t enough acid in the batter to use it well.
Use Sugar Instead of Honey
Granulated sugar keeps the flavor cleaner and the batter a little thicker. Honey adds a softer sweetness and a touch more moisture, which is nice if your bananas are very starchy. Either one works, so pick based on what you want the loaf to taste like.
Make It Dairy-Free and Egg-Free
This recipe is naturally dairy-free and egg-free as written, which is part of why it works so well for a minimalist loaf. Serve it with a plant-based butter if you want the same warm, spreadable finish. The crumb stays soft without any help from dairy or eggs.
Turn It Into Muffins
Spoon the batter into greased muffin cups and bake at the same temperature for about 16 to 20 minutes. Muffins give you more browned edges and a faster bake, but they’ll be a little less loaf-like and a bit drier if you leave them in too long. Start checking early.
Storage and Reheating
- Refrigerator: Store in an airtight container for up to 4 days. The crumb firms up a bit in the fridge, but the flavor stays good.
- Freezer: Freeze slices or the whole loaf well wrapped for up to 2 months. Slices thaw faster and give you the easiest grab-and-go option.
- Reheating: Warm slices in the microwave for 10 to 15 seconds or in a toaster oven until just heated through. Don’t blast it too long or the bread turns dry at the edges before the center is warm.
Answers to the Questions Worth Asking
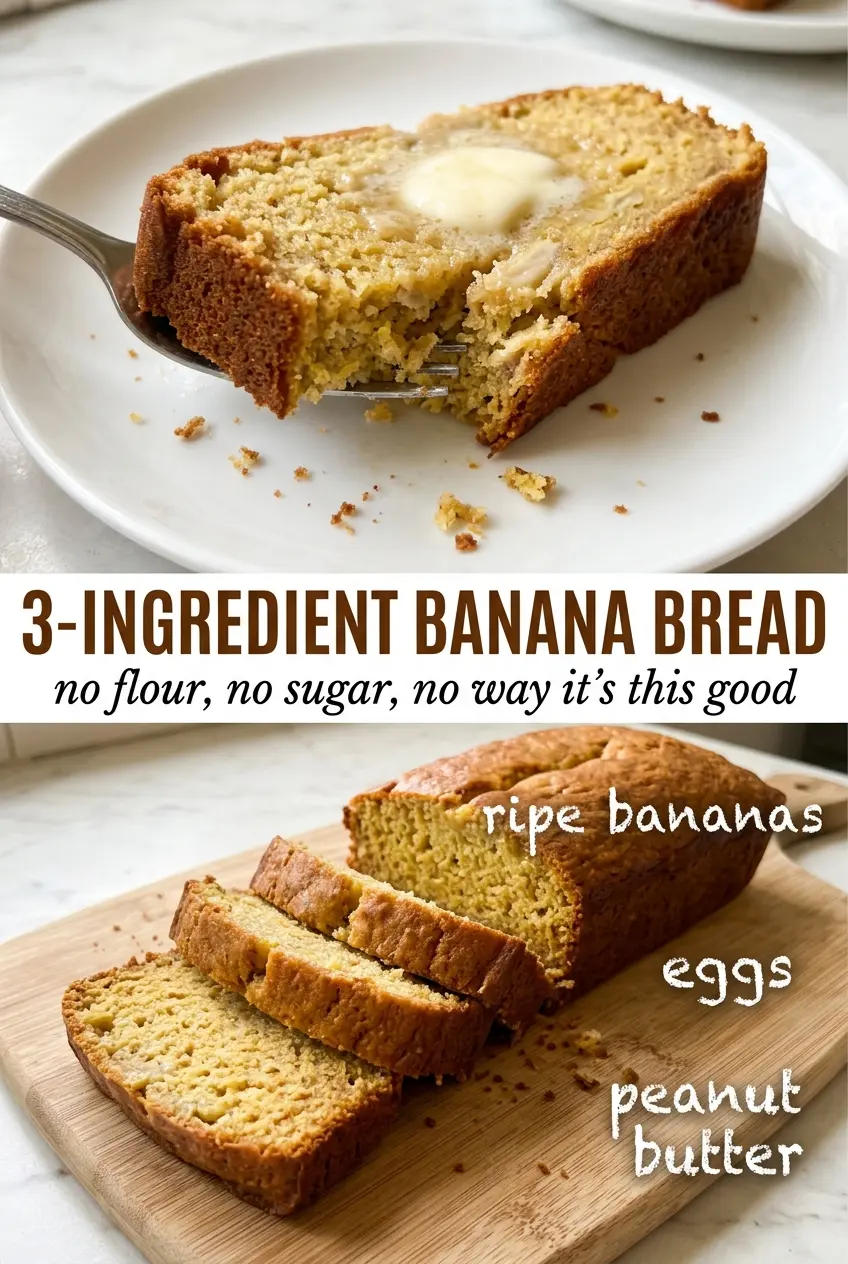
3-Ingredient Banana Bread
Ingredients
Equipment
Method
- Preheat the oven to 350°F and grease a 9x5 loaf pan or an 8x8 square pan.
- Mash the bananas until as completely smooth as possible, aiming for a uniform texture; the riper the bananas, the sweeter the bread.
- Stir in the honey or sugar and self-rising flour until just combined, stopping as soon as no dry flour remains.
- Pour the batter into the prepared pan and smooth the top so it bakes evenly.
- Bake for 30–35 minutes for an 8x8 square pan, or 50–60 minutes for a 9x5 loaf pan, until golden and a toothpick comes out clean.
- Cool for 10 minutes before slicing, then serve as desired (buttering is recommended).


