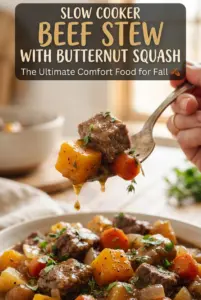
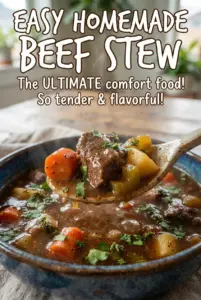
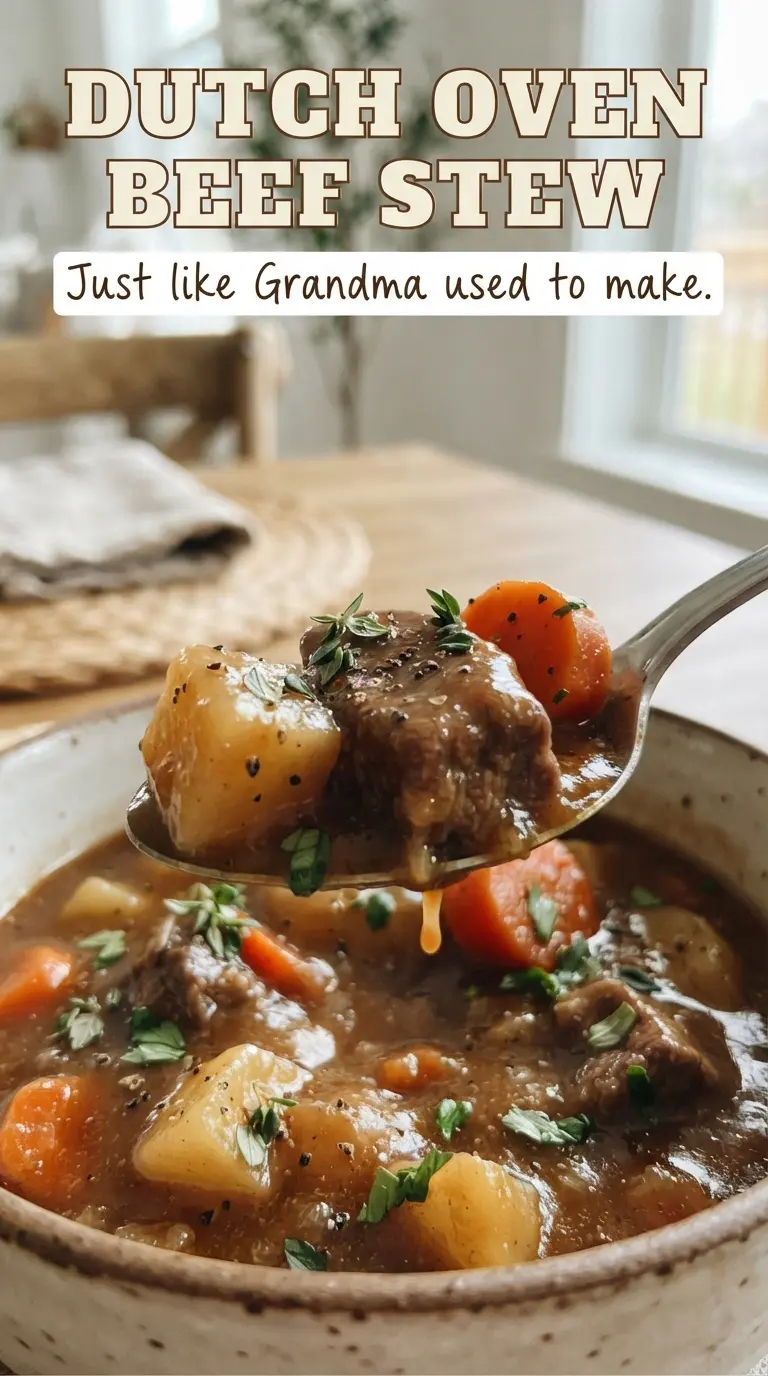
Deep, glossy Dutch oven beef stew is the kind of meal that earns its place in the rotation because it tastes like hours of work even though the steps are straightforward. The beef turns fork-tender, the potatoes soak up the broth, and the carrots keep just enough bite to give the pot some structure. What stays with you is the sauce: rich, savory, and thick enough to coat the spoon without feeling heavy.
The trick is building flavor in layers before the pot goes into the oven. Browning the beef in batches creates the base, and the tomato paste needs that short minute in the hot pan so it loses its raw edge. The wine deglazes all those browned bits on the bottom, which is where a lot of the depth lives. From there, the oven does the slow, even work that stovetop simmering often rushes.
Below, you’ll find the part that matters most for this stew: how to keep the beef tender instead of stringy, when to add the potatoes so they hold their shape, and what to do if your sauce looks thinner than you expected when it first comes out of the oven.
The beef was melt-in-your-mouth tender, and adding the potatoes halfway through kept them from turning mushy. The broth tasted even better the next day after the rosemary and thyme had time to settle in.
Save this Dutch Oven Beef Stew for the night you want tender beef, thick gravy, and a hands-off oven finish.
The Browning Step That Decides Whether This Stew Tastes Deep or Flat
Beef stew falls apart when the meat is crowded and steamed instead of browned. You want a dark crust on the outside of the cubes before they go into the oven, because that crust is where the savory depth starts. If the pan looks dry and the meat wants to stick at first, that’s a good sign; it means the surface is actually browning instead of leaking moisture.
The other mistake is rushing the flouring step. A light coating helps the stew thicken as it cooks, but heavy clumps can turn pasty. Toss the beef until it looks evenly dusted, then shake off the excess before it hits the hot oil. The goal is a thin, even layer that disappears into the sauce later.
What Each Ingredient Is Doing in the Pot
- Beef chuck — This is the cut that gives you that fall-apart texture after a long braise. It has enough connective tissue to get silky instead of dry. Leaner stew meat can work, but it won’t give you the same rich mouthfeel.
- Dry red wine — The wine lifts the browned bits from the bottom of the pot and adds a deeper, rounder base than broth alone. Use something you’d actually drink, but it doesn’t need to be expensive. If you skip it, the stew will still work, but it will taste a little flatter.
- Tomato paste — That minute in the hot pot darkens the paste and concentrates its flavor. It doesn’t make the stew taste like tomato; it makes the broth taste fuller. Don’t stir it in and move on, or it will stay sharp and undercooked.
- Fresh rosemary and thyme — Fresh herbs hold up better through the long oven time than dried herbs do. Tie them together if you want to fish them out easily at the end. Dried herbs can stand in, but use less because their flavor shows up more aggressively.
- Baby potatoes and carrots — These go in later for a reason. If they cook for the full braise, the potatoes break down and the carrots lose their shape. Cutting the carrots into 1-inch pieces keeps them substantial enough to survive the second hour in the oven.
How to Build the Stew So the Beef Stays Tender
Getting Color on the Meat
Heat the Dutch oven until the oil shimmers, then brown the beef in batches with space around each piece. If you dump it all in at once, the temperature drops and the meat steams in its own moisture. You’re looking for a dark, even crust on multiple sides, not a gray surface with a few tan spots. Pull the browned beef out as each batch is done so the pot stays hot enough for the next round.
Cooking the Aromatics and Tomato Paste
Once the onion softens and turns translucent, add the garlic and tomato paste and keep them moving for about a minute. The garlic should smell fragrant, not sharp, and the paste should darken a shade. If the paste still looks brick red and raw, it hasn’t cooked long enough to mellow. This short step keeps the final stew from tasting thin or tinny.
De-glazing and Baking Low and Slow
Pour in the wine and scrape the bottom well, then let it simmer briefly before the broth goes in. Those browned bits should dissolve into the liquid instead of staying stuck to the pan. Once the pot is covered and in the oven, resist the urge to crank the heat higher; steady 325°F heat gives the chuck time to relax without tightening up. When the beef is tender enough to break with a spoon, it’s ready for the vegetables.
Adding the Potatoes and Carrots at the End
Stir in the potatoes and carrots only after the beef has had its full head start. They need less time than the chuck, and adding them too early turns the potatoes grainy and the carrots dull. After the final hour, the potatoes should be cooked through at the center and the carrots should pierce easily without collapsing. If the stew looks loose at this point, let it sit uncovered for a few minutes; it thickens a touch as it rests.
Three Ways to Adjust This Stew Without Losing the Good Part
Gluten-Free Version
Skip the all-purpose flour and coat the beef with a little cornstarch instead, or brown the meat plain and thicken the finished stew with a cornstarch slurry. You’ll still get body in the broth, but the sauce will look a little more glossy and less rustic than the flour-thickened version.
No-Wine Substitution
Use an equal amount of extra beef broth with a tablespoon of red wine vinegar or balsamic stirred in for brightness. You’ll lose some of the deep braised edge that wine brings, but the vinegar keeps the stew from tasting one-note. Add it slowly so the broth stays balanced.
Make It Dairy-Free and Whole-Food Friendly
This stew already fits dairy-free cooking as written, so the main adjustment is ingredient choice. Use a broth you trust and skip bouillon-heavy shortcuts if you want a cleaner, less salty finish. The texture and richness come from the beef, the flour, and the long braise, not from any dairy at all.
Storage and Reheating
- Refrigerator: Store for up to 4 days. The broth will thicken as it chills, and the flavor gets even better overnight.
- Freezer: This freezes well for up to 3 months. Cool it completely first, then portion it into airtight containers so the potatoes don’t get crushed when you reheat.
- Reheating: Warm it gently on the stove over medium-low heat with a splash of broth if needed. Don’t boil it hard, or the beef can tighten and the potatoes can start to fall apart.
Answers to the Questions Worth Asking
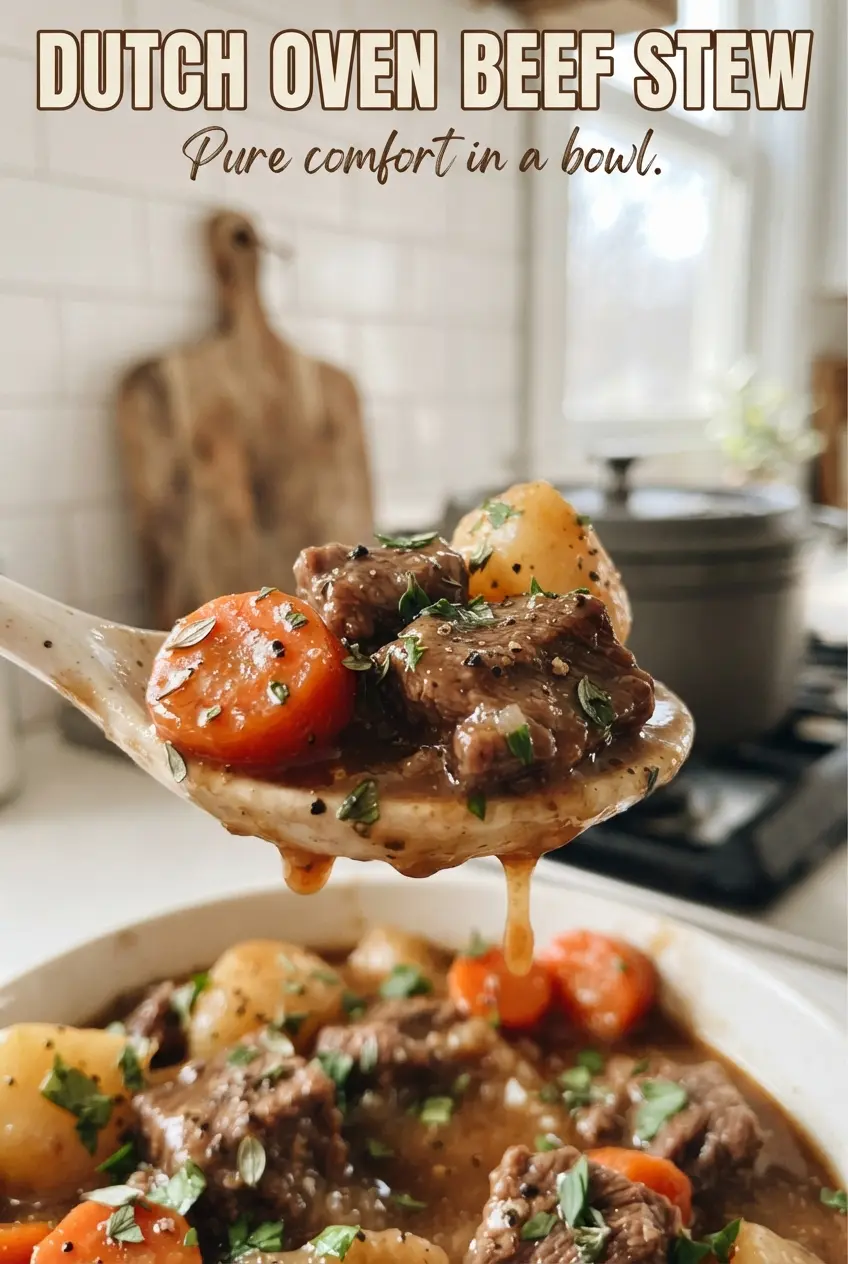
Dutch Oven Beef Stew
Ingredients
Equipment
Method
- Preheat oven to 325F. Season beef with salt and black pepper, toss with flour, and brown in batches in the Dutch oven.
- Heat olive oil in the Dutch oven before browning. Keep browning until beef is well browned on the surface, then transfer any browned pieces to the same pot as you finish batches.
- Cook onion for 5 minutes in the Dutch oven, stirring to soften. Add garlic and tomato paste and cook for 1 minute until fragrant.
- Pour in the dry red wine and scrape the bottom of the Dutch oven. Simmer for 2 minutes to reduce slightly.
- Add beef broth, Worcestershire sauce, rosemary, thyme, and bay leaves to the Dutch oven. Return browned beef to the pot, cover, and bake for 2 hours at 325F until the meat is tender.
- Stir in halved baby potatoes and carrots cut into 1-inch pieces. Cover and bake for 1 hour more at 325F until everything is tender.
- Remove herb stems and bay leaves, then serve. Ladle the stew while hot for a thick, glossy texture over the beef and vegetables.