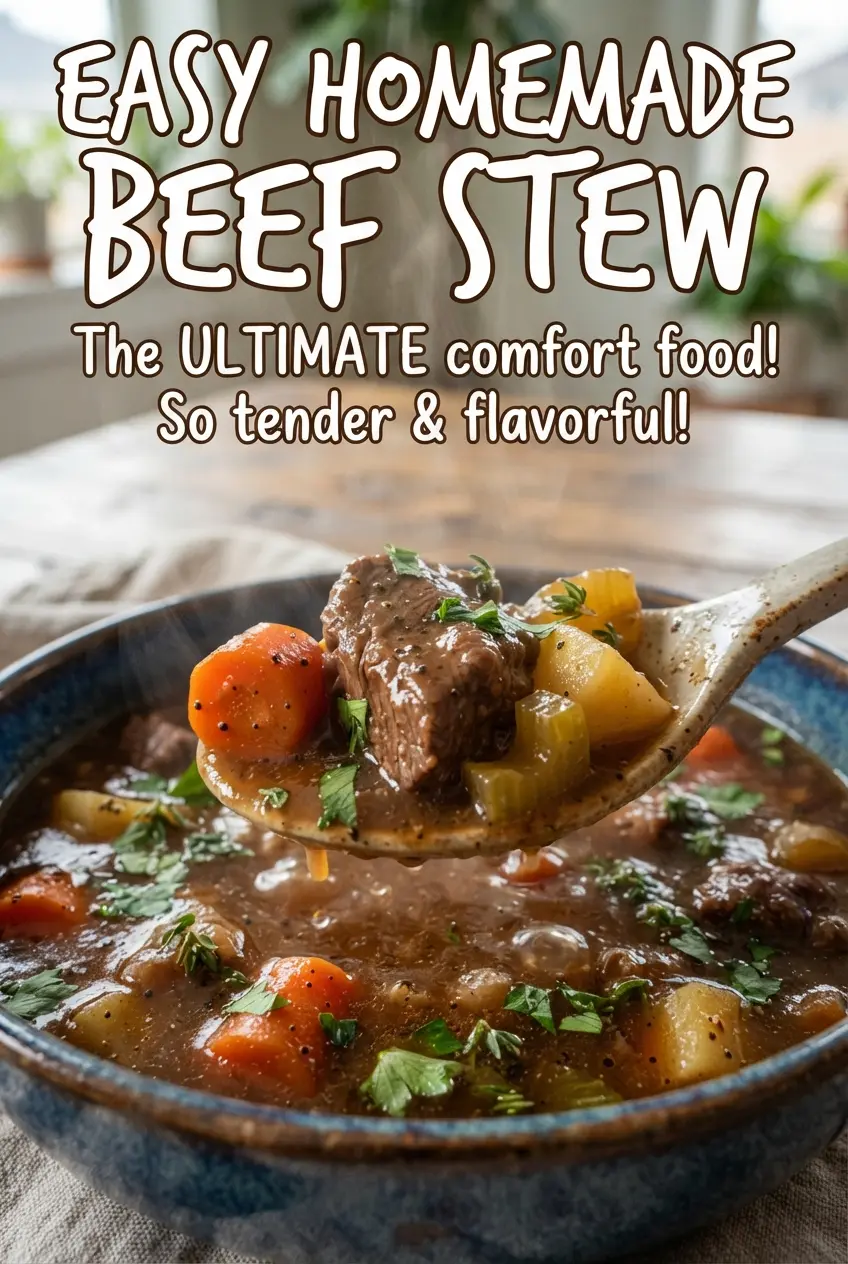
Rich beef stew needs a long simmer, but the best bowls still start with a deep sear and a broth that tastes like it had time to think. This version gives you both: tender beef, soft potatoes, and carrots that hold their shape, all tucked into a brown gravy that clings instead of pooling at the bottom of the bowl.
The flour on the beef does double duty here. It helps the meat brown with a better crust, then it thickens the stew as it simmers. Tomato paste and Worcestershire sauce add that old-fashioned savory depth that makes homemade stew taste like more than beef broth with vegetables in it. Browning the meat in batches matters, too. If the pot is crowded, the beef steams and the base stays pale instead of turning rich and sticky.
Keep reading for the part that keeps the broth from tasting thin, plus the timing that keeps the potatoes from collapsing before the beef is tender.
The broth came out thick and glossy, and the beef was fork-tender after exactly the time you said. My husband kept going back for more of the gravy.
Save this beef stew for the nights when you want a thick brown gravy, tender beef, and vegetables that hold their shape.
The Step That Gives Beef Stew Its Deep Flavor Before the Simmer
The browning stage is where this stew gets its backbone. If the beef goes into the pot damp or crowded, it gives off liquid and steams instead of searing, and that means a flatter broth later. Work in batches and let each piece sit undisturbed until the bottom turns a deep brown. Those browned bits on the pot are not stuck-on trouble; they’re the flavor that turns plain broth into a real stew.
Flouring the beef before it hits the oil helps the crust form and gives the simmering liquid a little body. It also keeps the broth from tasting thin after two hours on the stove. The goal isn’t a thick paste at the start. It’s a light coating that disappears into the pot as the stew cooks.
What Each Ingredient Is Doing in the Pot

- Beef stew meat — Chuck or another well-marbled cut works best because the long simmer melts the connective tissue and leaves you with spoon-tender beef. Lean stew meat turns dry and stringy before the vegetables are done.
- All-purpose flour — This does more than coat the beef. It helps with browning and gives the broth a subtle, natural thickness. Cornstarch isn’t a direct swap here because it won’t build the same flavor in the pot.
- Tomato paste — A small amount makes a big difference. It adds color, sweetness, and a concentrated savory note that keeps the broth from tasting one-dimensional. Cook it briefly in the liquid so it loses that raw paste taste.
- Worcestershire sauce — This is the fast way to add depth without making the stew taste like steak sauce. If you don’t have it, a splash of soy sauce plus a tiny bit of vinegar gives a similar savory edge, though not exactly the same complexity.
- Potatoes and carrots — Add them later so they stay intact. If they go in at the beginning, they’ll break down before the beef has finished softening.
Building the Stew So the Beef Turns Tender, Not Dry
Searing the Beef in Batches
Heat the oil until it shimmers, then add the beef in a single layer with space around each piece. You want a steady sizzle, not a loud sputter from overcrowding. Let the pieces brown on the first side before turning them. If they stick at first, give them another minute; they’ll release once the crust forms.
Working the Onion and Garlic
Once the beef is out, cook the onion until it softens and picks up some of the fond from the bottom of the pot. Garlic goes in only for the last 30 seconds, just until fragrant. If garlic browns, it turns bitter and that bitterness hangs around in the finished stew.
Letting the Broth Simmer Slowly
After the broth, tomato paste, Worcestershire, thyme, and bay leaf go in, scrape the pot well and bring everything up to a gentle simmer. Low heat matters here. A hard boil can make the beef tough before it has time to relax. You’re looking for barely moving bubbles and a lid that stays mostly on.
Adding the Vegetables at the End
Potatoes and carrots need enough time to become tender, but not so much time that they disappear into the broth. Add them for the last 45 to 60 minutes and cook until a fork slides into the potatoes with no resistance. If the stew thickens too much before the vegetables are done, add a splash of broth or water to keep the liquid moving.
How to Adapt This Stew Without Losing the Comforting, Old-Fashioned Character
Make it gluten-free
Swap the all-purpose flour for a gluten-free flour blend that works as a 1:1 substitute. The stew will still thicken, though the broth may look a touch less glossy than with wheat flour. If your blend is very starchy, use a light hand so the coating doesn’t clump on the beef.
Make it dairy-free and pantry-friendly
This recipe is naturally dairy-free, so there’s nothing to change there. If you’re out of Worcestershire sauce, use soy sauce for the salty depth and add a small splash of vinegar to brighten it. The flavor won’t be identical, but it keeps the stew savory and balanced.
Turn it into a thicker, gravy-style stew
Let the finished stew simmer uncovered for the last 10 to 15 minutes. That evaporation tightens the broth without changing the flavor. Stir often at the end so the starches from the flour don’t settle and stick to the bottom.
Storage and Reheating
- Refrigerator: Keeps well for 4 days. The broth usually tastes even better the next day, though the potatoes soften a little more.
- Freezer: Freezes well for up to 3 months. Cool it completely first, and leave a little room in the container because the liquid expands.
- Reheating: Warm it gently on the stove over low heat, stirring now and then. A hard boil can break up the potatoes and tighten the beef, so go slow and add a splash of broth if the stew has thickened too much in the fridge.