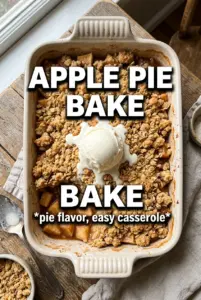
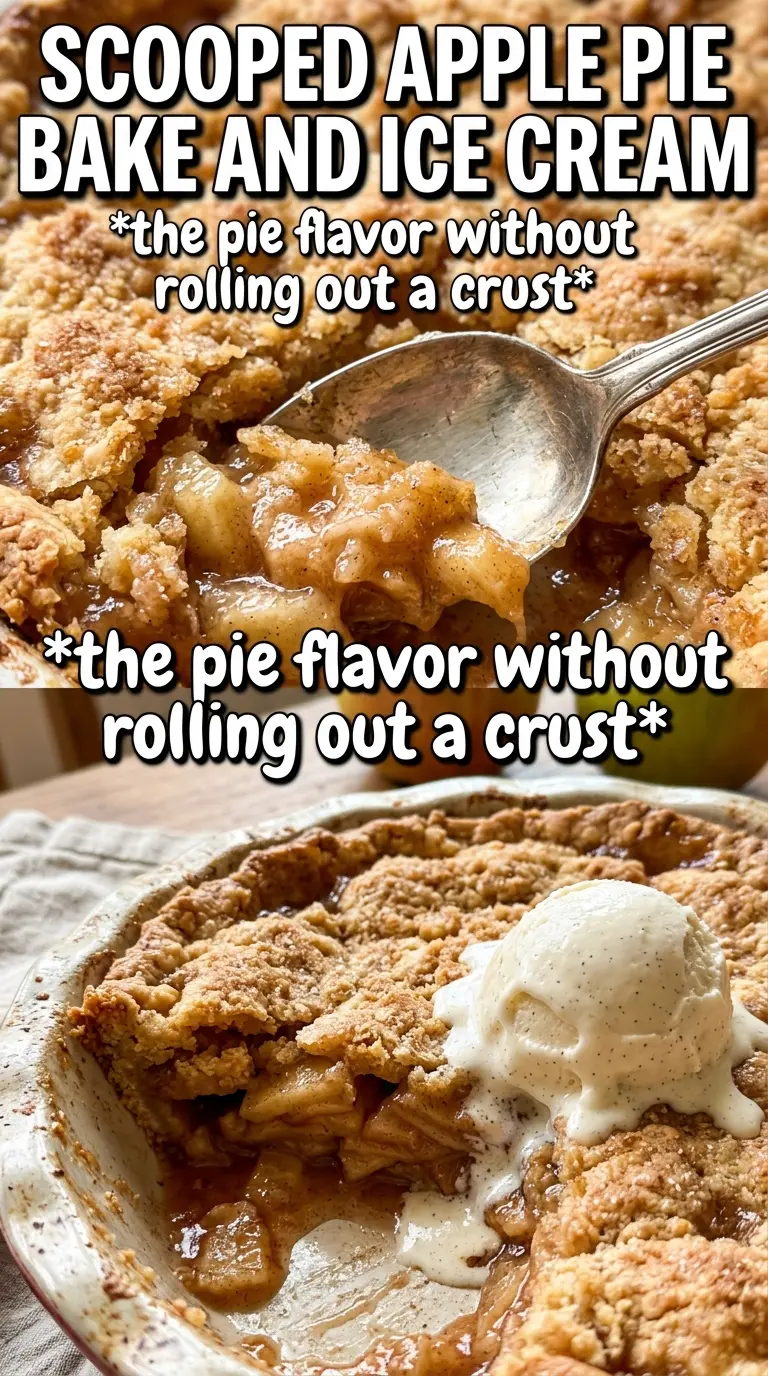
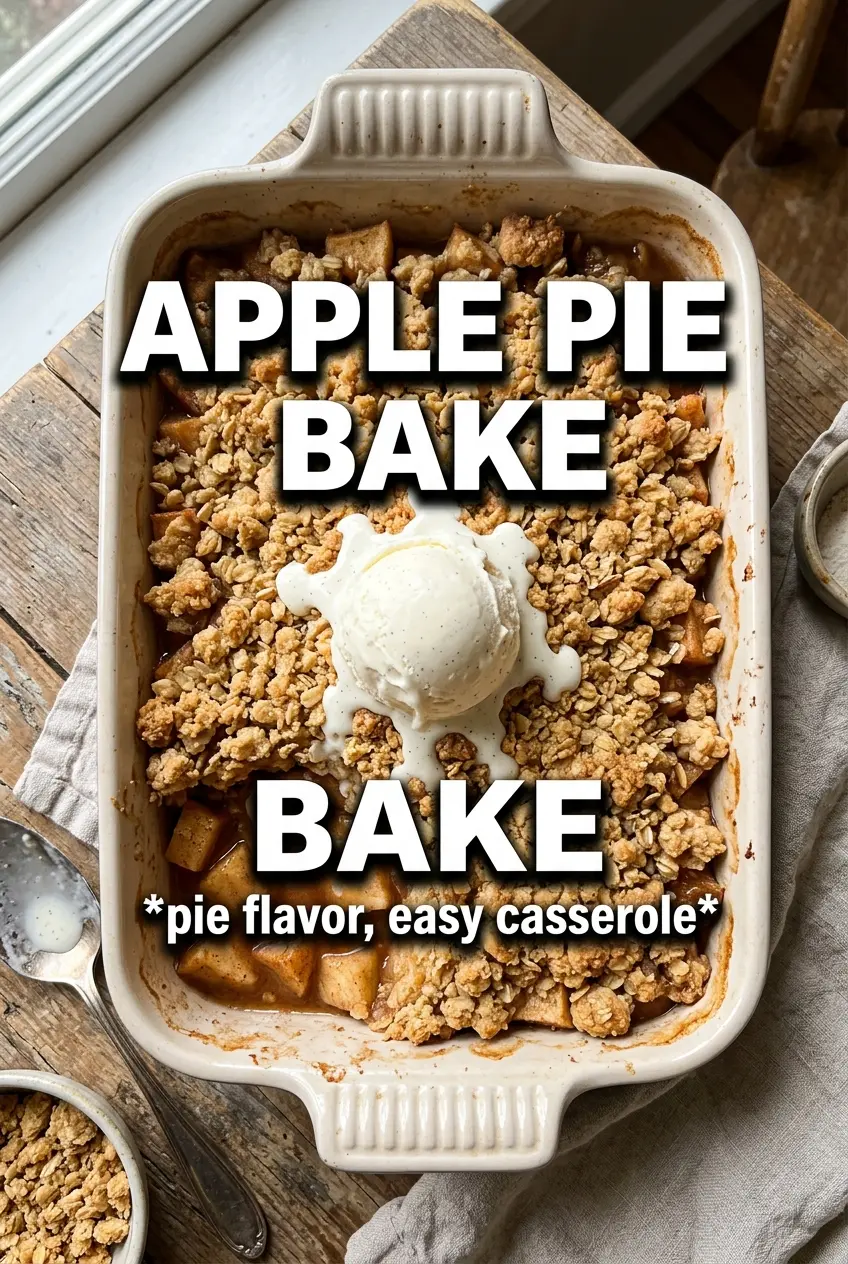
Apple Pie Bake comes out with the kind of bubbling, cinnamon-scented filling and crisp golden topping that makes a dessert disappear fast. It has all the comfort of a classic apple pie, but without the pressure of rolling pastry or crimping a crust. The apples soften into a syrupy layer underneath, while the oat crumble on top bakes into something halfway between streusel and pie crust.
The part that matters most is the balance: enough cornstarch to thicken the juices, but not so much that the filling turns pasty, and cold butter worked into the topping so it bakes up sandy and crisp instead of dense. A squeeze of lemon keeps the apples from tasting flat and helps the filling stay bright once the sugar and spice melt together.
Below, you’ll find the small details that keep the topping crisp, the filling thick, and the apples tender instead of mushy. There’s also a practical note on the best apples to use if you want the bake to hold its shape after the first scoop.
The topping baked up crisp and buttery, and the filling set just enough after resting so it didn’t run all over the plate. I served it with vanilla ice cream and my kids asked for seconds before I even sat down.
Save this Apple Pie Bake for the nights when you want a bubbling fruit dessert with a crisp oat topping and no pie crust stress.
The Reason the Filling Thickens Instead of Turning Watery
The most common failure with baked apple desserts is letting the apples steam in their own juice without enough structure to catch it. That is where the cornstarch earns its keep. It thickens the liquid as the apples bake and release moisture, which keeps the bottom from pooling into a thin syrup once you scoop into it.
The other thing that matters is the bake time after the topping goes on. If the dish comes out before the filling is visibly bubbling in the center, the cornstarch hasn’t fully activated yet and the juices will stay loose. You want the edges and the middle both moving with slow bubbles before you pull it from the oven.
- Resting time matters. The filling keeps setting as it cools, so a 15-minute rest gives you cleaner scoops and less runoff.
- Lemon juice is not just for flavor. It keeps the apples tasting bright and helps prevent the filling from reading as one-note sweet.
- Cold butter in the topping is the difference between crisp and cakey. Warm butter blends too fully and the topping bakes up soft.
What Each Ingredient Is Actually Doing in This Bake
- Apples — Use a mix that holds some shape, like Granny Smith, Honeycrisp, or Fuji. Softer apples collapse too quickly and leave you with apple sauce under the topping instead of a layered bake.
- Cornstarch — This is what turns the apple juices into a spoonable filling. Flour can work in a pinch, but it usually tastes duller and needs a little longer in the oven to lose that raw edge.
- Brown sugar — It gives the topping a deeper caramel note than white sugar alone. If you only have white sugar, the crumble will still work, but it will taste flatter and less toasty.
- Rolled oats — They give the top its craggy, pie-like texture. Quick oats will make the topping tighter and less rustic, which isn’t wrong, just less crisp.
- Cold butter — Keep it straight from the fridge and cut it into the dry mixture until the pieces look like coarse crumbs. If the butter starts melting before baking, the topping loses that sandy texture and turns pastier.
Building the Apple Pie Bake So the Top Stays Crisp
Coating the Apples Evenly
Toss the sliced apples with the sugar, cinnamon, nutmeg, cornstarch, and lemon juice until every slice looks lightly coated. You want the cornstarch distributed before the apples hit the baking dish, because dry patches can leave pockets of uncooked starch in the finished filling. Spread the fruit into an even layer so the bake cooks at the same pace from edge to center.
Cutting the Butter Into the Crumble
Work the cold cubed butter into the flour, oats, sugar, cinnamon, and salt until the mixture looks like damp sand with some pea-sized bits left behind. Those bigger bits melt during baking and create the craggy top. If you overwork it into a smooth paste, the topping turns dense and bready instead of crisp.
Baking Until the Center Bubbles
Scatter the topping over the apples without pressing it down. Bake until the surface is deeply golden and you can see the filling bubbling through the center, not just around the edges. If the top browns before the filling bubbles, lay a loose sheet of foil over it and keep baking until the juices are active all across the dish.
Letting It Set Before Serving
That 15-minute rest is part of the recipe, not an optional pause. It lets the juices thicken enough to hold together on the plate and keeps the first serving from flooding the dish. Serve it warm with vanilla ice cream or whipped cream, when the topping is still crisp and the apples are soft but not mushy.
How to Adapt It When You Need a Different Finish
Dairy-Free Version
Swap the butter for a firm plant-based butter that bakes well. Coconut oil works too, but it changes the flavor and the topping can bake a little more fragile, so the plant butter route gives you the closest texture to the original.
Gluten-Free Topping
Use a good 1:1 gluten-free flour blend in place of the all-purpose flour, then keep the oats certified gluten-free if that matters for your kitchen. The topping will still brown and crisp, though it may look a little more rustic and less tightly clumped.
Extra-Spiced Apple Pie Bake
Add a pinch of cardamom or ground ginger to the filling if you want the spice to read warmer and a little sharper. That small change doesn’t overpower the apples, but it does make the dessert taste more layered and less like straight cinnamon.
Storage and Reheating
- Refrigerator: Store covered for up to 4 days. The topping softens as it sits, but the flavor holds well.
- Freezer: It freezes best after baking and cooling completely. Wrap tightly and freeze for up to 2 months, then thaw in the fridge before reheating.
- Reheating: Warm individual portions in a 325F oven until heated through. The oven brings back some of the topping’s texture; the microwave makes it soft and steamy, which is the main mistake to avoid.
Questions I Get Asked About This Recipe
Apple Pie Bake
Ingredients
Equipment
Method
- Preheat oven to 375F. Grease a 9x13 baking dish.
- Toss sliced apples with granulated sugar, cinnamon, nutmeg, cornstarch, and lemon juice. Spread the coated apples in the prepared dish.
- Combine all-purpose flour, rolled oats, brown sugar, cinnamon, and salt. Cut in cold unsalted butter until the mixture turns crumbly.
- Scatter the topping evenly over the apple filling. Make sure the fruit is mostly covered.
- Bake for 35-40 minutes at 375F, until the top is golden and the filling is bubbling. You should see caramel-colored juices bubbling at the edges.
- Rest for 15 minutes to set the filling slightly. Serve warm with vanilla ice cream or whipped cream.