Deviled eggs disappear fast, but a deviled egg board changes the whole game. Instead of a platter that’s gone in a few minutes, you get a centerpiece that stays fresh-looking on the table and lets everyone build the bite they want. The eggs stay creamy and familiar in the middle, while the toppings bring crunch, salt, heat, smoke, and brightness one spoonful at a time.
The filling stays classic on purpose: yolks, mayonnaise, Dijon, and a splash of vinegar for lift. That combo gives you a smooth base that can handle bold toppings without tasting heavy. The eggs also matter more than people think here. Twelve-minute eggs are set enough to mash cleanly, but still tender, and the ice bath stops the yolks from turning dry or gray around the edges.
Below, I’ll walk through the little details that keep the eggs neat, the filling smooth, and the board easy to assemble. There’s also a few topping ideas that work especially well if you want to lean smoky, briny, or spicy.
The yolk filling was smooth and pipeable, and the toppings made it feel like a party platter instead of plain deviled eggs. The smoked salmon and pickled jalapenos were the first things gone.
Build this deviled egg board with smoky, briny, crunchy toppings for a platter that disappears fast.
The Trick to a Deviled Egg Board That Still Tastes Fresh at the Table
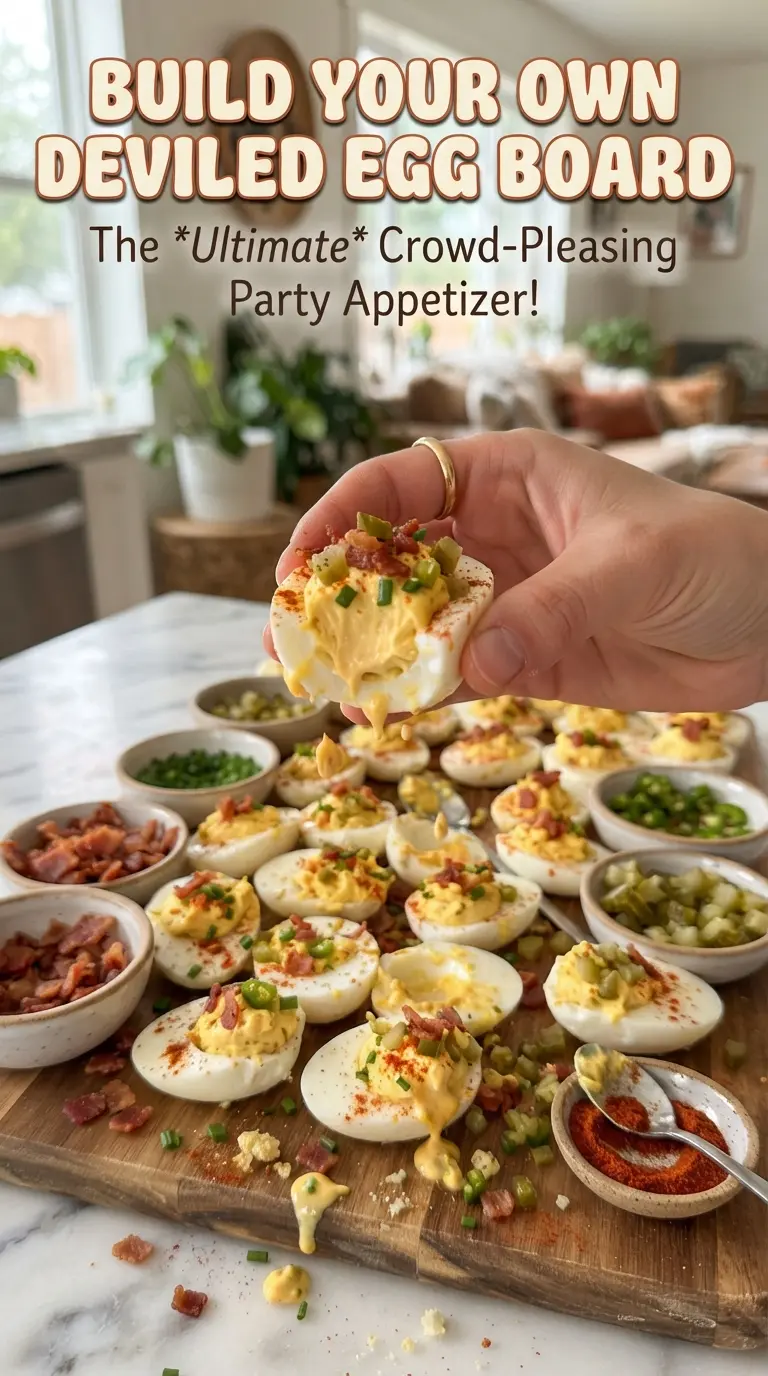
The biggest mistake with a board like this is overloading the eggs before they hit the table. Once the filling is piped, the toppings belong in small bowls around the eggs, not on top of them. That keeps the whites neat, keeps the yolk filling from getting soggy, and lets people choose their own mix of salt, heat, and crunch.
The second thing that matters is the yolk texture. If you mash them with the mayonnaise, Dijon, and vinegar while the yolks are still a little warm from the ice bath, they break down faster and go smoother. If they’re chalky or stubborn, it usually means the eggs were overcooked or didn’t cool long enough before peeling.
- Ice bath — This stops the cooking fast, which keeps the yolks tender and makes the shells easier to peel cleanly.
- Dijon mustard — It adds sharpness that plain yellow mustard can’t quite match. If you only have yellow mustard, use a little less because it tastes louder and more one-note.
- White vinegar — That small amount wakes up the filling and keeps it from tasting flat. Lemon juice works in a pinch, but it changes the profile and can read brighter than you want here.
- Bacon, smoked salmon, jalapenos, capers, and everything seasoning — These are the board’s personality. Each one gives a different direction without changing the base recipe, so one platter covers a lot of tastes.
What Each Ingredient Is Actually Doing in This Recipe
- Primary ingredient (the star) — Quality matters most. Choose the best you can find.
- Cooking medium (oil, butter, or broth) — This carries flavors and prevents dryness.
- Seasonings (salt, pepper, spices, herbs) — Layer flavors so nothing overpowers. Build depth gradually.
- Aromatics (garlic, onion, herbs) — Cook with fat to bloom flavors. Become the foundation.
- Supporting ingredients — Complement the main ingredient without overpowering it.
- Sauce or liquid (if applicable) — Brings flavors together. Balance richness with acid.
- Acid (lemon, vinegar, wine, or other) — Brightens and prevents flat-tasting results.
- Final finish (garnish, glaze, or sauce) — Prevents one-dimensional taste and adds visual appeal.
How to Build the Eggs, the Filling, and the Board Without Slowing Down
Cooking the Eggs Just Long Enough
Set the eggs in cold water, bring the pot to a boil, then cover it and pull it off the heat for 12 minutes. That gentle finish gives you yolks that are fully set but not dry in the center. If the water keeps boiling hard the whole time, the whites can turn rubbery and the yolks can get that dull green edge.
Cooling and Peeling Cleanly
Move the eggs straight into an ice bath for 10 minutes. That quick chill stops carryover cooking and helps the membrane separate from the white. Peel under a trickle of cool water if the shells cling in spots. Dry the eggs before slicing so the whites don’t slide around on the board.
Making the Filling Smooth and Spoonable
Mash the yolks with the mayonnaise, Dijon, vinegar, salt, and pepper until the mixture looks creamy with no dry lumps. A fork works fine if you’re patient, but a small food processor gives the smoothest result. If the filling feels stiff, add mayonnaise a teaspoon at a time instead of dumping in a big spoonful at once. Too much at once makes the filling loose and harder to pipe.
Arranging the Board for Easy Self-Serve
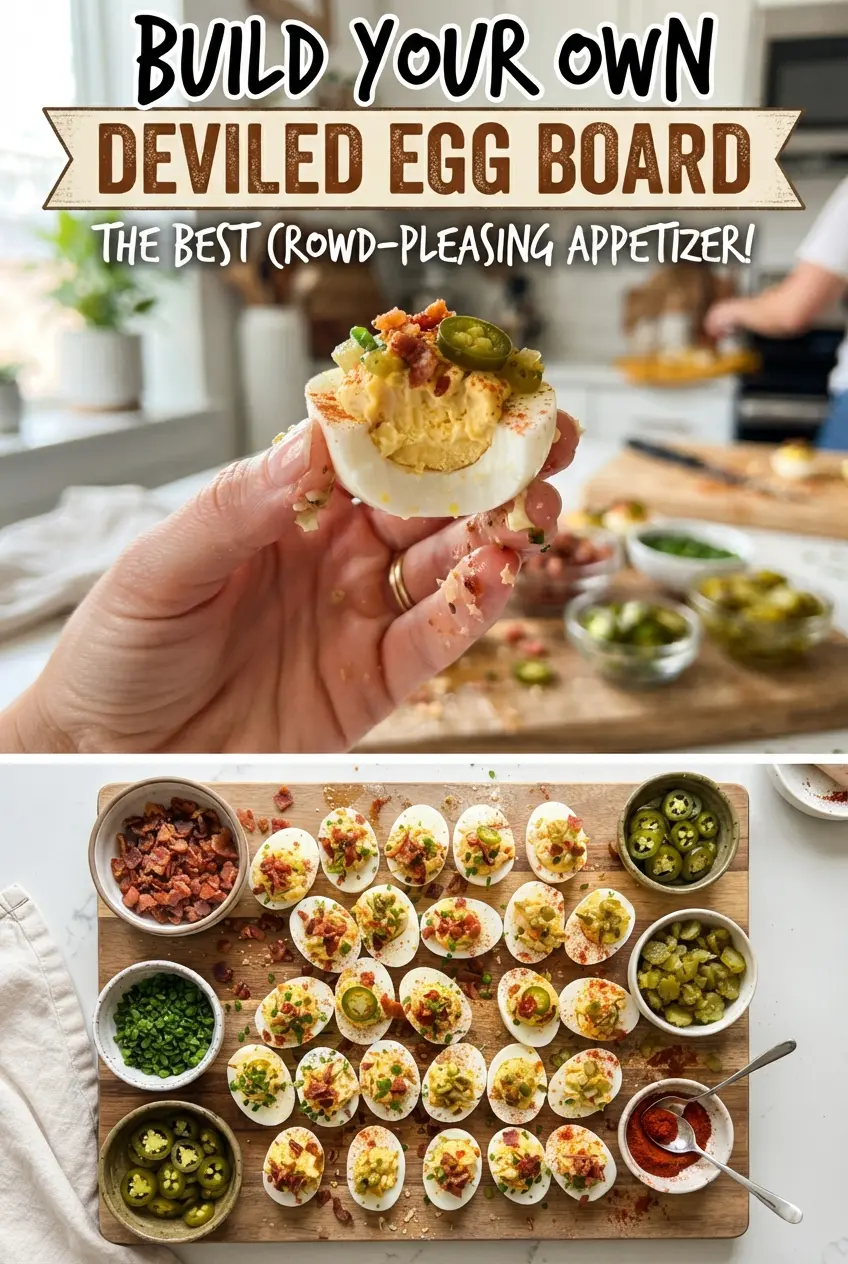
Pipe or spoon the filling into the egg whites, then put the eggs in the center of a large board or platter. Fill small bowls with the toppings and cluster them around the eggs so people can build each bite without crowding the center. Finish with paprika and hot sauce on the side or lightly over the eggs if you want a little color before serving.
What to Swap When You Want a Different Kind of Board
Make it gluten-free by keeping the toppings simple
This board is naturally gluten-free as written as long as your bacon, seasoning blend, and hot sauce are certified or labeled gluten-free. The texture and flavor stay the same, which is the nice part of a board like this: the base does all the work and the toppings just add contrast.
Go dairy-free by leaning on the egg filling and toppings
There’s no dairy in the base recipe, so this one already works for a dairy-free spread if you skip the cheddar topping. Use extra chives, capers, bacon, or smoked salmon to keep the board feeling abundant without adding cheese.
Make it vegetarian without losing the punchy toppings
Skip the bacon and smoked salmon, then lean harder on pickled jalapenos, everything bagel seasoning, cheddar, chives, capers, paprika, and hot sauce. You’ll lose the smoke and salt from the meat and fish, so add an extra pinch of salt to the garnish bowls if the board tastes a little flat.
Turn it into a milder board for kids or heat-shy guests
Leave the jalapenos and hot sauce on the side, then use more cheddar, chives, and paprika. The board still feels interesting, but the toppings stay friendly and balanced instead of sharp or spicy.
Storage and Reheating
- Refrigerator: Store the filled eggs and toppings separately for up to 3 days. The eggs stay nicest when the toppings are kept off until serving.
- Freezer: Don’t freeze deviled eggs. The whites turn watery and spongy after thawing.
- Reheating: No reheating needed. If you’ve chilled the eggs, let them sit out for 15 to 20 minutes before serving so the filling tastes soft and creamy instead of cold and dull.
Answers to the Questions Worth Asking
Build Your Own Deviled Egg Board
Ingredients
Equipment
Method
- Place the eggs in a pot, cover with cold water, and bring to a boil over high heat; when boiling starts, cover the pot and remove it from the heat. Let the eggs stand 12 minutes, until the centers are set.
- Transfer the eggs to an ice bath and chill for 10 minutes, until fully cool. Peel and halve them lengthwise, keeping the whites intact and the yolks separate.
- Mash the yolks with mayonnaise, Dijon mustard, white vinegar, salt, and black pepper until smooth. The mixture should look creamy and lump-free.
- Pipe or spoon the filling into the egg whites and place them in the center of a large board. Arrange the halves so the filling faces up for easy topping.
- Add bacon, smoked salmon, pickled jalapenos, everything bagel seasoning, shredded cheddar, fresh chives, and capers to small bowls. Keep each topping separate so guests can mix their own combos.
- Arrange the small bowls around the eggs and sprinkle paprika over the board; set out hot sauce for topping. Serve immediately and let guests top their own eggs.