Sticky, lacquered barbecue chicken thighs are one of those dinners that disappears fast because the oven does the hard part for you. The skin turns crisp at the edges, the sauce cooks down into a deep mahogany glaze, and every bite lands with that sweet-smoky hit you want from good BBQ chicken without ever firing up a grill.
The key is spacing out the sauce instead of dumping it on at the start. Chicken thighs can handle the heat, and the skin has enough fat to stay juicy while the sauce reduces and clings. A wire rack helps hot air circulate underneath, which keeps the bottom from steaming and gives you more of that caramelized finish across the whole piece.
Below, I’ll walk through the best way to build that sticky coating, what kind of BBQ sauce works best, and how to get the edges deeply caramelized without scorching the sugar in the sauce.
The sauce thickened up into that sticky glaze I was hoping for, and the skin stayed crisp even after the second brush of BBQ sauce. My husband kept sneaking pieces from the pan before I could serve it.
Like this sticky oven BBQ chicken? Save it to Pinterest for the nights when you want deep caramelization without standing over a grill.
The Trick to Caramelized BBQ Chicken That Stays Sticky, Not Burnt
The mistake most people make is adding BBQ sauce too early. Sauce with sugar in it needs time to reduce and cling, but it also needs protection from direct heat, which is why the first part of the bake is all about cooking the chicken through and rendering the skin a little before the glaze goes on.
Once the sauce starts going on in layers, it darkens fast and picks up that shiny, tacky finish instead of turning thin and watery. The broiler is the last-minute move here, not a shortcut. It gives you those dark, caramelized spots, but only if the sauce is already concentrated from the oven.
What Each Ingredient Is Actually Doing in This Chicken
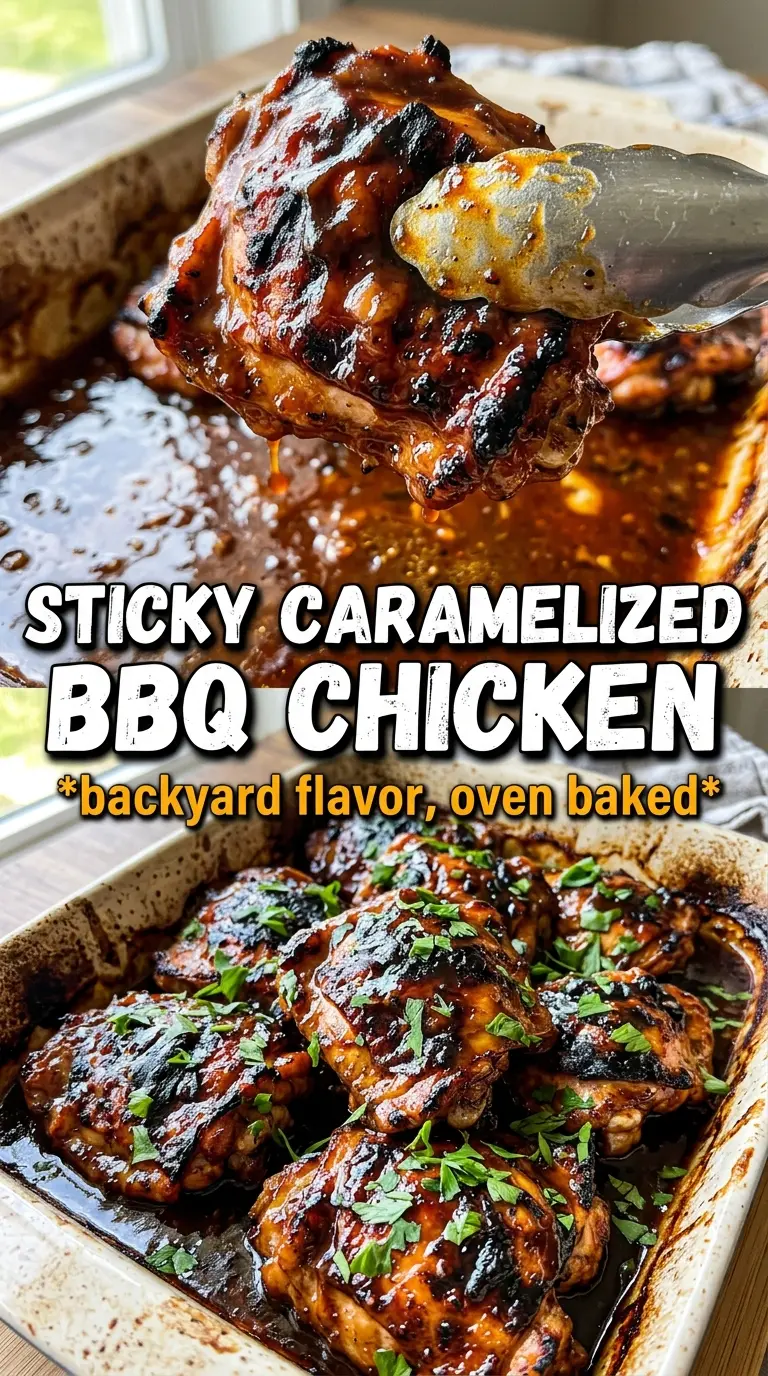
- Chicken thighs — Bone-in, skin-on thighs are the right cut here because they stay juicy through the longer bake and give you enough fat under the skin for real browning. Boneless thighs will work, but they cook faster and won’t give you the same rich, sticky finish.
- BBQ sauce — Use a sauce you already like on its own, because it’s the main flavor here and it reduces as it bakes. A thick sauce behaves better than a thin one; if yours is loose, simmer it for a few minutes first so it clings instead of running off the chicken.
- Olive oil and spices — The oil helps the seasoning stick and keeps the surface from drying out in the first bake. Garlic powder, smoked paprika, and onion powder build a savory base under the sauce so the chicken tastes seasoned all the way through, not just glazed on top.
- Parsley — This is mostly for a fresh finish. It won’t change the flavor much, but it keeps the finished chicken from looking heavy and one-note.
Building the Glaze in Layers So It Turns Lacquered
Season the Chicken Before the Sauce
Rub the thighs all over with oil and the dry seasonings first. That gives the chicken its own flavor before the BBQ sauce goes on and helps the skin brown instead of steaming under a wet coating. Salt matters here because it seasons the meat itself, not just the surface. If the thighs look glossy but not wet, you’ve got the right coating.
Let the Oven Do the First Round of Work
Bake the chicken skin-side up on a wire rack set over a foil-lined sheet pan. That rack matters because it keeps the thighs lifted and lets the hot air move underneath, which helps the skin set and prevents sogginess on the bottom. After 25 minutes, the chicken should be mostly cooked through and the skin starting to look rendered, not pale.
Brush, Bake, and Brush Again
Paint on a generous layer of BBQ sauce, then slide it back in for another round. The sauce should darken and look glossy, not dry out immediately. Add a second layer after that and keep an eye on the edges; if the sauce starts to look too dark too fast, it’s ready for the broiler only if you can stand there and watch it closely. The goal is sticky and deep brown, not blackened.
Finish with a Short Broil and Rest
The broiler is for final caramelization only, and it can go from perfect to burnt in under a minute if you walk away. Watch for bubbling spots and a deeper sheen across the top. Once it comes out, let the chicken rest for five minutes so the juices settle and the glaze firms up a little before serving.
Three Ways to Adjust This for Your Kitchen
Use Boneless Thighs for Faster Dinner
Boneless thighs shave off some time, but they need attention because they can dry out faster and don’t hold onto as much rendered fat. Start checking them earlier, and pull them when they’re just cooked through so the sauce still has time to glaze without overcooking the meat.
Make It Gluten-Free with the Right Sauce
The recipe is naturally close to gluten-free, but your BBQ sauce has to be checked carefully because some brands use wheat-based thickeners or malt vinegar. A clean-label sauce keeps the same sticky finish without changing the method at all.
Dial Up the Smoke Without a Grill
If you want a deeper barbecue note, use a smoky BBQ sauce and keep the smoked paprika in place. That combination gives you a more layered flavor and makes the oven finish taste closer to a backyard grill, even though the texture stays all oven-baked and sticky.
Storage and Reheating
- Refrigerator: Store leftovers in an airtight container for up to 4 days. The skin won’t stay crisp, but the flavor gets even deeper after a night in the fridge.
- Freezer: These freeze well for up to 2 months. Wrap tightly and freeze with a little extra sauce if you can; that helps protect the meat from drying out.
- Reheating: Reheat covered in a 325F oven until hot, then uncover for the last few minutes so the glaze can tighten back up. The biggest mistake is blasting them in the microwave, which makes the skin rubbery and the sauce separate.
Answers to the Questions Worth Asking
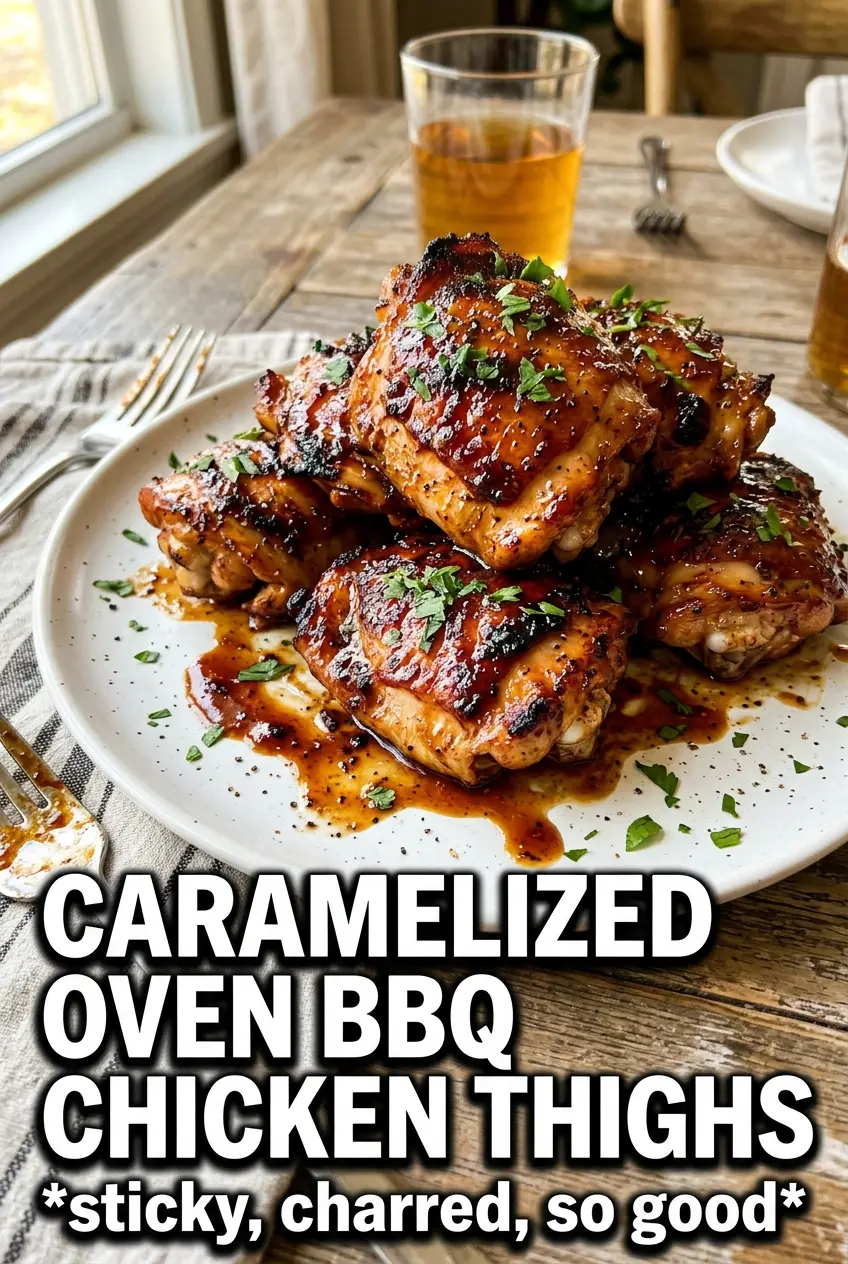
Caramelized BBQ Chicken Thighs In The Oven
Ingredients
Equipment
Method
- Preheat the oven to 400F and place a wire rack inside a foil-lined baking sheet.
- Rub chicken with olive oil, garlic powder, smoked paprika, onion powder, salt, and pepper until evenly coated.
- Place chicken skin-side up on the rack and bake for 25 minutes, until the chicken is browned and the fat is starting to render.
- Brush generously with BBQ sauce, then bake for 10 minutes to begin forming a sticky glaze.
- Brush with more BBQ sauce and bake for 5 more minutes until deeply caramelized and tacky.
- Broil for 3-4 minutes for maximum caramelization, watching closely so the sauce turns lacquered and mahogany without burning.
- Rest the chicken for 5 minutes to let the juices set, then serve with extra BBQ sauce and garnish with fresh parsley.


