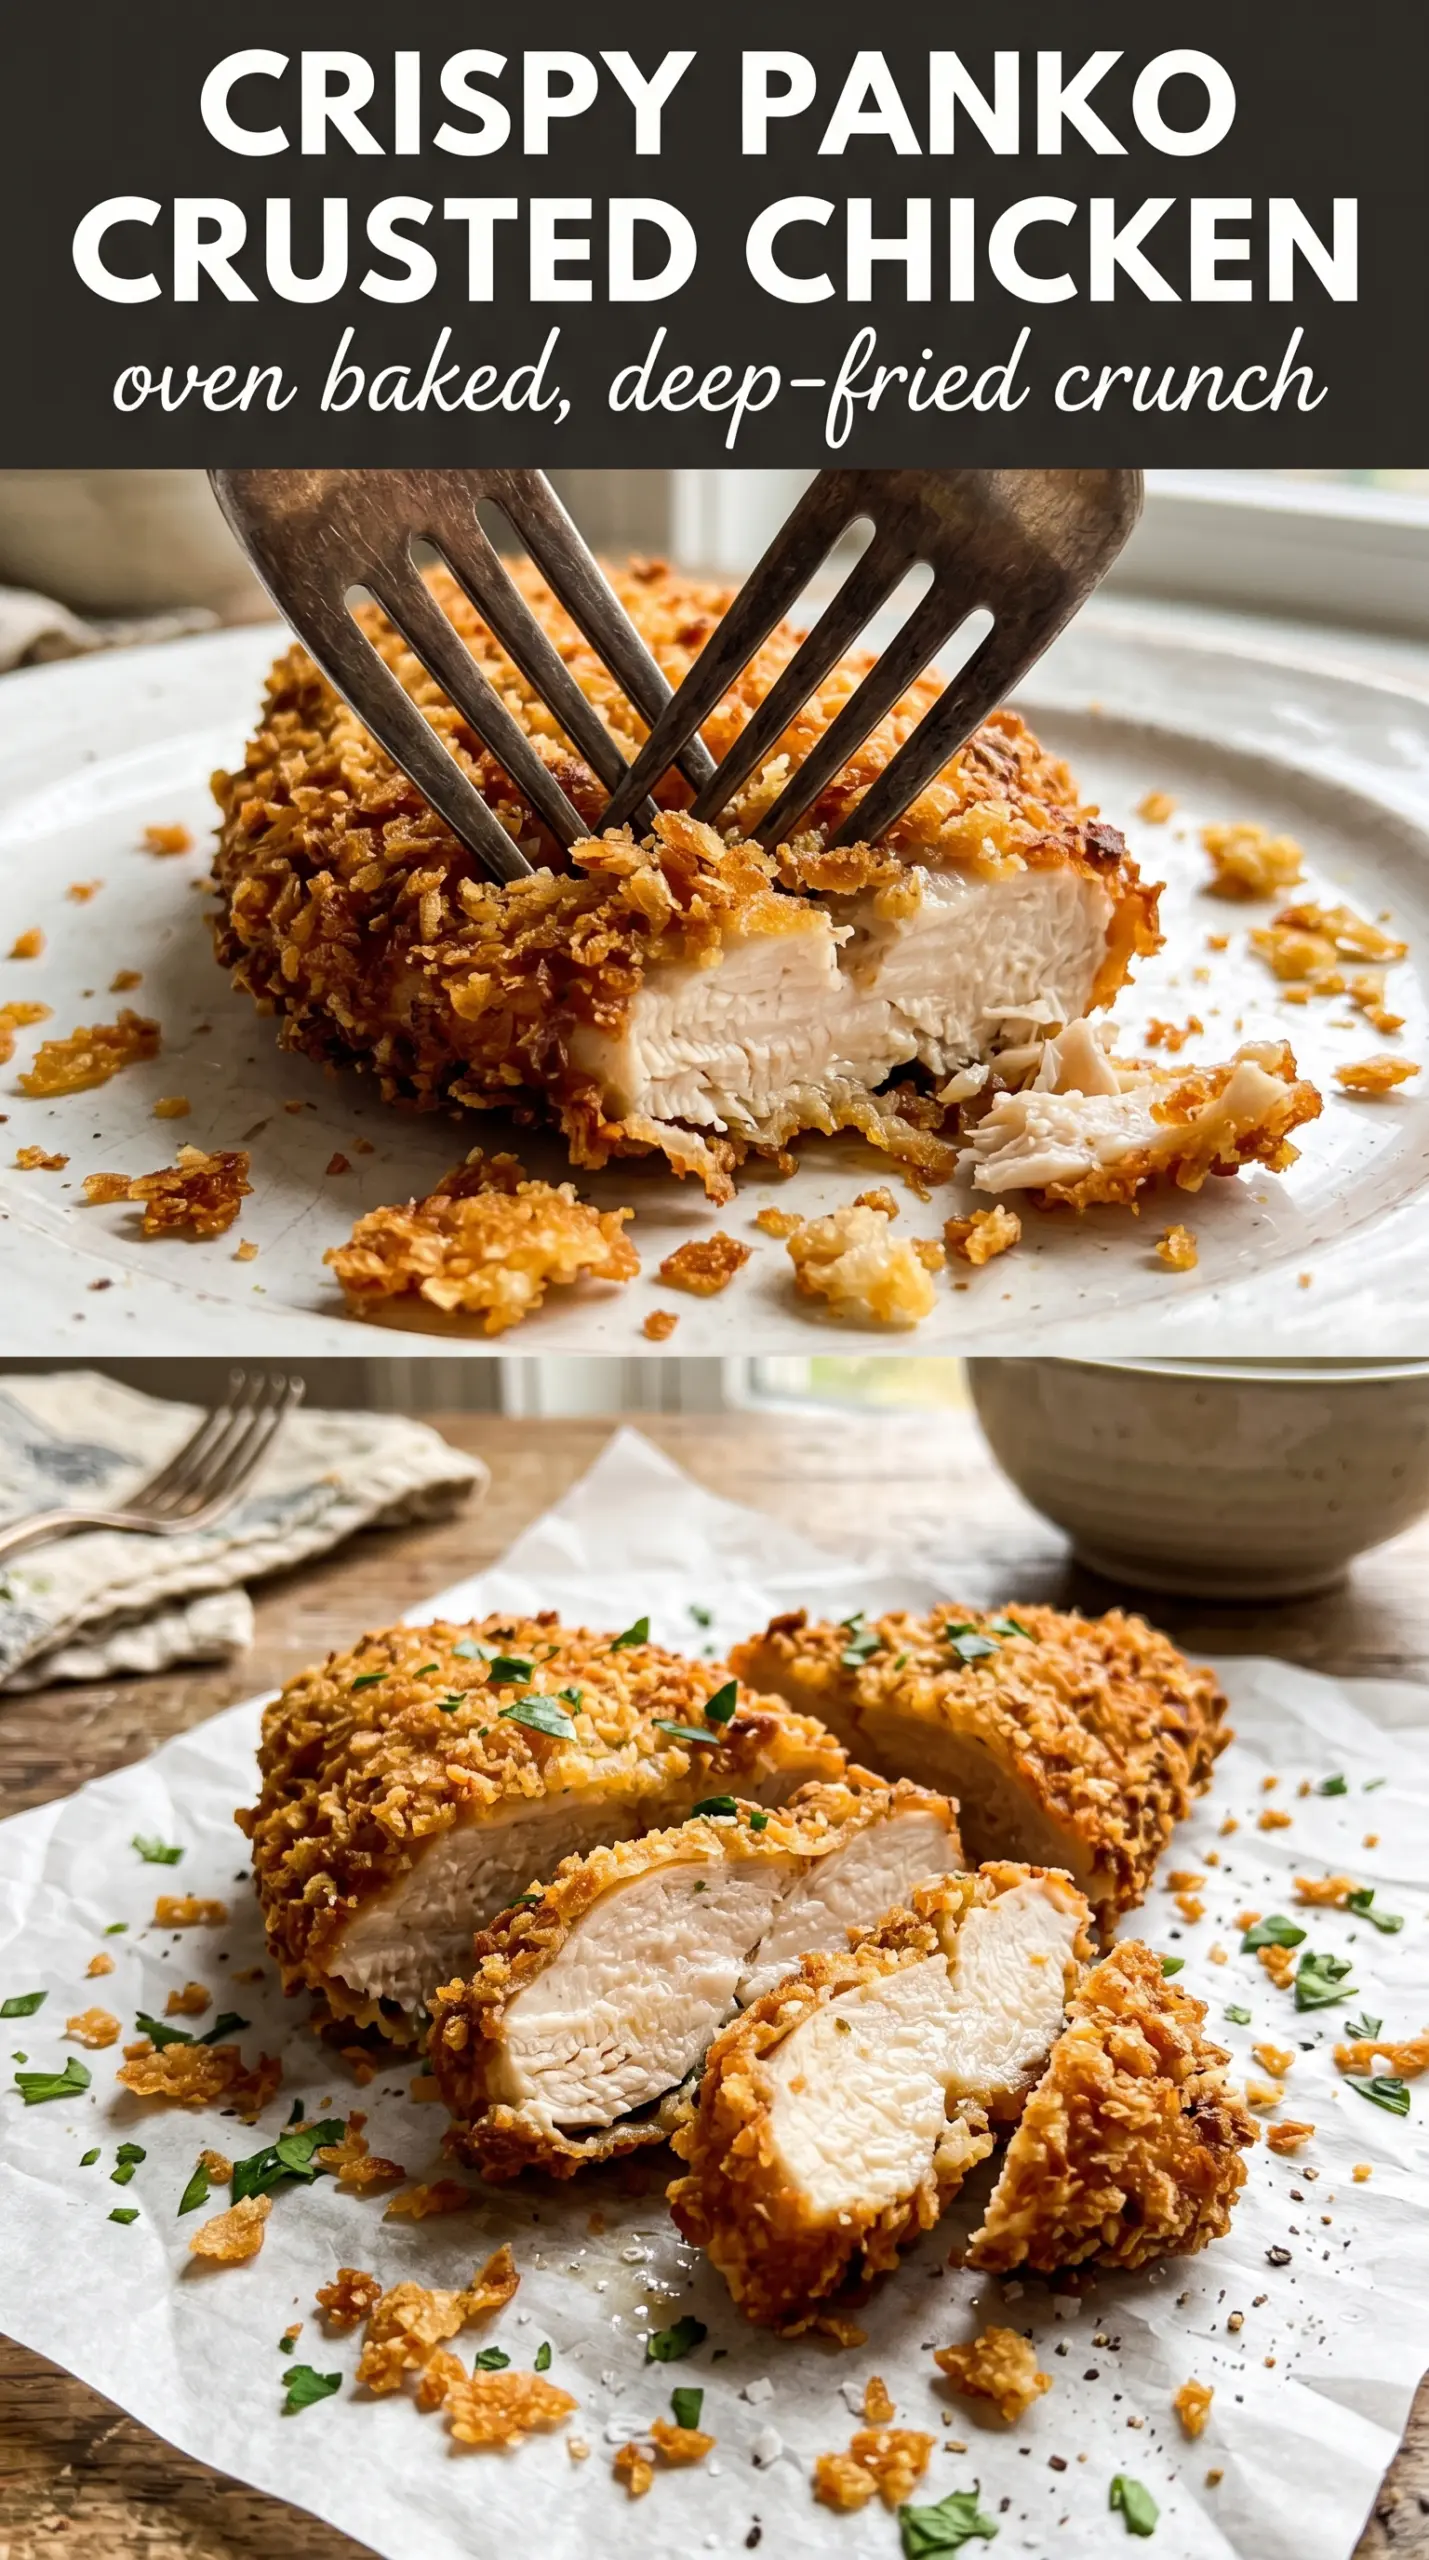
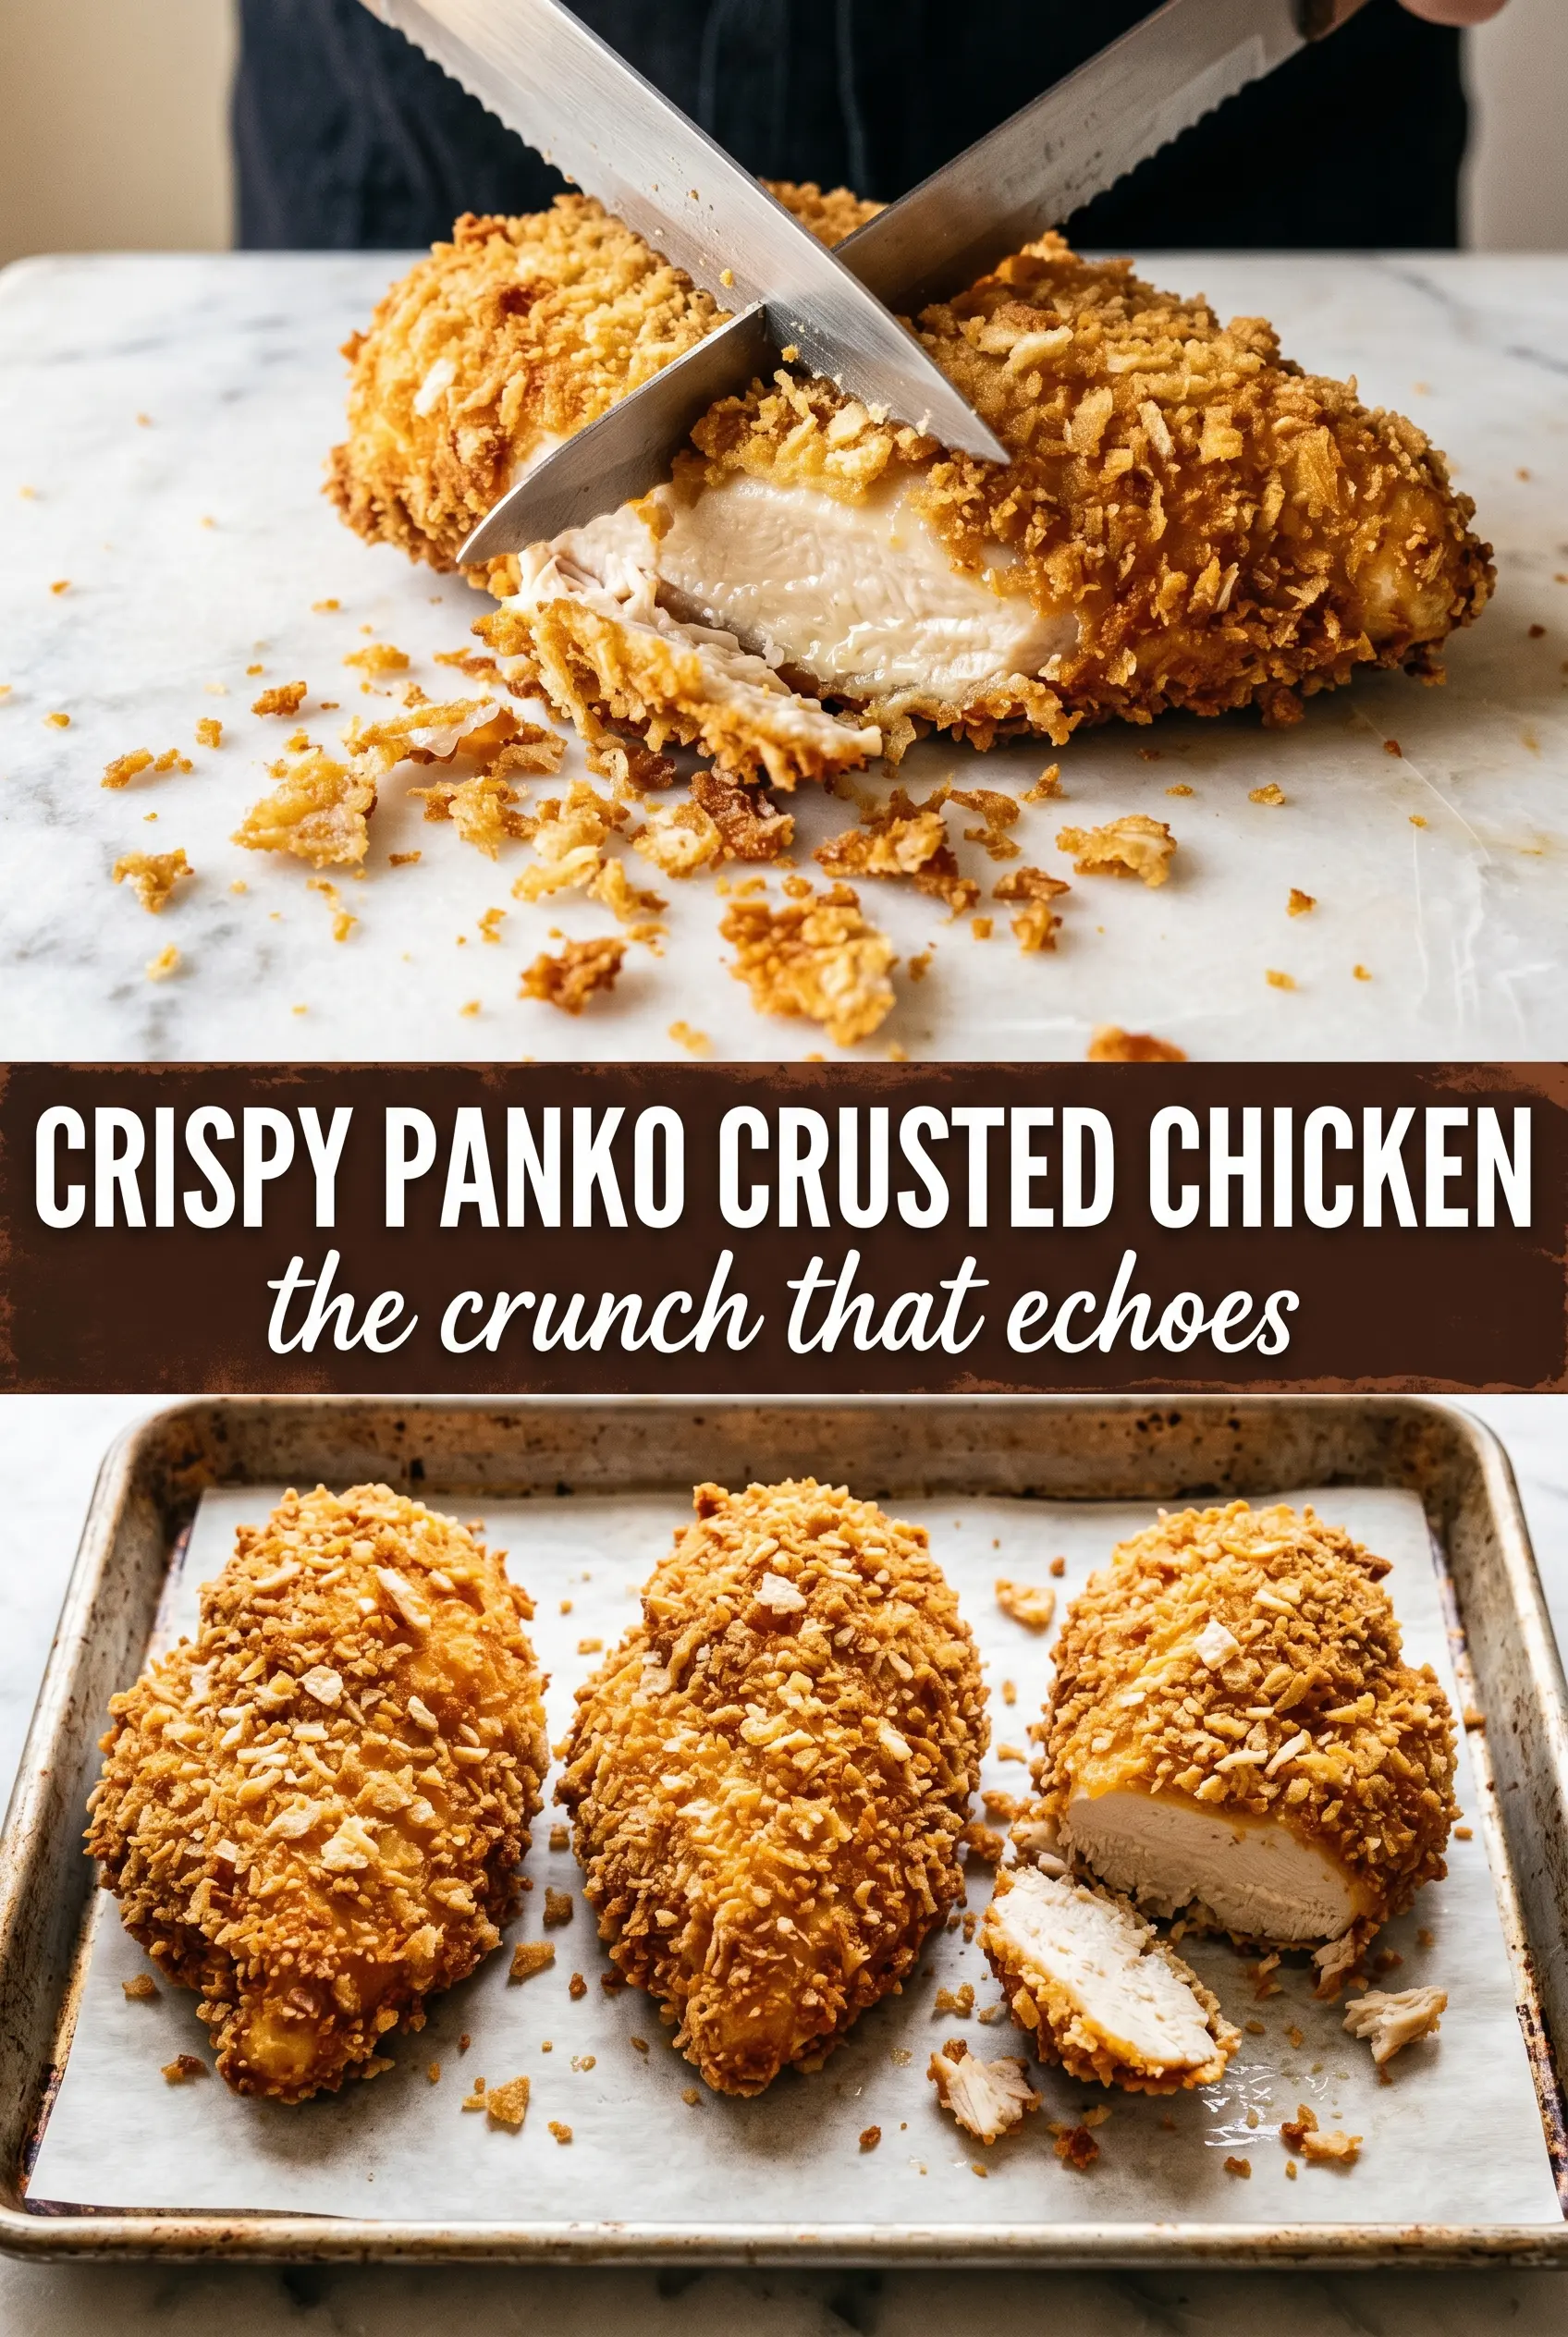
Shatteringly crisp panko chicken starts with a coating that bakes up bronzed and airy, not heavy or greasy. The crust stays tall and crunchy while the chicken underneath stays juicy, which is exactly why this version earns a spot in the regular dinner rotation. It’s the kind of chicken breast that slices cleanly, crackles when you cut into it, and tastes like a little more effort than it actually takes.
The trick is in the layering. Flour gives the egg something to cling to, the egg gives the panko a secure base, and the Parmesan helps the crust brown fast in the oven. Panko is the real workhorse here because its larger flakes dry out into a lighter, crispier shell than regular breadcrumbs ever can. A quick spray or drizzle of oil on top finishes the job and keeps the coating from looking pale or dusty.
Below, I’ve included the breading detail that keeps the crust from sliding off, plus the small heat-and-timing choices that keep the chicken moist in the middle. If you’ve ever ended up with soggy breaded chicken or a crust that fell apart at the first cut, this is the version that fixes it.
The panko crust turned out super crunchy in the oven, and the chicken stayed juicy instead of drying out. I loved that the Parmesan gave it a salty edge without making the coating heavy.
Crispy panko crusted chicken breasts with a deep golden crust and juicy center deserve a spot on your weeknight board.
The Secret to a Crust That Stays Attached After Baking
The biggest mistake with breaded chicken is skipping the part that helps the coating lock on. If the chicken goes straight from egg to crumbs without a flour base, the crust can lift in patches once it hits the oven. A light flour dredge dries the surface just enough for the egg to grip, and that grip is what keeps the panko from shedding when you move the chicken or slice into it.
The other detail that matters is pressure. Press the panko mixture on firmly, especially around the edges where bare spots show up first. Then set the breaded chicken on a rack instead of flat on a sheet pan so hot air can hit the bottom too. That keeps the underside crisp instead of steaming in its own juices.
What the Panko, Parmesan, and Oil Are Each Doing Here
- Panko breadcrumbs — These are the backbone of the crunch. Regular breadcrumbs pack down too tightly, but panko stays lighter and bakes into those crisp, jagged flakes that make the crust sound as good as it looks.
- Parmesan — Parmesan adds salt, savoriness, and faster browning. Freshly grated works best because pre-shredded cheese often contains anti-caking agents that keep it from melting and crisping as cleanly.
- Olive oil or cooking spray — The coating needs a little fat on the surface to turn deep golden instead of dry and blond. A fine spray gives the most even coverage, but a light drizzle of olive oil works if you toss the pan gently and don’t soak one spot.
- Chicken breasts pounded to even thickness — This step keeps the thicker end from drying out before the thin end cooks through. If one side is still plump and the other is paper-thin, the crust will finish unevenly and the meat will suffer for it.
- Italian seasoning, garlic powder, and smoked paprika — This mix seasons the crust all the way through instead of leaving the flavor trapped at the surface. Smoked paprika is subtle here, but it deepens the color and gives the chicken a little warmth that plain breadcrumbs miss.
Getting the Chicken Baked Before the Crust Burns
Season and Set Up in Order
Season the chicken first, before you touch the breading stations. Salt pulls a little moisture to the surface, and that helps the flour cling instead of sliding around on a dry, dusty exterior. Set the flour, egg, and panko mixture in separate shallow dishes so the coating process stays neat and fast. If the egg bowl gets filled with flour clumps, the crust turns patchy and thick in the wrong places.
Press, Don’t Sprinkle, the Coating
Dredge each breast in flour, then egg, then press it into the panko mixture with enough pressure to pack the crumbs onto the surface. The goal is a full, even coat that looks rough and shaggy before it goes in the oven. If a spot looks bare, add crumbs there now; once it bakes, you won’t fix it without tearing the crust.
Bake on a Rack Until Deep Bronze
Set the chicken on a wire rack over the sheet pan and bake at 425°F until the crust turns deep golden bronze and the thickest part reaches 165°F. The high heat is what gives panko its crunch, but the rack is what keeps the underside from turning soft. Pull it when the center is done, not when the whole crust looks dark; overbaking dries out chicken breasts fast.
Rest Before Cutting
Give the chicken three minutes before slicing. That short rest lets the juices settle back into the meat, so they don’t run out the second you cut through the crust. If you slice immediately, the breading can also pull away at the cut line and look messier than it tastes.
How to Adjust Crispy Panko Crusted Chicken for Different Tables
Gluten-Free Version
Use a gluten-free flour blend for the dredge and gluten-free panko for the crust. The result stays crisp, though the crumbs can brown a little faster, so watch the color near the end of baking.
Dairy-Free Swap
Skip the Parmesan and add an extra tablespoon of panko plus a pinch more salt. You lose some of the savory edge and browning boost, but the crust still gets crunchy if you keep the oil on the surface.
Italian-Style Upgrade
Add a pinch of dried basil or oregano to the panko mixture and serve with warm marinara on the side. That pushes the chicken toward classic Italian breaded chicken territory without changing the crisp texture.
Storage and Reheating
- Refrigerator: Store leftovers for up to 3 days. The crust softens a little in the fridge, but the chicken stays usable for lunches or quick dinners.
- Freezer: Freeze cooked chicken breasts on a sheet pan until firm, then wrap tightly and store for up to 2 months. The coating won’t stay quite as crisp after freezing, but it still works better than most breaded chicken.
- Reheating: Reheat in a 375°F oven or air fryer until hot and crisp again. Skip the microwave if you want the crust to stay crunchy, because steam is what turns panko soggy.
Questions I Get Asked About This Recipe
Crispy Panko Crusted Chicken Breasts
Ingredients
Equipment
Method
- Preheat the oven to 425°F, and line a baking sheet with a wire rack; spray the rack with cooking spray so the crust stays crisp underneath.
- Pound the chicken breasts to even thickness so they bake uniformly without thin spots drying out.
- Season the chicken with salt, pepper, and garlic powder to taste.
- Set out three stations: flour, beaten eggs, and a panko mix with Parmesan, Italian seasoning, garlic powder, and smoked paprika.
- Dredge each chicken breast in flour, shaking off excess.
- Dip the floured chicken into the beaten eggs, letting excess drip back down.
- Press the chicken firmly into the panko mixture on all sides for a thick, crunchy coating.
- Drizzle or spray the breaded chicken with olive oil or cooking spray, then place on the prepared wire rack.
- Bake at 425°F for 20-22 minutes, until the crust is deep golden brown and the internal temperature reaches 165°F.
- Rest the chicken for 3 minutes so the juices settle and the crust stays crisp.
- Garnish with fresh parsley and serve with lemon wedges.