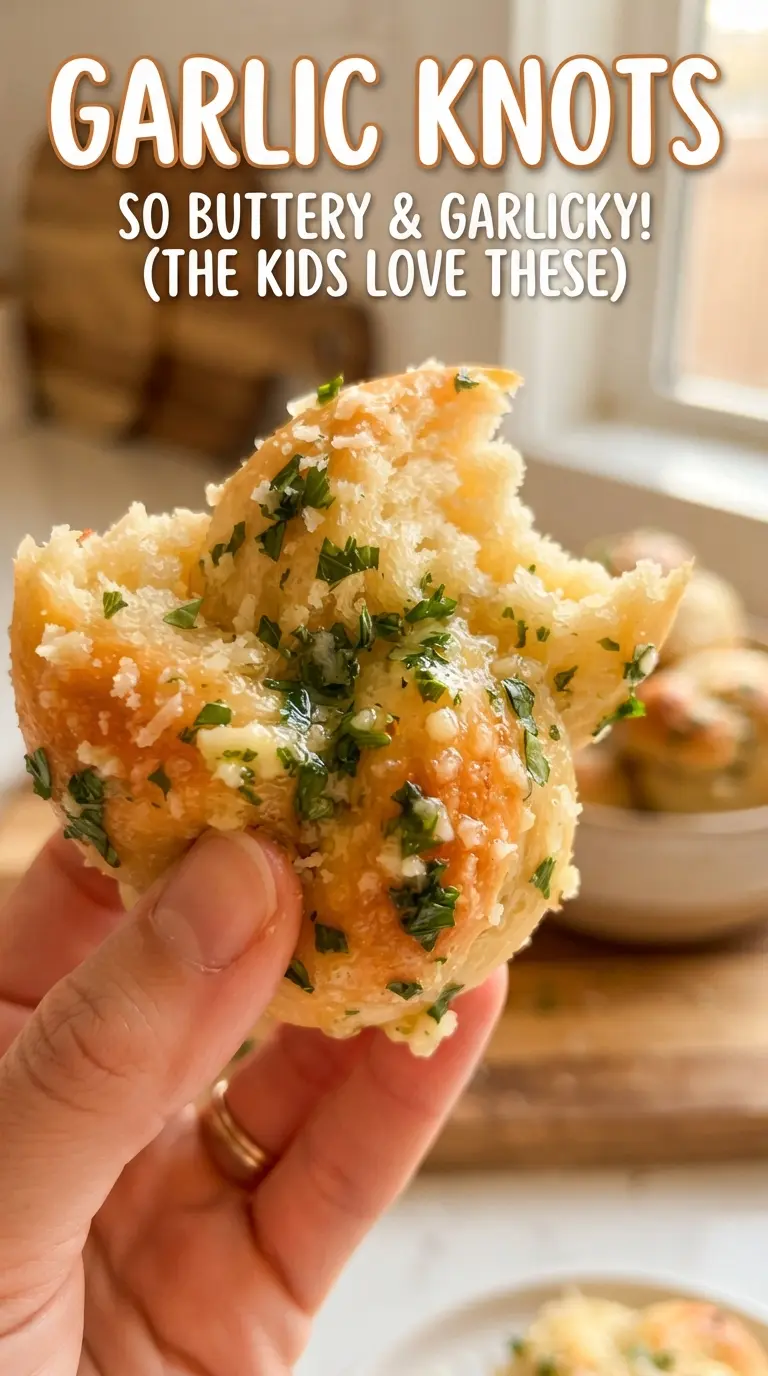
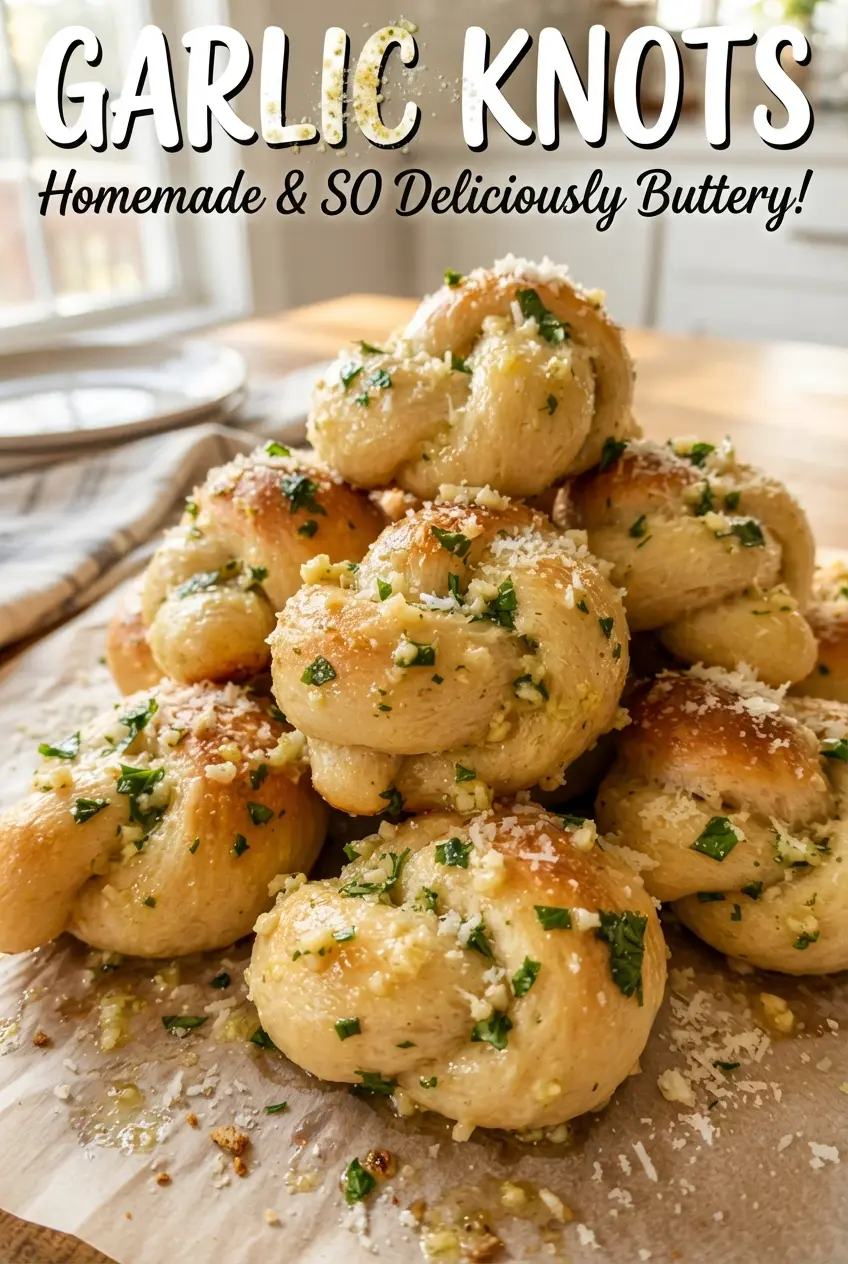
Golden garlic knots pull apart with a soft, pillowy center and a glossy buttered crust that makes them disappear fast. The outside gets just enough color in the oven to hold onto the garlic butter, while the inside stays tender instead of dry or bready. Served warm with marinara, they land in that sweet spot between appetizer and side dish, which is exactly why they keep showing up next to pasta night, soup, and anything that needs a little extra comfort.
The trick is starting with room-temperature pizza dough so it stretches without snapping back, then brushing the knots lightly before baking instead of flooding them with butter too soon. That first thin coat helps the knots brown without turning greasy, and the garlic-parsley butter goes on after baking so the garlic stays fragrant instead of harsh. Parmesan melts into the hot surface and gives the knots that salty finish that makes people reach for one more.
Below, you’ll find the small details that make these knots turn out soft in the middle and deeply savory on top, plus a few swaps if you’re working with what you have on hand.
I loved how the knots baked up soft inside with those golden edges, and brushing the garlic butter on after baking kept the garlic flavor fresh instead of bitter. My kids ate half the pan before dinner even started.
Save these garlic knots for the nights when you want soft, buttery bread with a punch of garlic and Parmesan.
The Secret to Garlic Knots That Stay Soft Instead of Dry
Garlic knots fail when the dough gets overworked or the oven runs too hot for too long. Pizza dough is strong enough to handle shaping, but if you keep rolling and re-rolling it, the strands tighten and the knots bake up chewy instead of fluffy. The other common miss is drowning them in butter before they go into the oven, which can make the bottoms greasy and slow down browning.
The better move is to keep the shaping loose and the first butter coat light. The knots need enough space on the pan to expand, and they brown best when the surface can dry out just enough to take on color. Add the garlic butter after baking, when the knots are hot and the crumbs can soak it up without turning soggy.
What Each Ingredient Is Actually Doing in These Garlic Knots
- Refrigerated pizza dough — This is the backbone of the recipe. Store-bought dough gives you the stretch and chew you want without mixing and proofing from scratch, and it needs to come to room temperature before shaping or it fights back and tears. If the dough keeps shrinking, let it rest for 10 minutes and try again.
- Butter — Melted butter carries the garlic and gives the knots their glossy finish. Use the real thing here; margarine won’t coat the dough the same way and can taste flat. If you want a richer finish, use salted butter and cut back on the added salt.
- Garlic — Fresh minced garlic gives the best sharp, clean flavor once it hits the warm butter. If you swap in garlic powder, the taste will be softer and less bright, but it works in a pinch. Stir it into the post-bake butter so it stays fragrant instead of scorching in the oven.
- Parsley — Fresh parsley keeps the topping from tasting heavy. Dried parsley won’t give the same fresh green lift, though it can stand in if that’s what you have. Chop it finely so it clings to the butter and doesn’t fall off the knots.
- Parmesan — Grated Parmesan adds salt, savoriness, and a little texture on the warm surface. A finely grated Parmesan melts and sticks better than a coarse shred. If you buy a wedge and grate it yourself, the finish tastes cleaner and more pronounced.
Shaping, Baking, and Brushing the Knots in the Right Order
Cutting and Tying the Dough
Cut the dough into 16 even pieces so they bake at the same rate, then roll each one into a rope about 7 inches long. Tie each rope into a loose knot rather than pulling it tight; the dough needs room to puff in the oven. If the rope tears while shaping, the dough is still too cold. Let it sit a few minutes and it will relax.
The Light First Coat
Set the knots on a parchment-lined sheet and brush them lightly with melted butter before baking. This thin layer helps the surface brown and gives the dough a little richness without weighing it down. Too much butter at this stage can pool under the knots and leave the bottoms soft instead of lightly crisped. Leave a little space between each knot so the edges can color.
Baking Until the Tops Turn Gold
Bake at 400F for 13 to 15 minutes until the knots are puffed and golden brown on top. Watch for color, not just time; ovens vary, and pale knots usually need another minute or two. If they darken too fast, the oven is running hot, so pull them early and finish with the garlic butter while they’re still warm.
Finishing with Garlic Butter and Parmesan
Stir the garlic, parsley, and salt into the remaining butter, then brush it over the hot knots right after they come out of the oven. The heat wakes up the garlic and helps the butter soak into the cracks and folds. Finish with Parmesan while the surface is still hot so it melts slightly and sticks instead of sliding off. Serve with marinara while the knots are warm and the crust still has a little bite.
How to Adapt These Garlic Knots for Different Needs
Dairy-Free Garlic Knots
Use a plant-based butter that melts cleanly and has a neutral flavor. You’ll lose a little of the rich dairy finish, but the garlic, parsley, and marinara still carry the flavor. Skip the Parmesan or use a dairy-free hard-style topping if you want that salty, savory finish.
Extra-Cheesy Garlic Knots
Add a small pinch of Parmesan inside each knot before baking, then finish with the usual topping after they come out. The inside stays soft, but you’ll get pockets of salty cheese that make them taste more like pizzeria breadsticks. Don’t overfill them or the dough can split open.
Using Homemade Pizza Dough
Homemade dough works fine as long as it’s fully risen and easy to stretch. If it springs back while you shape it, let it rest so the gluten relaxes. The knots may bake up a little more airy than store-bought dough, which is a nice swap if you want a softer center.
Make-Ahead Storage and Reheating
- Refrigerator: Store baked knots in an airtight container for up to 3 days. They soften a little as they sit, but they still reheat well.
- Freezer: Freeze baked knots once they’re completely cool, then thaw and rewarm later. The texture is best if you freeze them before adding the final garlic butter, then brush with a fresh batch after reheating.
- Reheating: Warm in a 350F oven for 5 to 8 minutes. The microwave makes them rubbery, so use the oven if you want the edges to perk back up.
Answers to the Questions Worth Asking
Garlic Knots
Ingredients
Equipment
Method
- Preheat the oven to 400F and line a baking sheet with parchment (a nonstick surface helps the knots lift cleanly).
- Cut the room-temperature pizza dough into 16 pieces, then roll each into a 7-inch rope and tie into a knot.
- Place the knots on the baking sheet and brush lightly with the melted butter so they begin browning as they bake.
- Bake for 13-15 minutes, until the knots are golden brown (look for darker golden edges).
- Stir the minced garlic, chopped parsley, and salt into the remaining butter, then brush the mixture over the hot knots.
- Sprinkle with grated Parmesan and serve immediately with marinara sauce for dipping.