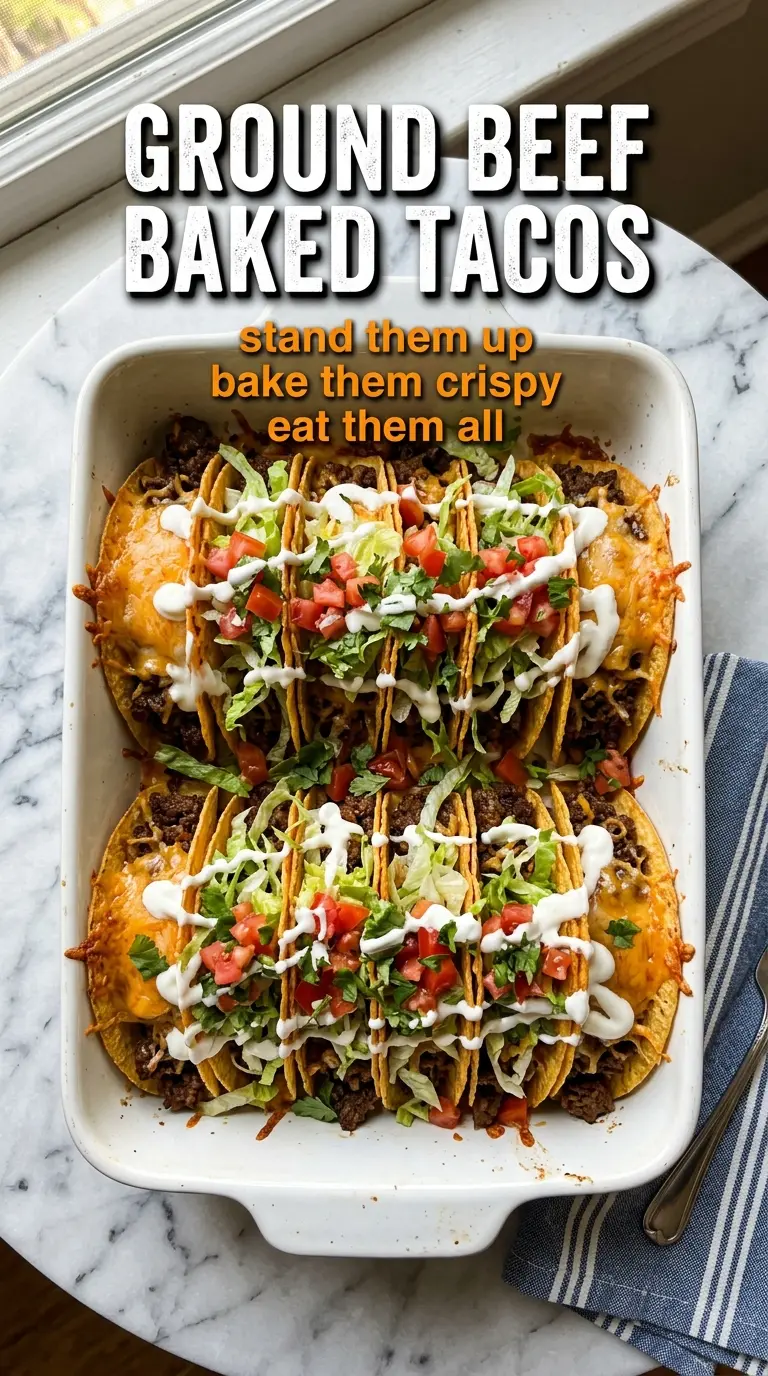
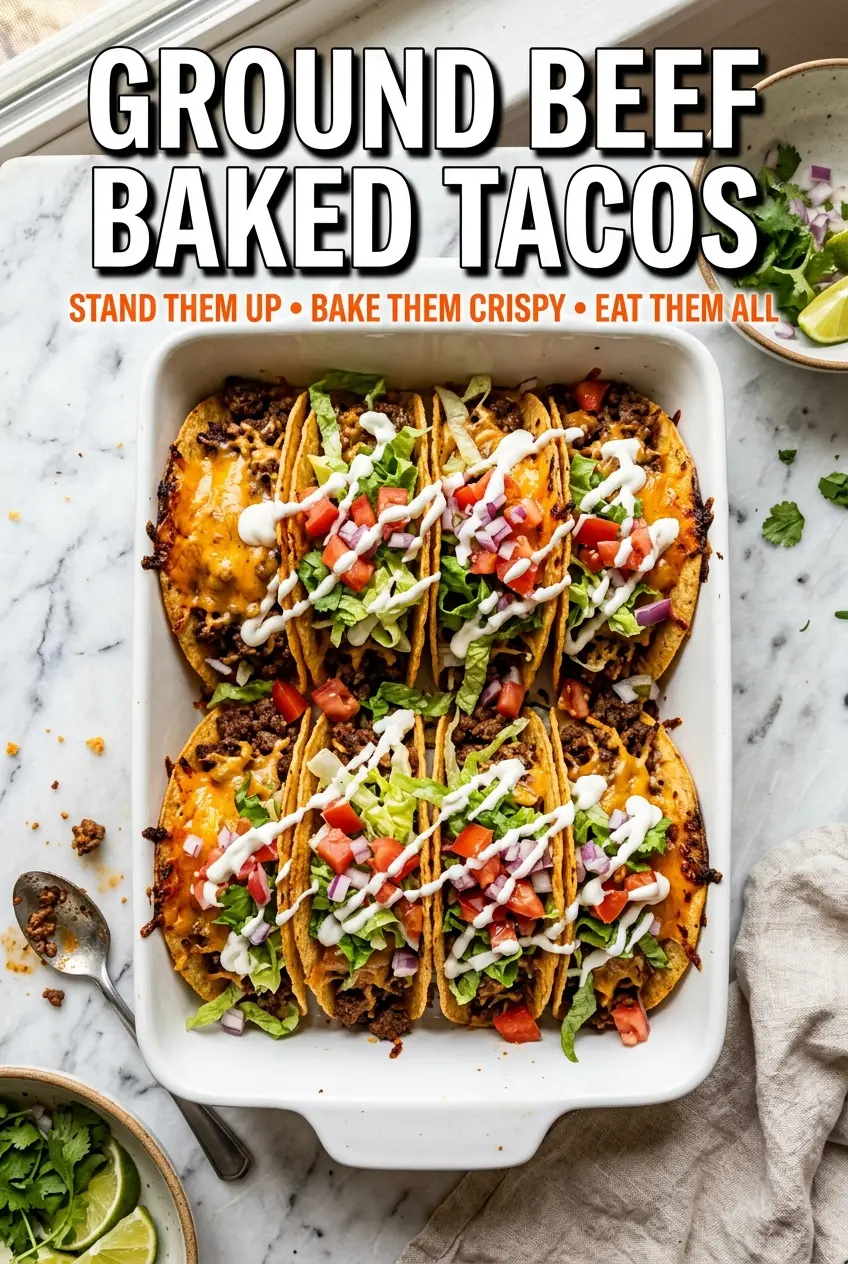
Ground beef baked tacos hit that sweet spot between crunchy and satisfying without turning dinner into a build-your-own project at the stove. The shells bake upright, the cheese melts right into the beef, and you get tacos that hold together better than the usual skillet version. The first bite is crisp at the edge, savory in the middle, and just messy enough to feel like taco night should.
The trick is keeping the beef flavorful but not watery. A quick simmer with taco seasoning and just enough water lets the meat absorb the seasoning before it goes into the shells, and baking the tacos before adding the cold toppings keeps the shells crisp. That order matters more than people think. Wet toppings go on last, after the cheese has done its job.
Below, I’ve included the little details that keep the shells from tipping over, plus a couple of simple ways to change these up for different tastes.
The shells stayed crisp even after I added the beef and cheese, and the seasoning soaked right into the meat instead of sitting on top. My kids ate three each and asked for these again the next night.
Crispy ground beef baked tacos with melted cheddar are the kind of taco night upgrade worth keeping close.
The Reason These Tacos Stay Crisp Instead of Soggy
Most baked tacos fail for one reason: the filling is too wet before it ever hits the oven. If the beef is loose and soupy, the shells soften fast and the cheese slides around instead of melting into a clean layer. Here, the beef is simmered long enough for the seasoning to cling and the extra liquid to cook off, so it goes into the shells moist, not sloppy.
The other piece is timing. Bake the tacos just until the cheese melts and the shells sound crisp when tapped. Push them too far and the edges can scorch before the centers are set. That short bake is enough because the filling is already cooked.
What the Beef, Cheese, and Shells Are Each Doing
- Ground beef — Use beef with some fat for the best flavor. If you start with extra-lean beef, it can taste a little flat, so drain it only after browning, not before. That browned bottom in the pan is where the flavor lives.
- Taco seasoning — Store-bought seasoning works fine here, and it actually helps because it’s balanced for this style of filling. If yours is salty, use a little less and let the cheese and salsa finish the seasoning. Homemade seasoning works too, but add it thoughtfully so the beef doesn’t end up too peppery.
- Hard taco shells — These need to stand upright in the baking dish so the filling stays centered and the edges crisp evenly. If the shells are flimsy, pack them closely together in the dish so they support each other. Warm, soft shells are what lead to cracked bottoms.
- Cheddar cheese — Shred it yourself if you can. Pre-shredded cheese has anti-caking starches that can make the melt a little grainy instead of smooth. Sharp cheddar gives the best contrast against the seasoned beef.
- Tomatoes, lettuce, sour cream, and jalapeño — These are best added after baking so the shells stay crisp. If you want less moisture, pat the tomatoes dry before topping. The sour cream cools the heat, and the jalapeño gives the tacos a clean finish instead of just heat.
Building the Filling and Baking the Tacos Straight in the Dish
Brown the Beef Until It Has Real Color
Cook the ground beef over medium-high heat and break it into small crumbles as it browns. Don’t stop as soon as it turns gray; let some of the pieces pick up a little color, because that’s where the deeper flavor comes from. If there’s a lot of grease in the pan, drain it off before adding the seasoning so the tacos don’t taste oily.
Let the Seasoning Cling Before It Goes in the Shells
Stir in the taco seasoning and water, then simmer until the liquid looks reduced and the meat is glossy rather than soupy. You’re looking for a filling that sits on the spoon without running off. If there’s too much moisture left in the pan, it will soften the shells in the oven.
Set the Shells, Fill Them, and Bake Briefly
Stand the taco shells upright in a baking dish so they stay open while they heat. Spoon the beef into each one, then top with cheese before they go into the oven. Bake just until the cheese melts and the shells feel crisp; if the shells start darkening too fast, the oven is a touch hot for that particular brand of shell.
Finish With Cold Toppings Right at the End
Add the tomatoes, lettuce, sour cream, and jalapeño after the tacos come out of the oven. That keeps the lettuce fresh and the shell from steaming underneath the toppings. Salsa on the side gives people control over how wet each taco gets, which matters if you want the crunch to last.
Three Ways to Change These Without Losing the Crunch
Make Them Gluten-Free
Use certified gluten-free hard taco shells and check your seasoning packet for hidden flour or malt ingredients. The method stays the same, and the texture holds up as long as the shells are sturdy enough to bake standing upright.
Swap in Ground Turkey
Ground turkey works well if you want something a little lighter, but it needs the seasoning step more than beef does because it has less built-in flavor. Add a spoonful of oil to the pan if the turkey looks dry, and don’t skip the simmer so the filling doesn’t taste bland.
Turn Up the Heat
Add extra diced jalapeño to the beef while it simmers, or use pepper jack instead of cheddar for more bite. This gives you heat all the way through instead of just at the top, but it also makes the tacos a little less kid-friendly.
Storage and Reheating
- Refrigerator: Store the beef separately from the shells and toppings for up to 4 days. The shells will soften if they sit assembled.
- Freezer: The seasoned beef freezes well for up to 3 months. Freeze it flat in a bag or airtight container, then thaw in the fridge before reheating.
- Reheating: Warm the beef in a skillet or microwave until hot, then re-crisp fresh shells in the oven if needed. Don’t reheat assembled tacos if you want the crunch back; the toppings and steam will defeat it.
Questions I Get Asked About This Recipe
Ground Beef Baked Tacos
Ingredients
Equipment
Method
- Preheat oven to 350°F. Brown ground beef in a skillet over medium-high heat, breaking it into crumbles as it cooks, and drain excess fat.
- Add taco seasoning and water to the beef, stirring to combine, then simmer for 2-3 minutes.
- Arrange taco shells in a baking dish, standing them upright, then divide seasoned beef among the shells.
- Sprinkle shredded cheddar cheese over each taco, then bake for 10-12 minutes at 350°F until shells are crispy and cheese is melted with a glossy, melted surface.
- Top each taco with diced tomatoes, shredded lettuce, a dollop of sour cream, and diced jalapeño for a fresh, layered finish.
- Serve with salsa on the side, so each taco can be finished at the table.