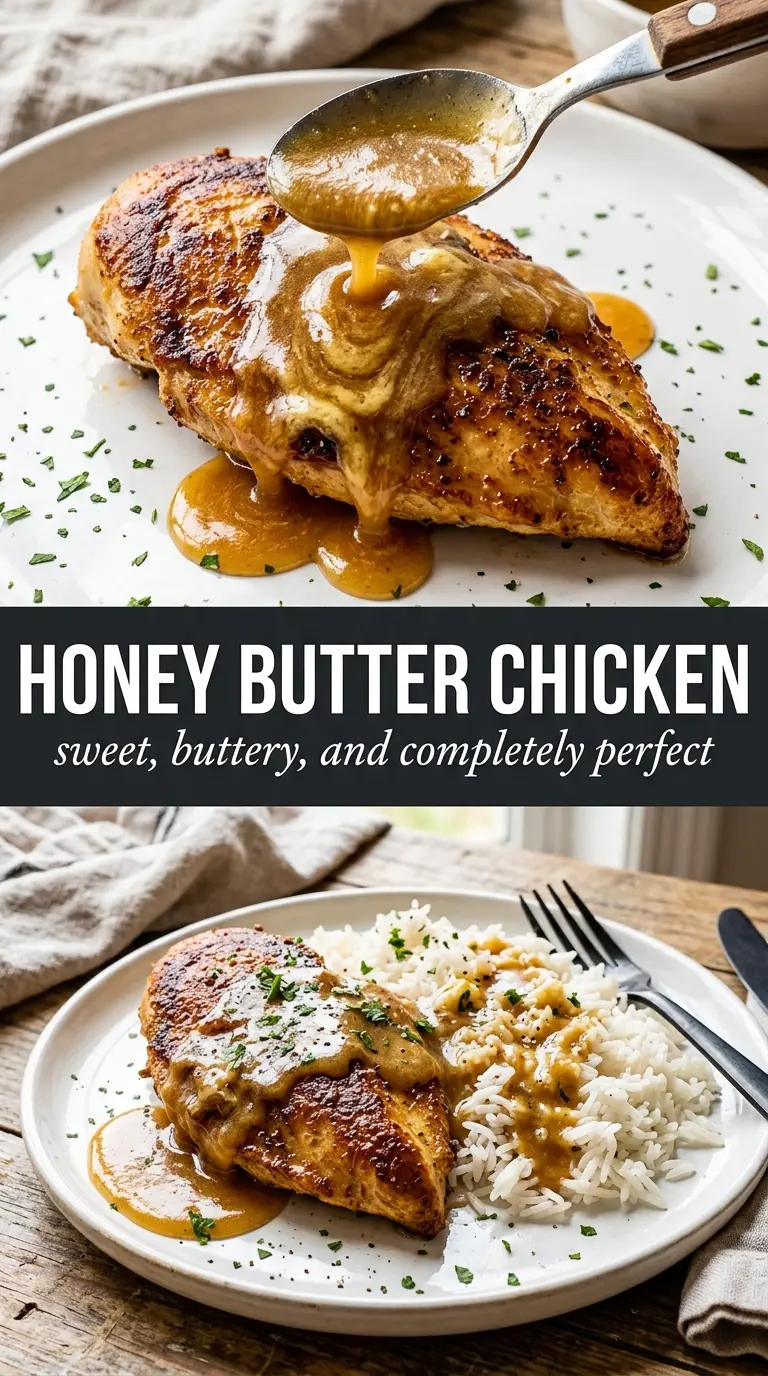
Honey butter chicken lands in that sweet spot between weeknight practical and restaurant-worthy. The chicken sears up with a deep golden crust, then gets coated in a glossy sauce that tastes rich, sticky, and just sharp enough to keep the honey from turning cloying. Every bite has that mix of caramelized edges, buttery gloss, and garlicky depth that makes a skillet dinner feel like more than the sum of its parts.
What makes this version work is the balance in the pan. The chicken gets cooked first, so it can brown properly without the sauce getting in the way, and the honey comes later with vinegar and soy sauce to keep the glaze from tasting flat. That little bit of acid matters. It keeps the butter-honey sauce bright enough to cling to the chicken instead of settling into a one-note syrup.
If you’ve ever had a sweet chicken sauce turn greasy, thin, or burnt, the technique below will help. I’ve included the timing cues that matter, a few smart swaps, and the one reheating trick that keeps the glaze from breaking.
The chicken browned beautifully and the sauce turned glossy and sticky without burning. I loved that the garlic stayed mellow and the honey butter glaze clung to every piece.
Love the glossy honey butter glaze and caramelized chicken? Save this skillet dinner for the nights when you want something fast, sticky, and full of garlicky butter flavor.
The Step Most Sweet Chicken Recipes Rush Past
The difference between a glossy glaze and a burnt, bitter mess is patience in the first sear. The chicken needs real color before the sauce goes in, because honey cooks fast and won’t forgive a pale pan. If the breasts are moving around too much or releasing too soon, they need another minute to develop that crust.
Once the chicken is out, the pan becomes the sauce base. Those browned bits on the bottom are where the flavor lives. The butter loosens them, the garlic softens into the fat, and the honey, soy sauce, and vinegar turn that fond into a sticky sauce that tastes layered instead of sweet. If the sauce looks thin at first, that’s normal; it tightens as it simmers and again when it hits the hot chicken.
- Chicken breasts — Boneless, skinless breasts are lean enough to soak up the glaze without turning heavy. Pound thicker ends slightly so they cook at the same rate as the thinner sections.
- Honey — This is the main source of sweetness and gloss, so use real honey, not pancake syrup. If yours is very thick or crystallized, warm it briefly so it blends cleanly into the sauce.
- Apple cider vinegar — This keeps the sauce from tasting flat and helps cut through the butter. White vinegar works in a pinch, but it tastes sharper and less rounded.
- Soy sauce — A small amount deepens the color and adds salt without making the sauce taste overtly savory. Use low-sodium if that’s what you keep, then season the chicken a little more assertively at the start.
- Butter — This gives the glaze its rich body and helps the sauce cling. If you use less, the sauce will taste thinner and won’t coat the chicken as evenly.
What Each Ingredient Is Actually Doing in This Baked Chicken
- Chicken breasts (the protein) — Pat dry so they brown instead of steam. Even thickness ensures uniform cooking.
- Sauce or cooking liquid (the moisture keeper) — This prevents the chicken from drying out in the oven. Balance richness with acid.
- Garlic (the aromatic foundation) — Fresh minced garlic mellows and becomes sweet when baked. Don’t brown it or it turns bitter.
- Cream or wine (optional richness) — This adds luxury and moisture. Don’t let it boil hard or it can break and separate.
- Lemon or white wine (the brightness) — Acid prevents heavy sauces from tasting flat. Balance is essential.
- Fresh herbs (basil, thyme, parsley) — Add some during cooking and some after so you get both cooked and fresh flavors.
- Cheese (optional richness) — Parmesan or feta adds depth. Don’t overdo it or the dish becomes heavy.
- Proper oven temperature (375-400°F) — This temperature bakes chicken through without drying the edges. Use a thermometer for 165°F.
Getting the Sauce Glossy Without Breaking It
Seasoning and Searing the Chicken
Season the chicken on both sides with salt, pepper, garlic powder, and smoked paprika, then slide it into a hot skillet with olive oil. You’re looking for a steady sizzle and a deep golden crust, not pale steam. Five to six minutes per side is about right for average-sized breasts, but the real cue is internal temperature at 165°F and clear juices when you cut into the thickest part. Pull the chicken out as soon as it’s done so it doesn’t dry out while you build the sauce.
Building the Honey Butter Base
Lower the heat before the butter goes in. That’s the move that keeps the garlic from scorching. Stir the garlic for about a minute, just until it smells fragrant and starts to soften at the edges, then add the honey, soy sauce, and vinegar. The mixture should bubble in small, steady simmering bursts, not roar; if it’s boiling hard, the sugars can darken too fast and taste bitter.
Coating and Finishing the Chicken
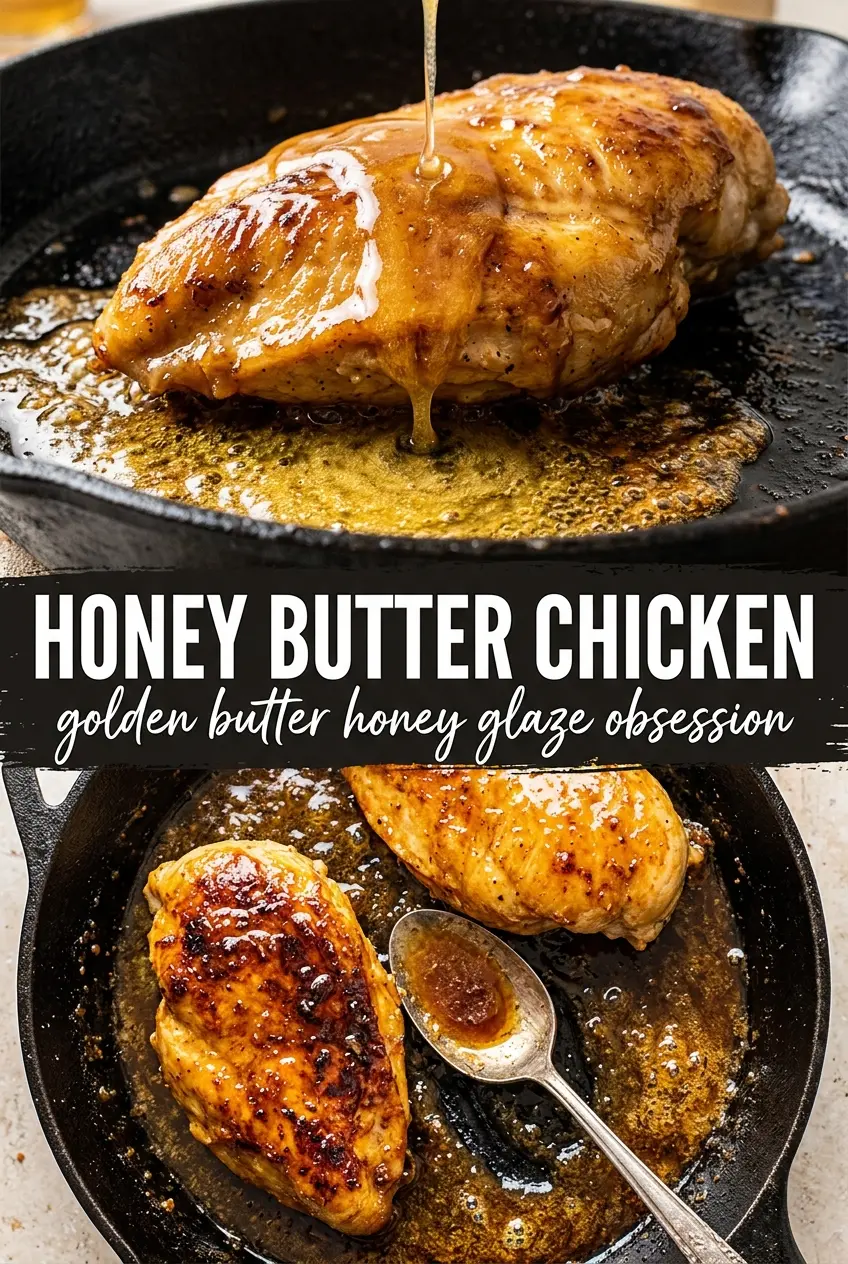
Return the chicken to the skillet and turn it in the sauce so every side gets lacquered. Spoon the glaze over the top and let it simmer for 2 to 3 minutes until it clings and turns shiny. If the sauce starts looking too thick before the chicken is coated, add a splash of water to loosen it; if it looks loose, give it another minute and keep basting. Finish with thyme and flaky salt so the last bite isn’t just sweet.
How to Adapt This Honey Butter Chicken for Different Nights
Make it dairy-free
Swap the butter for a good dairy-free butter stick. You’ll still get a glossy sauce, though it may be a touch less rich and the finish won’t have quite the same rounded dairy flavor. Choose a brand that melts smoothly instead of one that separates into oil.
Use chicken thighs instead of breasts
Boneless thighs stay juicier and handle the sticky sauce well. They need a little more time in the skillet, and the extra fat means the glaze tastes a touch deeper and more savory. Watch the browning carefully, since thighs can darken faster than breasts in the same pan.
Make it gluten-free
Use a gluten-free soy sauce or tamari. The sauce keeps the same sticky texture and deep color, and this is the easiest swap because the soy sauce is there mainly for salt and depth.
Storage and Reheating
- Refrigerator: Store in an airtight container for up to 4 days. The sauce will thicken as it chills.
- Freezer: It freezes well for up to 2 months, though the glaze may separate a little when thawed. Freeze the chicken with plenty of sauce so it reheats more evenly.
- Reheating: Warm gently in a covered skillet over low heat with a splash of water to loosen the glaze. High heat can make the honey scorch and the chicken dry out before the sauce comes back together.
Questions I Get Asked About This Recipe
Honey Butter Chicken
Ingredients
Equipment
Method
- Season the chicken breasts with salt, pepper, garlic powder, and smoked paprika to taste. Heat olive oil in a large skillet over medium-high heat and sear for 5-6 minutes per side until golden and the internal temperature reaches 165°F, then remove.
- Melt the butter in the same pan over medium heat. Add the minced garlic and cook for 1 minute.
- Stir in honey, soy sauce, and apple cider vinegar, then bring the mixture to a simmer.
- Return the chicken to the pan and cook for 2-3 minutes, turning and basting until the sauce caramelizes and coats the chicken. Plate the chicken and drizzle with any remaining sauce.
- Finish by adding fresh thyme leaves and flaky sea salt over the top.


