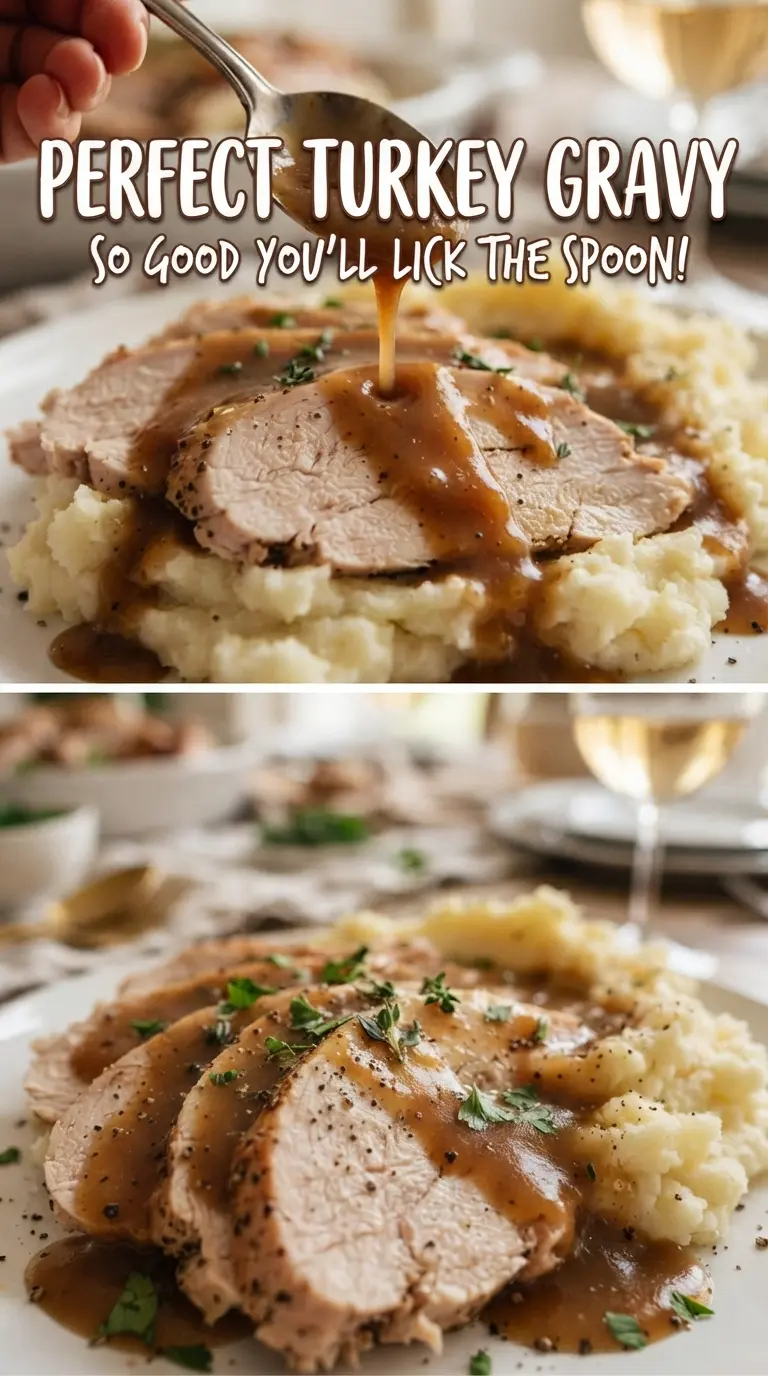
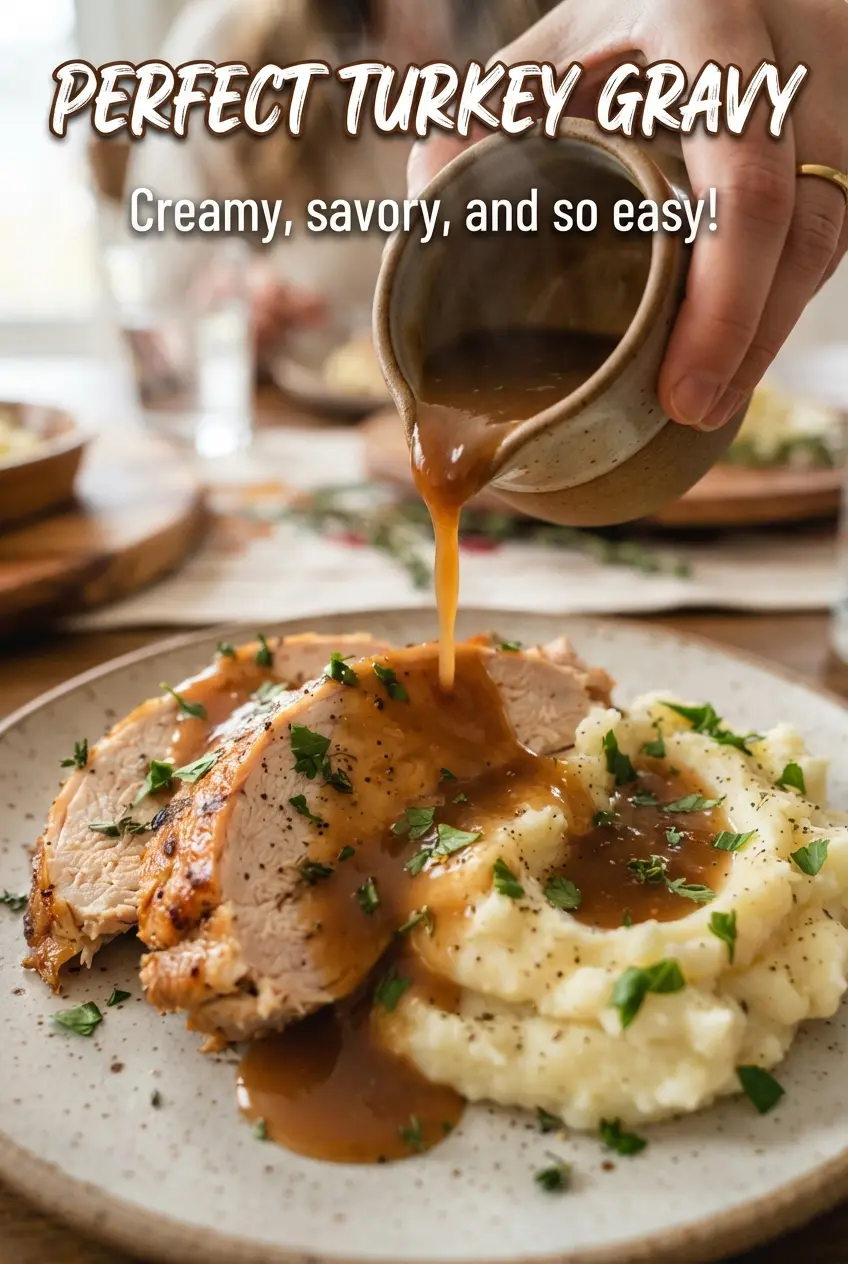
Silky turkey gravy changes the whole plate. It clings to mashed potatoes, settles into every corner of the turkey, and turns the pan drippings from “leftover bits” into the best part of the meal. When it’s done right, the texture is glossy and spoon-coating, not pasty, thin, or separated.
The trick is starting with the fat from the roasting pan and cooking the flour long enough to lose that raw taste. Warm stock matters here too, because cold liquid is where a smooth gravy often turns lumpy in a hurry. A little thyme gives it that roasted, savory edge, and the soy sauce adds depth without making the gravy taste like soy sauce.
Below, I’m walking through the part that matters most: how to build the roux, how to whisk in the liquid without lumps, and what to do if you want a perfectly smooth finish for serving.
The gravy thickened up exactly right and stayed smooth even after I whisked in the drippings. I loved the thyme and soy sauce together — it tasted like the turkey pan in the best way.
Save this silky turkey gravy for Thanksgiving plates, mashed potatoes, and every roast dinner that needs rich pan drippings and thyme in one spoonful.
The Reason Gravy Turns Lumpy Before It Ever Thickens
The biggest mistake with gravy is rushing the liquid into the roux. Once the flour hits fat, it needs a minute or two to cook out the raw edge, and once the stock goes in, it needs to be added gradually while you whisk. Dumping in cold liquid too fast shocks the roux and gives you floury clumps that never fully smooth out.
Warm stock makes a bigger difference than people think. It blends into the roux without seizing, which is how you get that even, glossy texture instead of a grainy one. The gravy also gets its final body from a gentle simmer, not from a handful of extra flour at the end.
- Roux timing — 3 to 4 minutes is enough to remove the raw flour taste and build a light golden color. If it smells nutty, you’re on track.
- Warm stock — use it warm, not cold, so the gravy stays smooth as it thickens.
- Pan juices — those browned bits and drippings carry the turkey flavor. If the roasting pan is especially salty, taste before adding more salt at the end.
- Straining — optional, but it gives you the cleanest, silkiest finish if your drippings picked up little roasted bits.
What the Fat, Flour, and Stock Are Each Doing Here
- Turkey drippings or butter — drippings give the deepest roasted flavor, but butter works well if your bird didn’t render much fat. If you use butter, the gravy will be a little cleaner and less intensely savory, which is still excellent.
- All-purpose flour — this is what thickens the gravy. There’s no perfect substitute for it here if you want the same classic texture, but a 1:1 gluten-free flour blend can work if it’s meant for thickening sauces.
- Warm stock plus deglazed pan juices — stock gives volume, while the pan juices bring the concentrated flavor from the roasting pan. Use chicken stock if that’s what you have; the gravy will still taste rich, just a little less turkey-forward.
- Fresh thyme and soy sauce — thyme gives a roasted herbal note, and soy sauce deepens the color and savory finish without turning the gravy into something that tastes Asian or overly salty.
Building the Gravy So It Stays Smooth From First Whisk to Last Spoonful
Separating the Drippings
Pour the drippings into a measuring cup and let them sit long enough for the fat to rise. Spoon off 1/4 cup of that fat for the roux, then save the darker juices underneath. If you skip this separation and use all the drippings together, the flour won’t have enough fat to coat evenly and the gravy can turn greasy or thin.
Cooking the Roux
Whisk the flour into the fat over medium heat and keep it moving for 3 to 4 minutes. The mixture should look smooth and bubble gently, then shift from pale paste to a light golden tan. If it turns dark too fast, the heat is too high and the gravy can taste bitter.
Whisking in the Liquid
Add the warm stock slowly at first, whisking after each splash until the mixture loosens. Once it starts looking smooth, you can pour in the rest in a thin stream. This is the moment where most lumps happen, and the fix is patience — fast dumping is what creates flour pockets.
Finishing the Flavor and Texture
Let the gravy simmer 8 to 10 minutes until it lightly coats a spoon and no longer tastes chalky. Stir in the thyme and soy sauce near the end so their flavor stays bright and layered, then taste for salt and pepper. If it feels too thick, whisk in a splash of stock; if it feels thin, give it another minute or two on the heat before serving.
Dairy-Free Gravy With the Same Roasted Finish
Use turkey fat or neutral butter-free drippings if you have them; if not, a little neutral oil can stand in for the fat. The texture stays the same, and the thyme plus soy sauce still gives you a deep savory gravy without any dairy at all.
Gluten-Free Version
Swap the all-purpose flour for a gluten-free 1:1 blend that thickens sauces well. Some blends need a little extra simmer time to lose the starchiness, so cook it until the gravy tastes balanced and the spoon coating is silky.
Using Store-Bought Stock When the Pan Juices Are Light
If your roasting pan didn’t produce many drippings, lean on good stock and a little butter to build the base. You’ll lose a bit of that ultra-roasted depth, but the gravy will still be smooth and full-bodied.
Storage and Reheating
- Refrigerator: Store in an airtight container for up to 4 days. It will thicken as it chills.
- Freezer: Freeze for up to 2 months in a freezer-safe container, but expect a slightly less silky texture after thawing.
- Reheating: Rewarm over low heat and whisk in a splash of stock or water to bring back the right consistency. High heat is the quickest way to scorch the bottom and make the gravy taste flat.
Answers to the Questions Worth Asking
Perfect Turkey Gravy
Ingredients
Equipment
Method
- Pour the roasting pan drippings into a measuring cup and let the fat rise to the top; use the layer of fat for the gravy (visual cue: a clear separation between fat and juices).
- Spoon 1/4 cup of the fat into a saucepan over medium heat and whisk in the all-purpose flour until a thick paste forms (visual cue: flour is fully incorporated with no dry spots).
- Cook the roux for 3-4 minutes, whisking continuously, until golden brown (visual cue: it turns warm amber and smells nutty).
- Gradually whisk in the warm turkey or chicken stock and the defatted pan juices until smooth, scraping the bottom as needed (visual cue: no lumps remain).
- Add the fresh thyme leaves and soy sauce, then simmer for 8-10 minutes, whisking occasionally, until thick enough to coat a spoon (visual cue: a line drawn on a spoon stays for a moment).
- Season with salt and pepper to taste, then strain if desired and serve hot (visual cue: gravy flows smoothly and clings to the utensil).