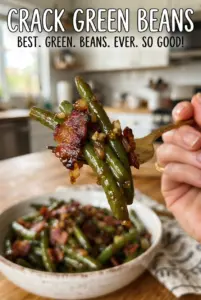
These sauteed green beans land with the kind of bright, crisp-tender bite that keeps them from getting ignored on the plate. The edges pick up a little blister, the garlic turns golden in the butter, and the lemon at the end lifts everything so the beans taste fresh instead of flat. It’s the side dish version of common sense done well.
The trick is to let the green beans cook on their own first, before the garlic goes anywhere near the pan. That first blast of heat gives you color and texture; adding garlic too early would burn it before the beans soften. I also like finishing with lemon zest and juice off the heat so the flavor stays sharp and the butter doesn’t dull it.
Below, I’ll show you the timing that keeps the beans crisp, the one ingredient that adds the most crunch, and a few easy ways to adjust this for different dinners.
The beans stayed crisp-tender and the garlic went golden instead of burnt. The lemon at the end made the whole pan taste fresh, and the almonds gave it just enough crunch.
Save these lemon-garlic sauteed green beans for the nights when you want a bright side dish with blistered edges and toasted almonds.
The Reason These Beans Stay Crisp Instead of Turning Limp
Green beans go mushy when they sit too long in steam or start in a pan that’s crowded and too cool. High heat gives you those blistered spots fast, while the short cook time keeps the center snappy. Once the beans have color, the butter and garlic move in for flavor without stealing that texture you worked for.
- Medium-high heat matters — it pulls moisture off the beans before they can soften too much.
- Don’t overcrowd the skillet — if the beans are piled up, they steam instead of sear. Use a large pan so they stay in direct contact with the surface.
- Add the garlic after the beans — garlic burns quickly, and burnt garlic will make the whole dish taste bitter.
What the Butter, Lemon, and Almonds Are Really Doing Here
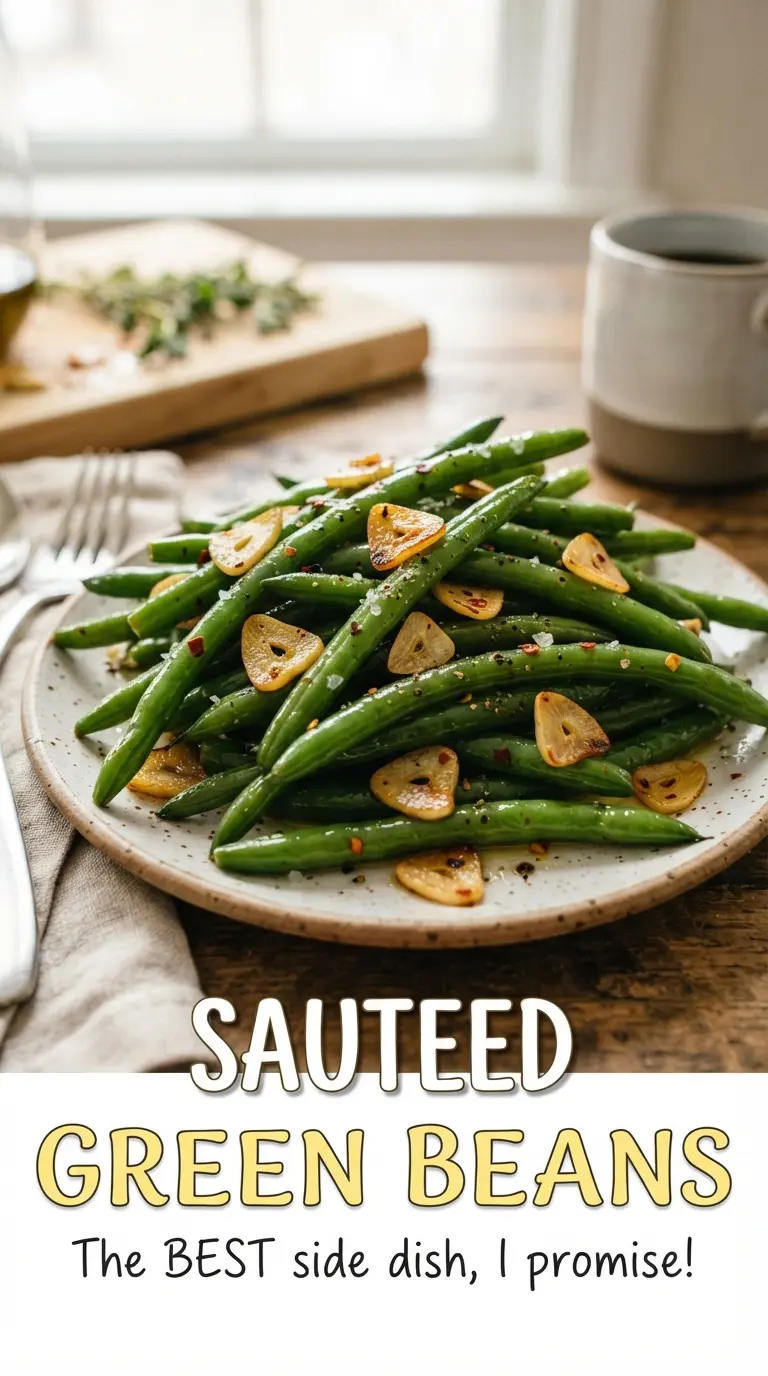
- Fresh green beans — thinner beans cook a little faster and stay tender more easily, while thicker beans hold up better to the high-heat sear. Either works; just trim the ends so they cook evenly.
- Butter plus olive oil — the oil handles the higher heat at the start, and the butter brings the round, savory finish. Using butter alone would risk scorching before the beans are ready.
- Garlic, sliced thin — sliced garlic gives you little golden chips that stay distinct in the pan. Minced garlic disappears fast and burns even faster.
- Lemon zest and juice — zest gives the citrus perfume, while juice sharpens the finish. Use both. Juice alone tastes thinner.
- Toasted almonds — these add crunch right at the end, and the toast brings out a deeper nutty flavor. Raw almonds won’t give the same payoff.
Building the Pan in the Right Order
Getting the Blister First
Heat the olive oil in a large skillet over medium-high heat, then add the trimmed green beans in a single layer if you can. Let them sit long enough to pick up a few blistered spots before tossing; constant stirring keeps them pale. You want them crisp-tender, not floppy, so start checking around 6 minutes and pull them before the beans lose their snap.
Adding the Garlic After the Heat Has Done Its Work
Drop the heat to medium before the butter and garlic go in. The butter should melt and foam gently, not brown hard, and the garlic needs just 1 to 2 minutes until it turns pale gold at the edges. If the garlic darkens quickly, the pan is too hot, and the bitter flavor will take over the dish.
Finishing With Salt, Citrus, and Crunch
Season the beans with salt, pepper, and red pepper flakes while they’re still hot so the seasoning sticks. Then add the lemon zest and juice, toss in the toasted almonds, and serve right away. If you wait too long after adding the lemon, the beans lose that bright pop and the almonds soften.
How to Adapt These Sauteed Green Beans for Different Dinners
Dairy-Free Version
Skip the butter and use another tablespoon of olive oil. You’ll lose a little of that rounded finish, but the beans stay bright and the garlic still comes through. A tiny extra pinch of salt helps replace the richness you’re missing.
Nut-Free Version
Leave out the almonds and finish with a little more lemon zest or a sprinkle of toasted breadcrumbs if you still want crunch. The dish will be a touch simpler, but the flavor stays clean and sharp.
Using Frozen Green Beans
Frozen beans can work in a pinch, but they won’t blister the same way because they carry more surface moisture. Thaw them first, pat them dry, and expect a softer texture with less browning. They’re fine for a weeknight side, not for the best version of this dish.
Adding More Heat
Bump up the red pepper flakes or add a pinch of cayenne with the salt. That gives the beans a little back-end heat without changing the quick cooking method.
Storage and Reheating
- Refrigerator: Store leftovers in an airtight container for up to 3 days. The beans soften a little after chilling, but they still hold their flavor.
- Freezer: I don’t recommend freezing these. The beans lose their crisp texture and the garlic turns dull after thawing.
- Reheating: Warm them in a skillet over medium heat just until heated through. The biggest mistake is microwaving too long, which turns the beans limp and mutes the lemon.
Questions I Get Asked About This Recipe
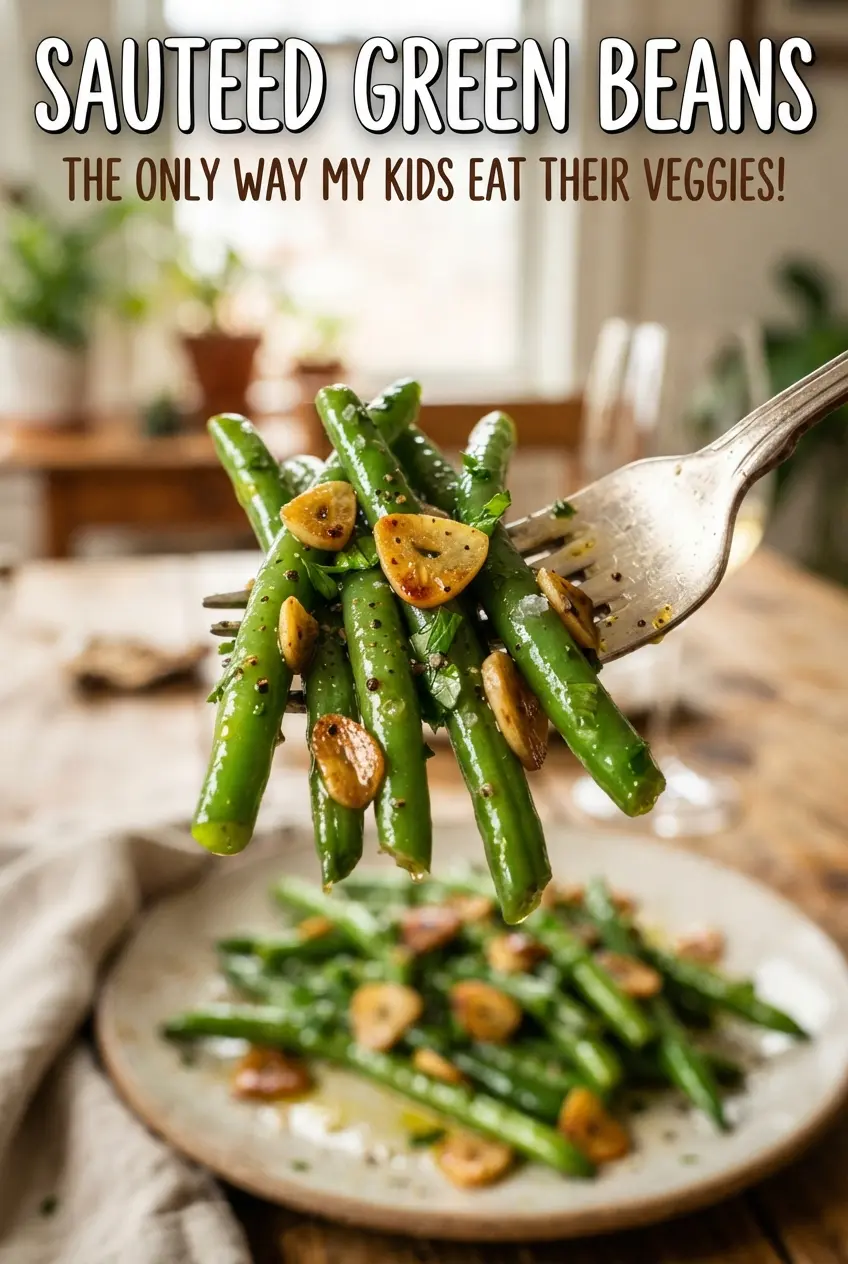
Sauteed Green Beans
Ingredients
Equipment
Method
- Heat olive oil in a large skillet over medium-high heat until shimmering. Add green beans and cook 6-8 minutes, tossing often, until blistered and crisp-tender.
- Reduce heat to medium, then add butter and thinly sliced garlic. Cook 1-2 minutes, stirring, until the garlic turns golden with a fragrant sizzle.
- Season with salt, black pepper, and red pepper flakes. Stir just to distribute the spices evenly.
- Toss with lemon zest and lemon juice until the beans look glossy and evenly coated. Fold in toasted sliced almonds and serve right away.