Old fashioned beef stew earns its place at the table because the broth turns rich and glossy while the beef gets spoon-tender without falling apart into shreds. The potatoes soak up just enough gravy to taste seasoned all the way through, and the carrots hold their shape instead of turning to mush. It’s the kind of pot that makes the kitchen smell like you’ve been cooking all day, even when the process is straightforward.
The key is building flavor in layers. Browning the beef in batches gives you those dark, sticky bits in the pot that turn into the base of the gravy, and the tomato paste cooks long enough to lose any raw edge. A little flour on the meat helps the stew thicken naturally as it simmers, so you don’t end up with a broth that tastes thin or flat.
Below, I’m walking through the small details that matter: how dark to brown the beef, when to add the vegetables, and what to do if your gravy ends up looser than you wanted. It’s a simple stew, but the difference between good and memorable is in those little choices.
The gravy thickened up beautifully and the beef was fork-tender after the full simmer. I added the potatoes halfway through and they held their shape without getting chalky.
Save this old fashioned beef stew for the nights when you want deep brown gravy, tender chuck, and vegetables that taste like they simmered in the pot all afternoon.
The Brown Bits Are the Whole Point
Beef stew can taste flat when the meat goes into the pot pale and the bottom stays clean. The deep flavor comes from browning the beef hard enough to build a crust, then using the broth to lift every caramelized bit off the pan. That’s where the stew gets its backbone.
The other thing people miss is patience on the simmer. A gentle bubble keeps the chuck tender; a hard boil tightens it up and leaves you with dry, stringy meat. If the pot is boiling aggressively, lower the heat until you only see a few lazy bubbles breaking the surface.
- Browning in batches — Crowding the pan steams the beef and blocks browning. Give each batch space so the cubes can develop a dark crust instead of gray edges.
- Tomato paste — Cooking it for a minute with the onion and garlic takes away the raw, tinny taste and deepens the stew’s color.
- Flour on the beef — It helps the broth thicken as the stew cooks. Skip it and the gravy stays thinner unless you add a separate slurry at the end.
What Each Ingredient Is Actually Doing in the Pot
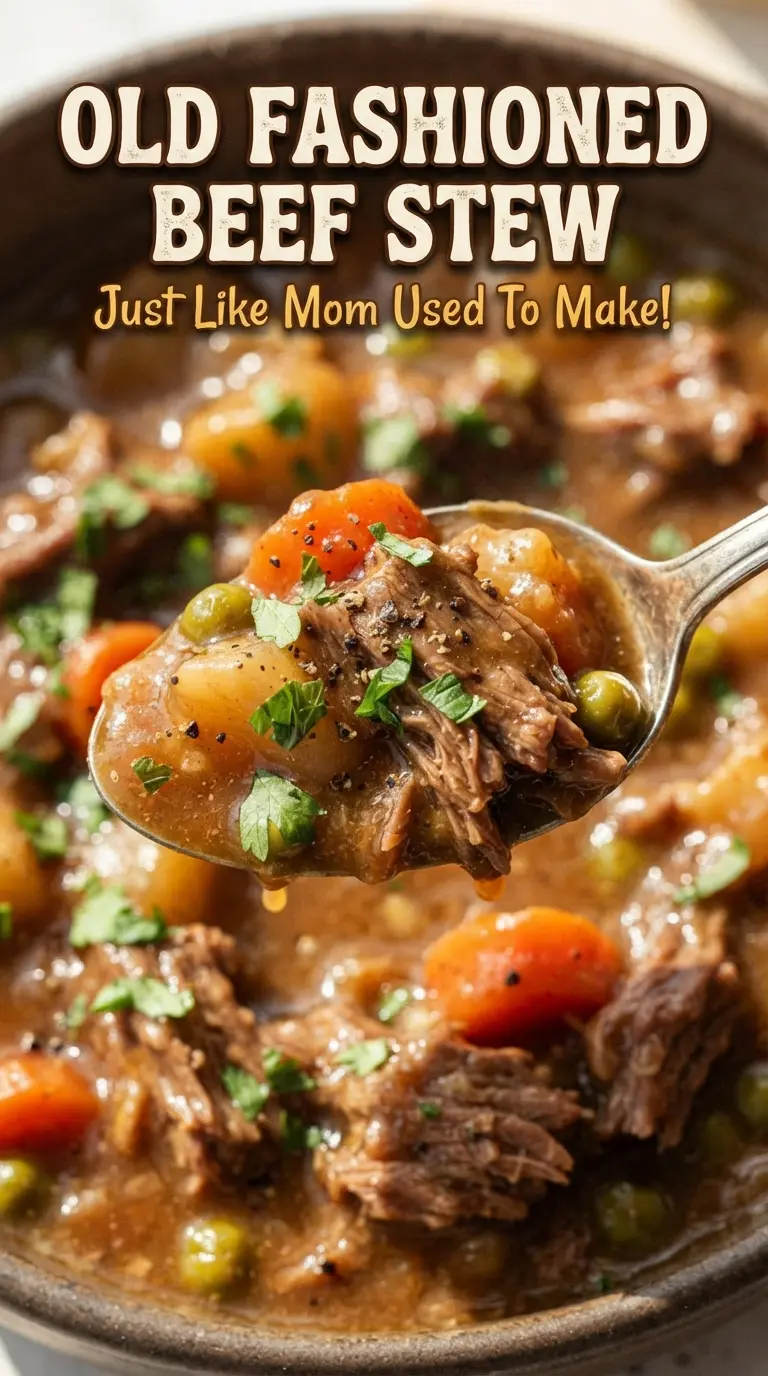
- Beef chuck — This cut has enough connective tissue to turn tender and silky during a long simmer. Lean stew meat can work, but it won’t give you the same rich texture.
- Flour — It coats the beef before browning and thickens the stew as it cooks. All-purpose flour is ideal here; gluten-free blends can work, but the gravy may need extra simmer time.
- Tomato paste — A small amount adds body and a deeper savory note. Don’t add it straight into liquid and move on; it needs a quick cook in the pot first.
- Russet potatoes — They break down just enough to help thicken the broth without disappearing entirely. Waxy potatoes hold firmer, which is fine if you want distinct cubes, but the stew won’t feel as classic.
- Frozen pearl onions — They save time and add little sweet bursts in the finished stew. Fresh pearl onions work too, but they take more prep than most weeknight cooks want to deal with.
Building the Stew in the Right Order
Getting a Real Sear on the Beef
Toss the beef with the flour, salt, and pepper before it hits the pan, then brown it in hot oil in batches. You want a deep brown crust on several sides, not just a little color in spots. If the pan looks crowded or the meat starts releasing a lot of liquid, pull some pieces out and let the pan come back up to heat before adding more. That browned fond is what makes the gravy taste like beef stew instead of beef in broth.
Softening the Onion Without Losing the Pan
Once the beef is out, cook the onion in the same pot until it turns soft and glossy. Scrape the bottom as it cooks; the onion moisture helps loosen some of the stuck-on bits. Add the garlic and tomato paste for one minute only. Any longer and the garlic can burn, while the tomato paste needs just enough time to darken and lose its raw edge.
Turning the Pan Scrapings Into Gravy
Pour in the broth, water, Worcestershire, sugar, paprika, thyme, and bay leaves, then scrape the bottom until the pot is clean. The liquid should pick up the brown bits and turn darker almost immediately. Bring it just to a simmer before the beef goes back in. If you boil at this stage, the liquid can taste harsh and the meat won’t relax into that tender stew texture.
Adding the Vegetables at the End
Let the beef simmer covered for about two hours before the potatoes, carrots, and pearl onions go in. That timing keeps the vegetables from collapsing while the chuck gets the long cook it needs. After the vegetables are added, simmer until the potatoes are tender and the broth coats a spoon. If the gravy still seems thin, leave the lid off for the last few minutes so steam can escape and the sauce can tighten naturally.
How to Adapt This Stew for Different Kitchens and Different Eaters
Gluten-Free Version With a Small Texture Change
Use a gluten-free all-purpose flour blend in place of the regular flour. It will still help the beef brown and thicken the broth, though the gravy may not be quite as silky as the original. If you want extra body, simmer uncovered for the last 10 minutes instead of reaching for a separate thickener right away.
A Deeper, Wine-Free Savory Swap
If you want a richer stew without adding wine, stir in an extra teaspoon of Worcestershire sauce or a spoonful of soy sauce with the broth. Both add savory depth, but soy sauce is saltier and a little sharper, so use less if you go that route. This keeps the flavor bold without changing the comfort-food feel.
Vegetable-Heavy Stew for a Bigger Pot
Add another carrot or two, or stir in celery with the onions for a more vegetable-forward pot. Celery softens into the background and gives the broth a classic stew aroma, while extra carrots add sweetness that balances the beef. Keep the total vegetable load moderate so the broth still tastes concentrated instead of watered down.
Storage and Reheating
- Refrigerator: Store in an airtight container for up to 4 days. The stew thickens as it chills, and the flavors get even better the next day.
- Freezer: It freezes well for up to 3 months. Cool it completely first, and leave a little headspace in the container because the broth expands.
- Reheating: Warm it gently on the stove over medium-low heat until steaming hot. Don’t boil it hard or the potatoes can break apart and the beef can turn stringy.
Answers to the Questions Worth Asking
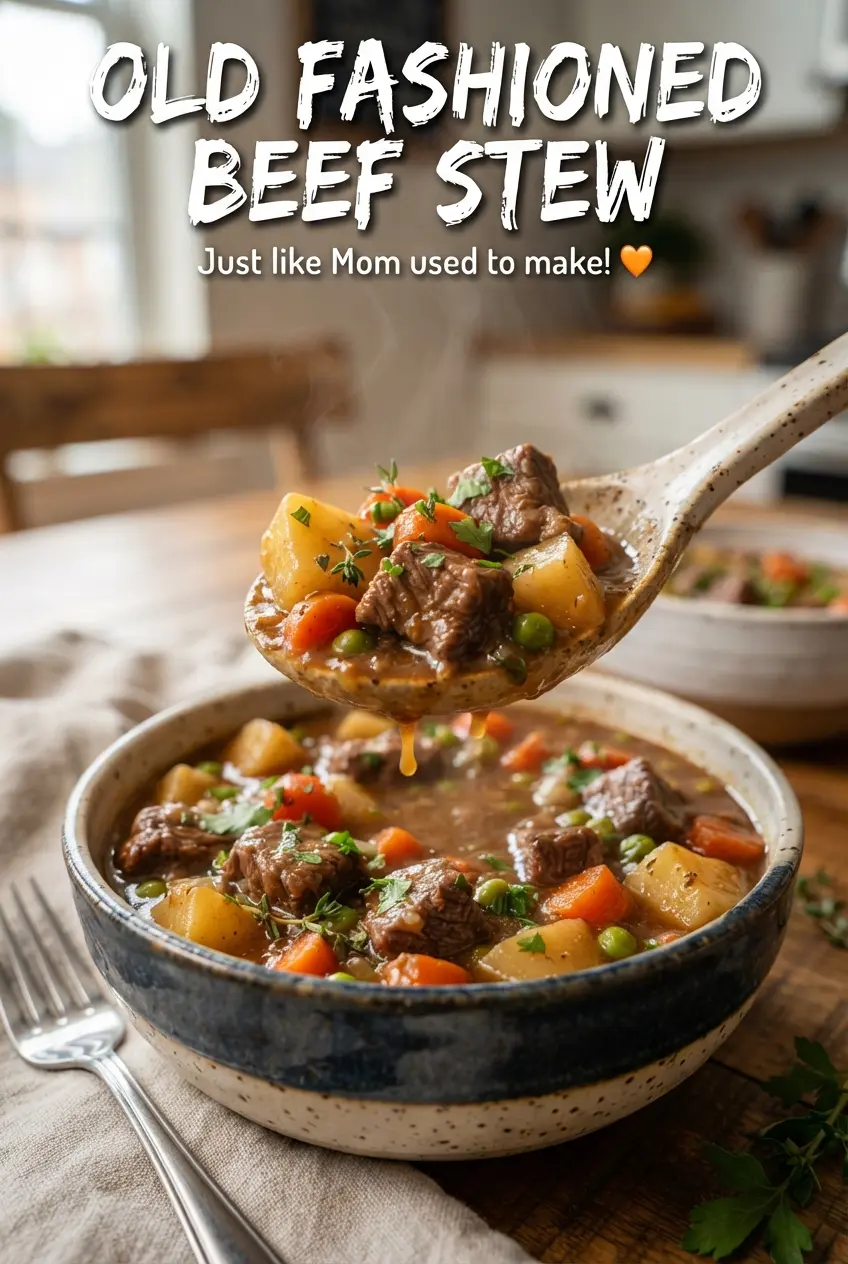
Old Fashioned Beef Stew
Ingredients
Equipment
Method
- Toss the beef chuck with the all-purpose flour, salt, and black pepper until evenly coated. Heat the vegetable oil in a Dutch oven over hot heat (about 400°F/205°C) and brown the beef in batches until deep brown on all sides, about 6–8 minutes per batch.
- Add the chopped onion to the pot and cook for 5 minutes, stirring as it softens. Stir in the minced garlic and tomato paste and cook for 1 minute, scraping the bottom for browned bits.
- Pour in the beef broth, water, Worcestershire sauce, sugar, paprika, dried thyme, and bay leaves. Scrape up the browned bits from the bottom until the sauce looks uniform.
- Return the browned beef to the pot, cover, and bring to a gentle simmer (around 190–205°F/88–96°C). Simmer gently for 2 hours, stirring occasionally so nothing sticks.
- Add the russet potatoes, carrots, and frozen pearl onions. Simmer uncovered or partially covered for 45 minutes until the vegetables are tender and the gravy has thickened.
- Remove the bay leaves from the stew. Season to taste with additional salt and black pepper, then serve hot.