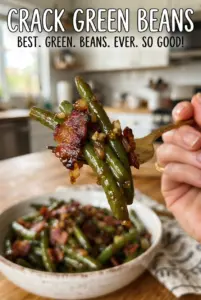
Smothered green beans come out tender, glossy, and deeply savory-sweet, with bacon in every bite and a sticky brown sugar butter sauce that clings instead of sliding to the bottom of the dish. The canned beans soften into something comforting and familiar, but they still hold enough shape to soak up all that smoky, oniony sauce. It's the kind of side dish that disappears first, even when there are plenty of other things on the table.
What makes this version work is the balance in the pan and in the oven. The bacon and onion cook together first, so the fat picks up the onion flavor before it goes into the baking dish, and that drippings-rich mixture seasons the beans from the start. The sauce is mixed separately, then poured over everything so the sugar melts evenly instead of scorching in one spot. Covered baking keeps the beans moist while the sauce thickens into a glossy glaze.
Below, I'll walk through the little details that keep the sauce from turning grainy or overly thick, plus a few swaps that still keep the dish in the same comforting lane.
The sauce coated every bean and the bacon stayed crisp enough for texture even after baking. I stirred once halfway through like the recipe said, and the whole dish came out glossy instead of watery.
Love the glossy brown sugar bacon coating on these smothered green beans? Save this side dish for holidays, potlucks, and any dinner that needs a little Southern comfort.
The Part That Keeps the Sauce Glossy Instead of Grainy
This dish lives or dies on the sauce. Brown sugar, butter, and the bacon drippings need to melt together in the oven, not fight each other on the stovetop. If the sugar hits the heat unevenly, it can clump at the bottom of the pan and leave the beans coated in butter but not much else. Covered baking solves that by creating steady heat and letting the sugar dissolve slowly into the liquid around the beans.
The other detail that matters is the stir halfway through. That one move redistributes the sauce before the edges overcook, and it pulls the beans from the top down into the glossy liquid pooling underneath. Skip that stir and the top can dry out while the bottom gets too concentrated.
What Each Ingredient Is Actually Doing in These Green Beans
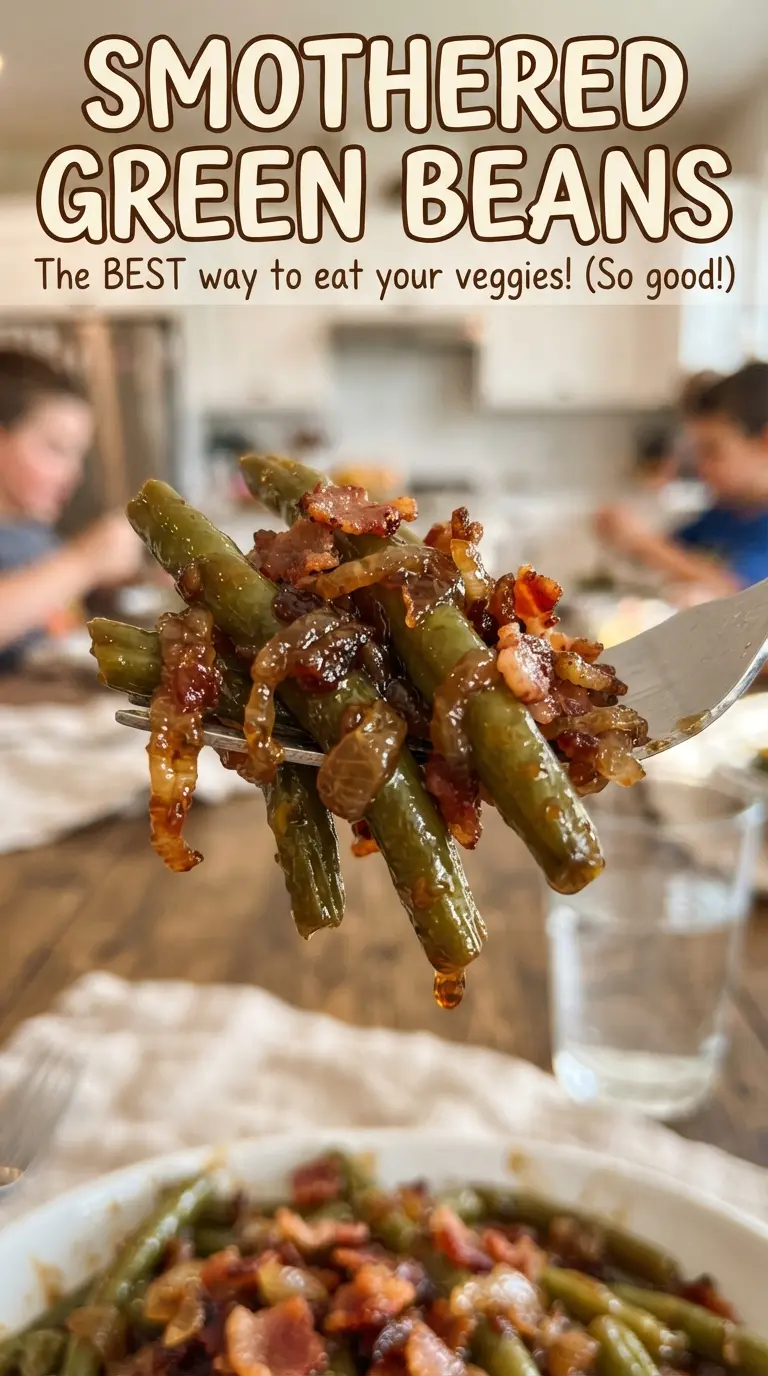
- Cut green beans — Canned beans are the right choice here because they start tender and hold up to the long, saucy bake. Fresh green beans would need blanching first, or they'd stay too firm and taste out of sync with the rest of the dish.
- Bacon — This brings the smoky backbone and the fat that carries the onion flavor. Chop it before cooking so it renders evenly and gives you little crisp pieces instead of large chewy strips.
- Onion — The onion softens in the bacon fat and gives the sauce a sweeter, deeper base. Dice it fine so it melts into the dish instead of standing out in big pieces.
- Brown sugar — Packed brown sugar is what gives the sauce its sticky, glossy finish. There's no perfect substitute for the molasses note, but dark brown sugar can make the sauce a little deeper and more caramel-like.
- Soy sauce — This keeps the sauce from tasting one-note sweet. It adds salt and a little umami, which is why the dish tastes rounded instead of candy-sweet.
- Butter — Melted butter helps everything emulsify and gives the sauce that soft, rich mouthfeel. Use real butter here; a substitute with more water will thin the glaze.
Building the Beans So the Sauce Clings to Every Bite
Cook the bacon until mostly crisp
Put the chopped bacon and diced onion in the skillet together and let the bacon render until it's mostly crisp and the onion looks soft and translucent. Don't rush this step with high heat or the bacon will burn before the onion sweetens. You want a mix of fat, browned bits, and a little texture left in the bacon because it will finish cooking in the oven.
Layer everything in the baking dish
Spread the drained green beans in a 9×13-inch baking dish, then spoon the bacon, onion, and drippings over the top. That drippings matter more than they look like they do, because they carry the smoky flavor into the whole dish. If the beans are left too wet from draining lazily, the sauce will thin out, so let them sit in the strainer for a minute before assembling.
Pour on the sauce and bake covered
Whisk the brown sugar, butter, soy sauce, garlic powder, and pepper until smooth, then pour it evenly over the beans. Cover the dish tightly with foil and bake until the sauce is bubbling and glossy. If the foil isn't tight, the top can dry out before the sugar fully dissolves, which is how you end up with sticky edges and a watery center.
Stir once, then finish warm
Stir the beans once during baking so the sauce moves from the bottom to the top and the whole dish cooks evenly. When they come out, the beans should be tender and fully coated, with a shiny sauce pooling lightly in the pan. Serve them warm, when the bacon is still a little crisp and the glaze is at its best.
Three Ways to Adjust the Dish Without Losing Its Southern Comfort
Make it gluten-free without changing the texture
Use a certified gluten-free soy sauce or tamari. The sauce still comes out glossy and balanced, and you won't lose the savory edge that keeps the brown sugar from tasting flat.
Swap in fresh green beans for a firmer bite
Fresh green beans work if you blanch them first until just barely tender, then drain well. Without that quick pre-cook, they stay too snappy and the long bake won't soften them enough to match the sauce.
Skip the bacon for a vegetarian side
Leave out the bacon and use a tablespoon or two of butter or olive oil to soften the onion. The dish will still be sweet and glossy, but it loses the smoky depth, so add a pinch of smoked paprika if you want a little of that back.
Storage and Reheating
- Refrigerator: Store leftovers in an airtight container for up to 4 days. The sauce will thicken as it chills.
- Freezer: It freezes, but the beans soften a bit more after thawing, so the texture is best if you eat it fresh or from the fridge.
- Reheating: Warm covered in a 325F oven until hot, or use the microwave in short bursts. Don't blast it on high heat or the sauce can separate and the bacon turns chewy.
Answers to the Questions Worth Asking
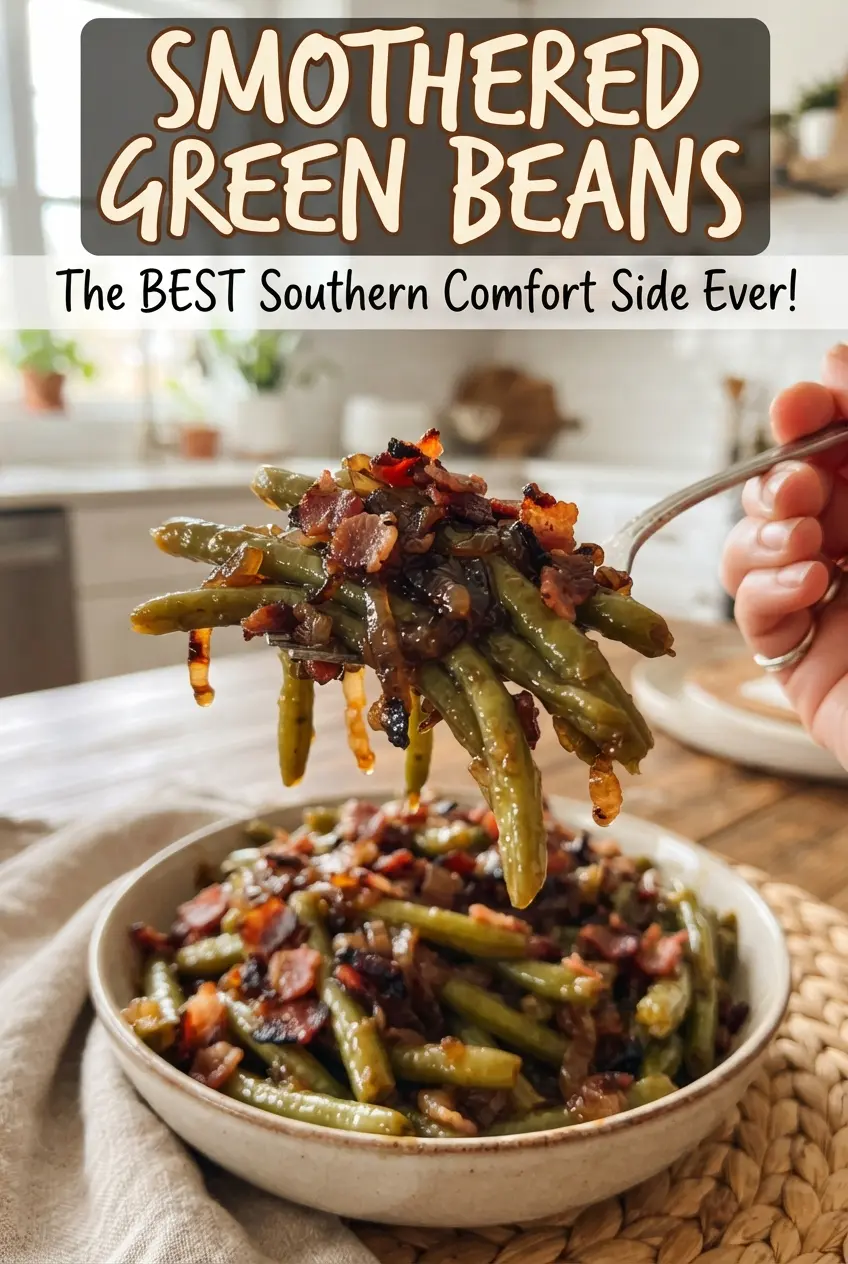
Smothered Green Beans
Ingredients
Equipment
Method
- Preheat the oven to 350F. Set up a 9x13-inch baking dish so you can layer the beans and sauce quickly.
- Cook the chopped bacon and diced onion in a skillet for 8 minutes over heat until the bacon is mostly crisp, stirring occasionally. Keep the drippings in the skillet and do not drain.
- Place the drained cut green beans in a 9x13-inch baking dish, then top with the bacon, onion, and all skillet drippings. Spread into an even layer so the sauce coats all sides.
- Whisk the packed brown sugar, melted butter, soy sauce, garlic powder, and black pepper until smooth. Pour the mixture over the beans so it pools around them.
- Cover the baking dish with foil and bake for 35-40 minutes at 350F, stirring once partway through. Look for a glossy sauce as the beans become tender and saucy.
- Stir the beans and serve warm. The sauce should look thick and shiny as it clings to the green beans.